How to Set Up Stanford Gmail within Apple Mail
- Open the Apple Mail application on your Mac.
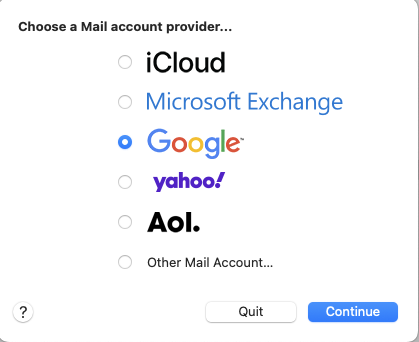
If there is no account present:
- Select Google, then click Continue.
- If an account is already present:
Click on Mail, then Add Account.

- You'll then choose Google and click Continue.
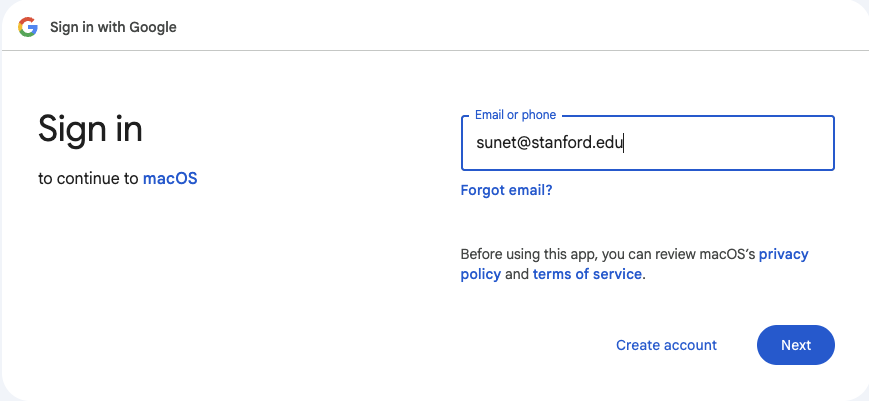
Sign in with your Stanford email address.
- If prompted, sign in with your Stanford credentials or use Cardinal Key. Go through two-step authentication if required.
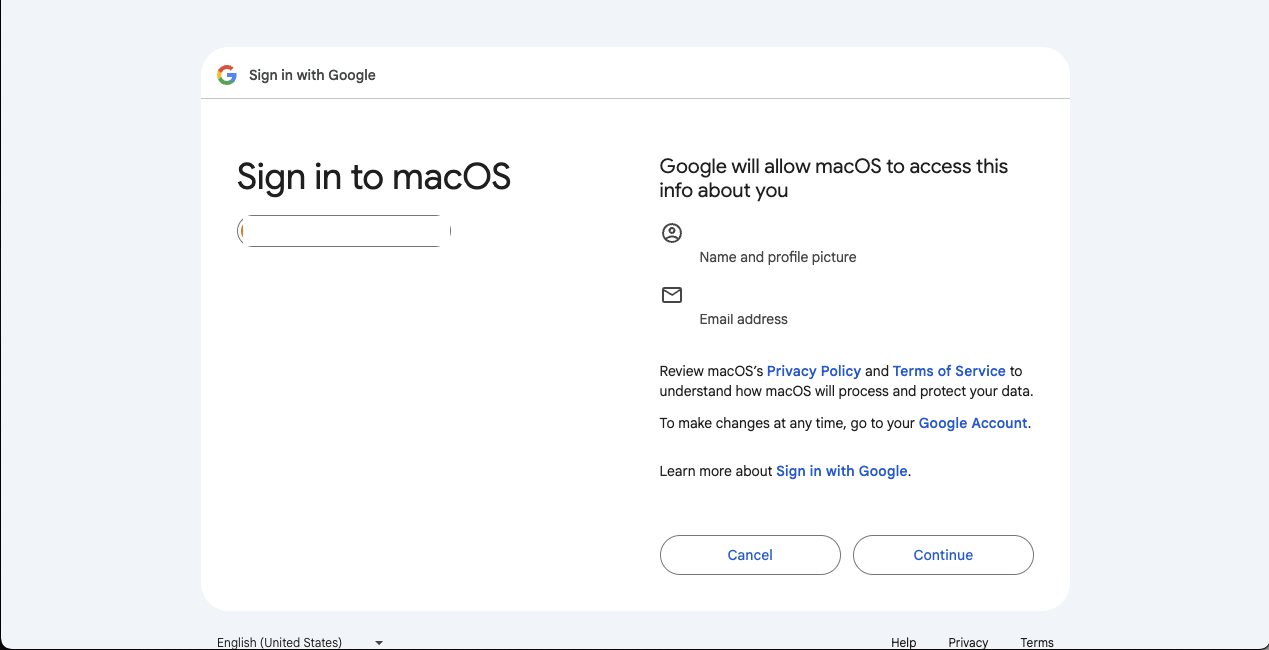
When prompted to trust macOS, click on Continue.
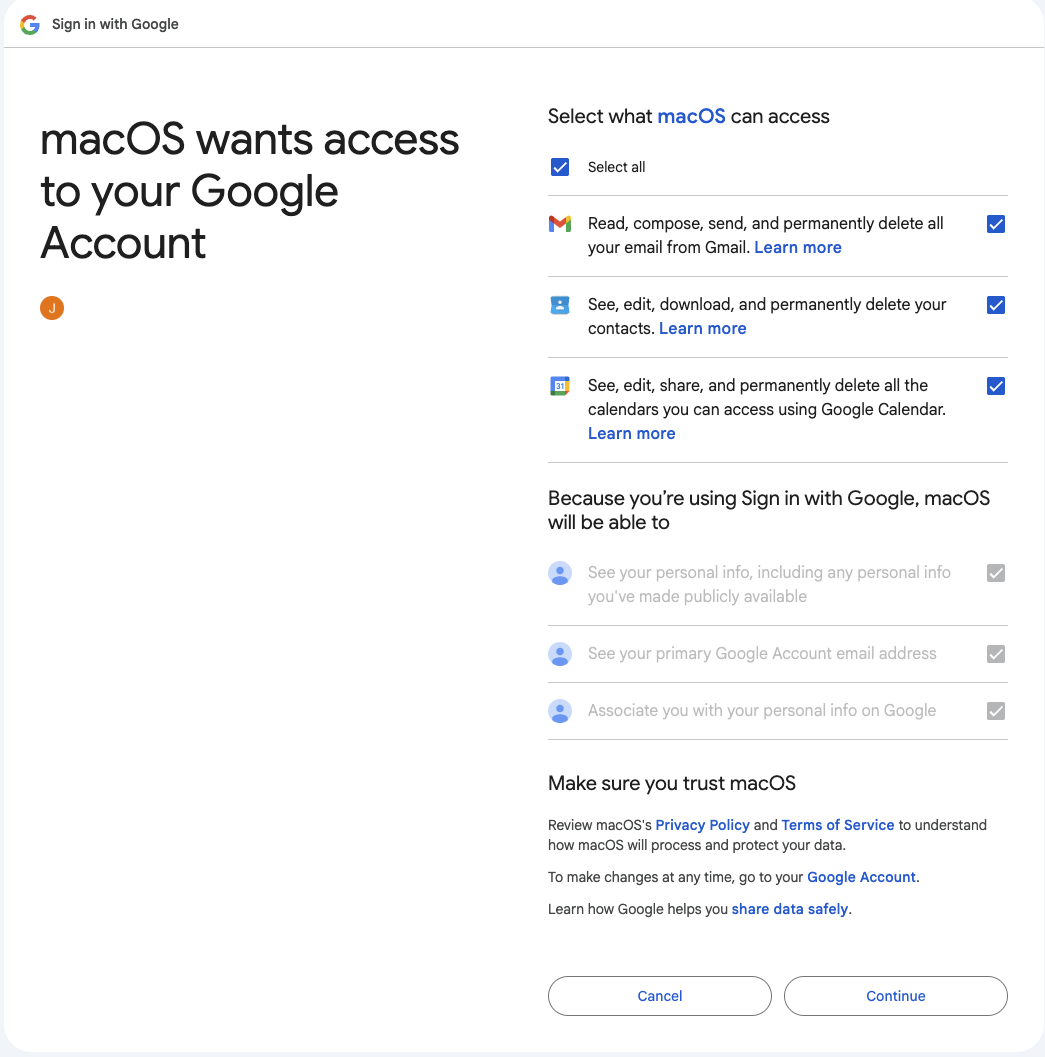
"Select all" when asked for macOS access permissions, and then click Continue.
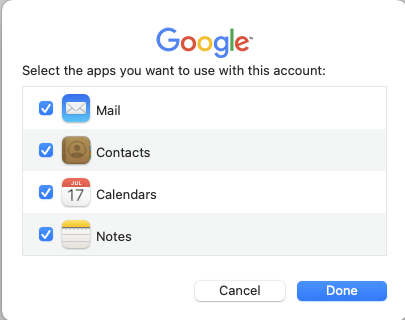
Select Mail to allow it to sync, along with any of the other apps you's like (e.g., Contacts, Calendar, etc.).
- Your Gmail should populate on the left-hand side of the Apple Mail app.
Last modified