How to Set Up Thunderbird for Stanford Google Mail
Before you begin
- To use Thunderbird, you will need to enable IMAP. Submit a Help request to have SMTP enabled.
- FOR STAFF/FACULTY: You will also need to have a Cardinal Key exemption. Submit a Help request to enable the exemption and IMAP.
Configure Thunderbird for use with Google Mail
- Download a free copy of Thunderbird.
- Open the downloaded application and complete the setup instructions below.
- Enter your full name and email address, then click Configure manually.
Note: You may need to click the password field for the manual configuration option to appear.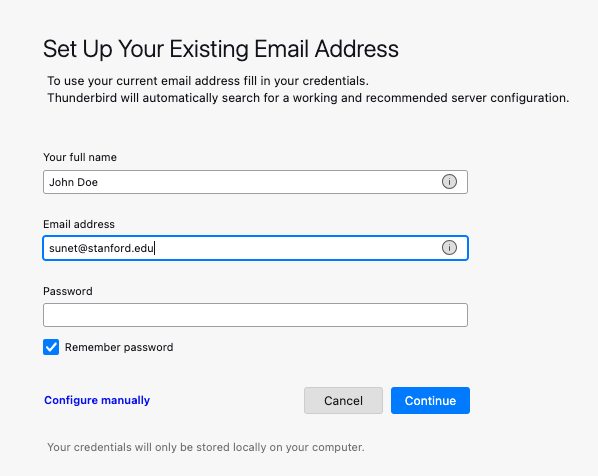
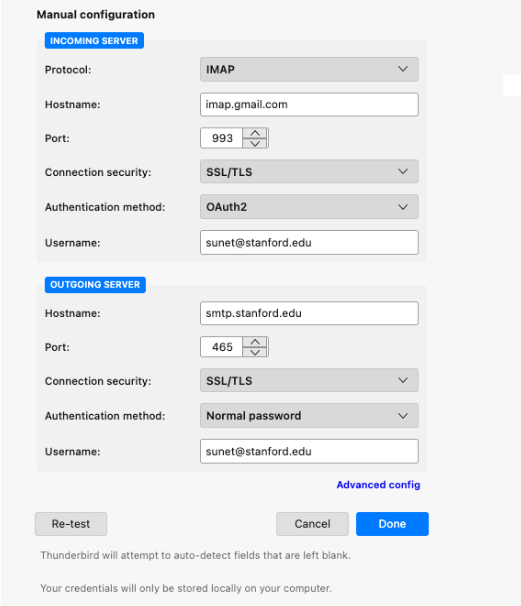
- Next, you need to point Thunderbird to your Gmail account. Enter the settings as shown below for incoming and outgoing servers.
- Incoming:
- Protocol: IMAP
- Server hostname: imap.gmail.com
- Port: 993
- SSL: SSL/TLS
- Authentication Method: OAuth2
- Username: (Your Sunet)@stanford.edu
- Outgoing:
- Protocol: SMTP
- Server hostname: smtp.stanford.edu
- Port: 465
- SSL: SSL/TLS
- Authentication Method: Normal password
- Username: (Your Sunet)@stanford.edu
- Incoming:
- After entering these settings, click test/re-test, and then click Done.
- Sign in with your Stanford Account through Google. This will pop up another window to sign in with your SUNet account.
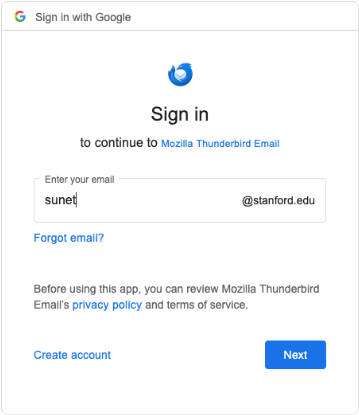
- Select Allow for Thunderbird to access your Google account.

- Click Finish. Your account has been added, but there are still additional steps to finish.
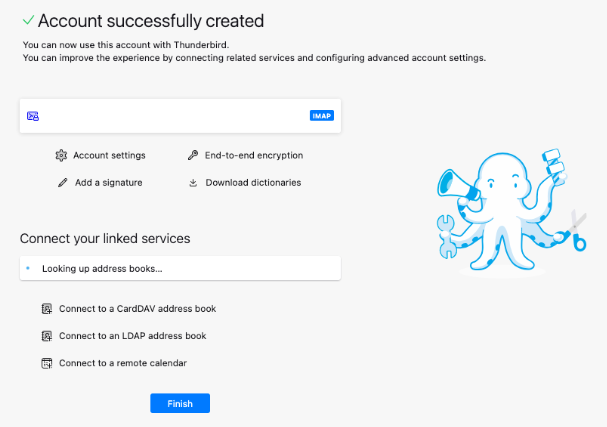
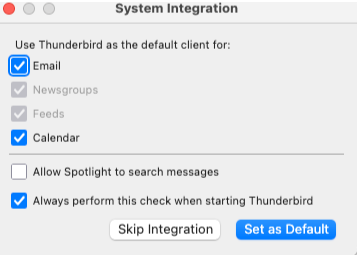
- On the next Window, you can choose to import your calendar and make Thunderbird your default email client.
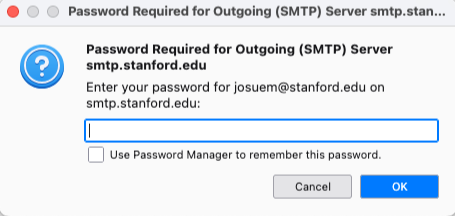
- The last step is to send a test email. Once you send your email, you will receive a password prompt. Enter your SUNet Password.
- Thunderbird will now be fully configured.
Last modified
