Adobe Creative Cloud Installation Instructions
Once you have placed an order in the Stanford Software Licensing Webstore, you will receive all download information and instructions under "Your Account."
You will also receive a message that your subscription is active, and you will see the software's expiration date. Click "Install." You will then be directed to the Adobe site.
- When prompted to sign in by Adobe, use your email address – sunetID@stanford.edu—Do not use an alias email address. Adobe portal uses your sunetID@stanford.edu to associate your license to the Stanford University Licensing program.
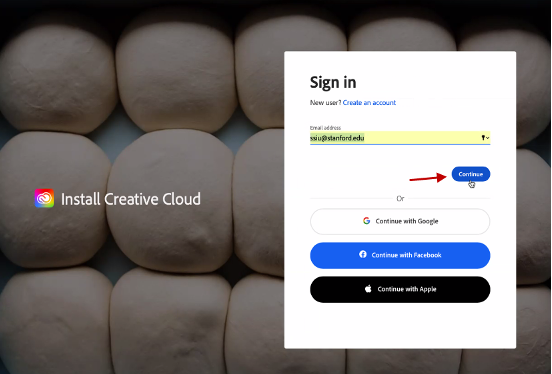
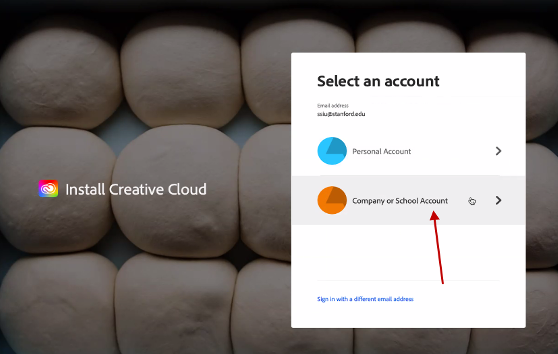
Do not click on" Continue with Google, Facebook, or Apple." Click Continue. - Select "Company or School Account" You will be routed through the Stanford authentication process. Do not select Personal Account because it will prompt you to "7 days trial," which will prevent you from using Stanford University Adobe License.
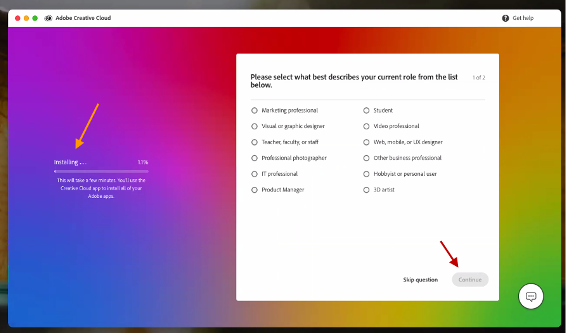
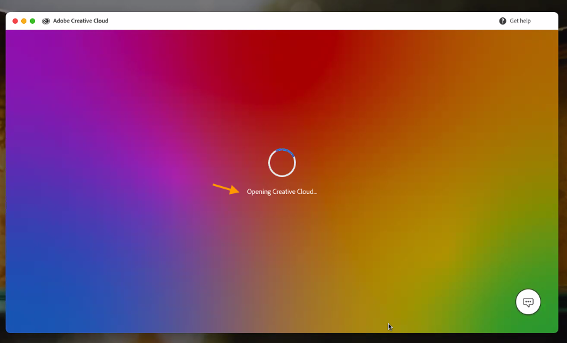
- You will be prompted to best describe your current role. You can choose to select to reply and click continue, or you can "Skip Question." You also see an Installing message on the left indicating the download of the software.
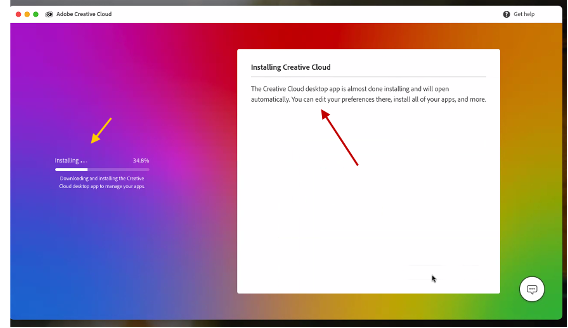
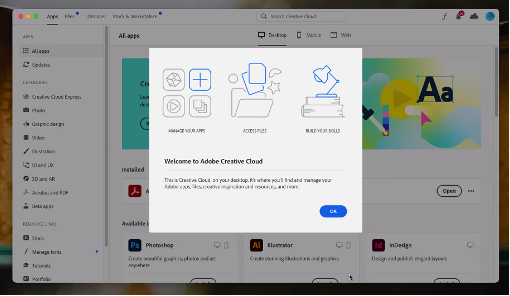
- Once the application is installed, Adobe will prompt a welcome message, click OK to continue.
- On the next page, you will see Creative Cloud Tutorial and a list of software, including Acrobat Pro.
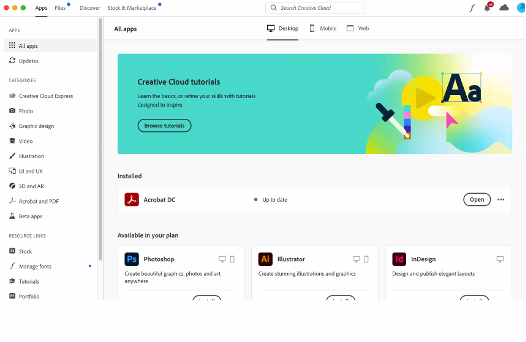
Acrobat Pro DC (Acrobat DC) is automatically installed during the download process. In addition, you now have the option to install additional Adobe applications.
-
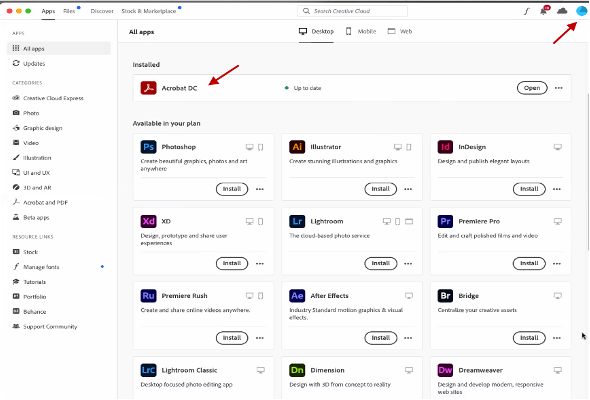
If you plan to install additional software, click the "Install" button. You can close and log out by clicking on the "Blue" button in the top right corner.
Last modified