How to Nest Workgroups in Workgroup Manager
Workgroup Manager allows you to nest groups in other groups, which lets you avoid duplication of effort and helps ensure consistency and accuracy in your groups. Nesting looks like this:
- uit:webcreators
- (i) icon John Smith
- (i) icon Jane Doe
- (i) icon uit:documentation
- (i) icon
- (i) icon sulair:dreamweaver-users
In this (hypothetical) example, University IT has created a workgroup within its stem, called "uit:webcreators," to include people whose work involves designing and creating websites.
- Three groups have been nested within the uit:webcreators workgroup — these are workgroups belonging to UIT and other organizations, whose membership is directly related to the purpose of this workgroup.
- Two individual members, John Smith and Jane Doe, are in organizations that don't have a web workgroup, so they have been added directly to uit:webcreators.
How does nesting help?
- The owner of uit:webcreators only had to include five members — two direct members and three nested groups — though the actual membership of the workgroup consists of the combined memberships.
- When a new employee joins the web team in the Office of University Communications, her manager adds her to the ouc:website workgroup, and she automatically becomes a member of uit:webcreators.
- Only the individual members who don't belong to an appropriate sub-group are added directly to the larger workgroup. This makes it easier to see which members are exceptions.
Workgroups with nested subgroups will be listed slightly differently in your Workgroup Manager home page list of groups. The Number of Members column will display the number of direct members, with an asterisk to indicate there are nested groups whose membership is not included in the count. To see the total number of members in the workgroup, click the (i) icon (in the first column) to see the membership details.
Nest a workgroup
To nest a workgroup:
- Log in to Workgroup Manager.
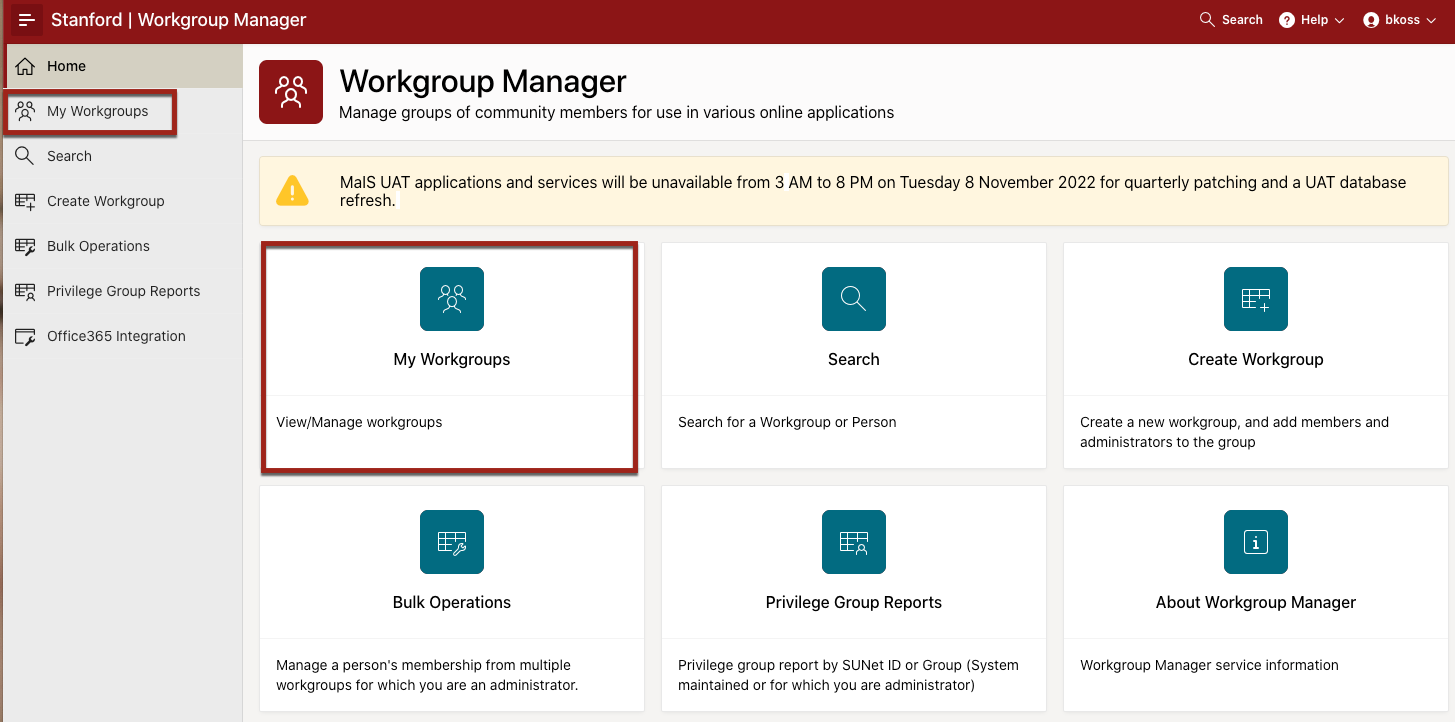
- Click the My Workgroup tile, or icon in the upper left-hand corner.
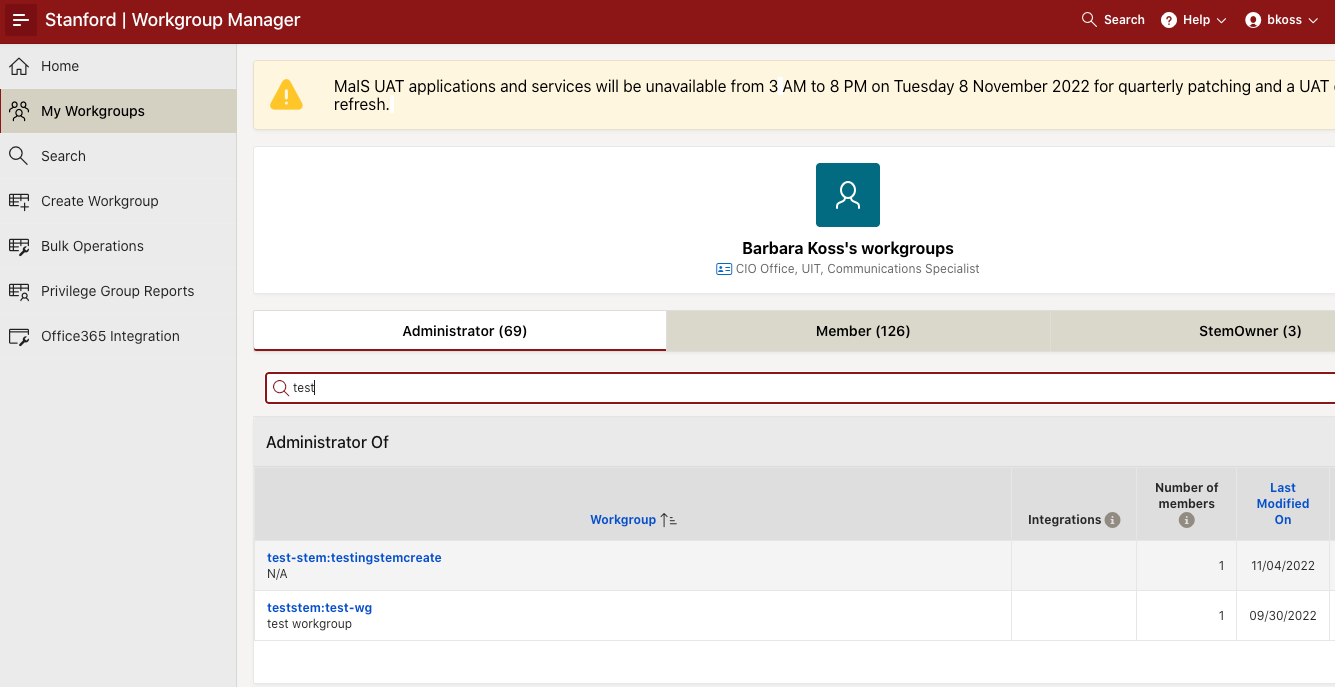
- Search and select the workgroup that you would like to add the nested group to. (You must be an administrator of a workgroup to add a nested group.). Use the filtered search to locate the workgroup name quickly.
- Click the Actions button.
- Click Nest a Workgroup.
- Search for the group that you would like to nest.
- Once the workgroup populates, check the checkbox next to it and click Nest a Workgroup.