Jabber for iPhone: Switching From Cloud to On Premise
Configuration switch
Follow the instructions below to switch from Cloud Jabber to on premise Jabber.
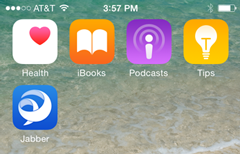
- Tap the Jabber icon to launch Jabber.
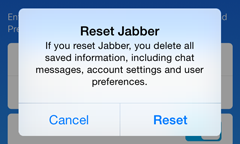
- On the login page, tap Reset Jabber. Note: This will erase all previous Jabber settings that are configured.

- Tap Reset to confirm that you want to reset Jabber.
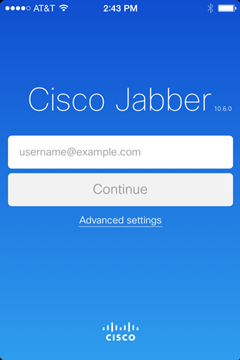
- On the login page, tap Advanced Settings.
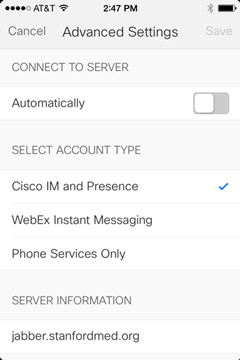
On the Advanced Settings screen:
- Underneath Connect to Server, tap the blue box to disable automatically connecting to the server.
- Under Account Type, select Cisco IM and Presence.
- Under Server Information, type in jabber.stanfordmed.org. Tap Save in the upper right-hand corner and you are taken back to the login screen.
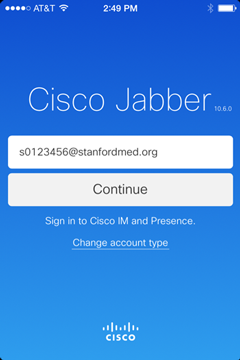
- Enter your SHC SID@stanfordmed.org and tap Continue.
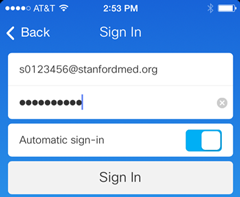
- Enter your password. Decide whether you want Jabber to automatically sign you in when the application launches, and tap the Automatic sign-in box accordingly. Tap Done when you are finished. If you get a Certificate Not Valid message(s), tap Continue.
Last modified