How to Manage Access in Shared Drives
On this page:
Before you begin
If you are listed as a manager of a shared drive for which you are no longer responsible, please ensure the right individuals are named as manager(s). As a best practice, each shared drive should be managed by at least two individuals or a workgroup. Once you have named a new manager and updated the information within Google, you can remove yourself from the shared drive.
- If necessary, confer with colleagues to coordinate decisions impacting shared drive content and accessibility.
- If you are unable to name a new manager, please reach out to your local IT support team.
Roles and permissions
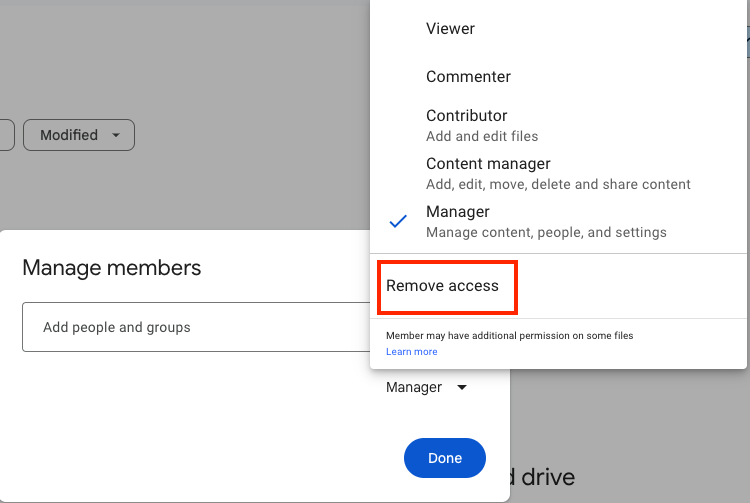
All members of a shared drive can view all files and folders in the shared drive. However, certain members may have more depending upon what level of access they have. In shared drive, five different levels of access or roles are available. For a more detailed look at permissions and roles, visit Google's "How file access works in shared drives."
Add a new member to a shared drive
(Requires Manager access)
- Log into Stanford Google Workspace.
- Click Shared drives tab on the left menu.
- Find and click the desired shared drive.
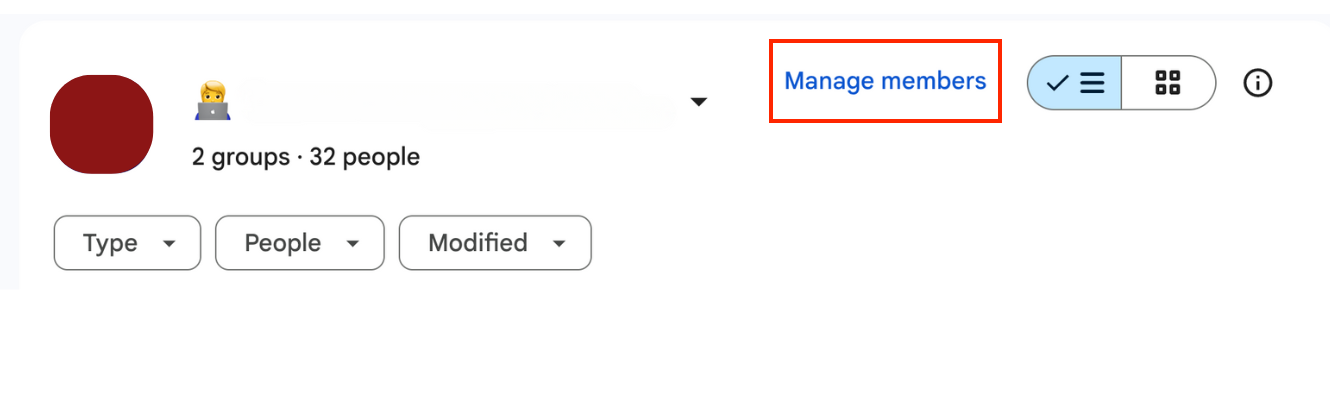
- Click Manage Members in the upper right.
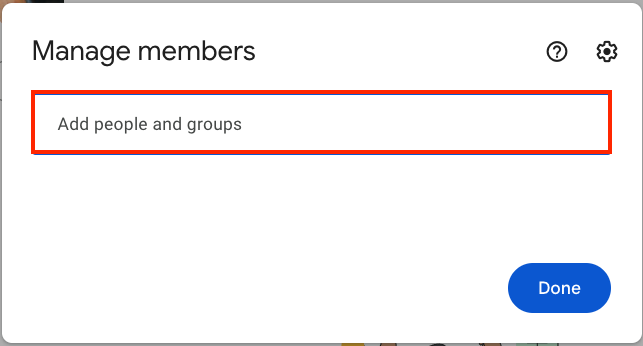
- Enter the name of the person(s) or workgroup you wish to add.
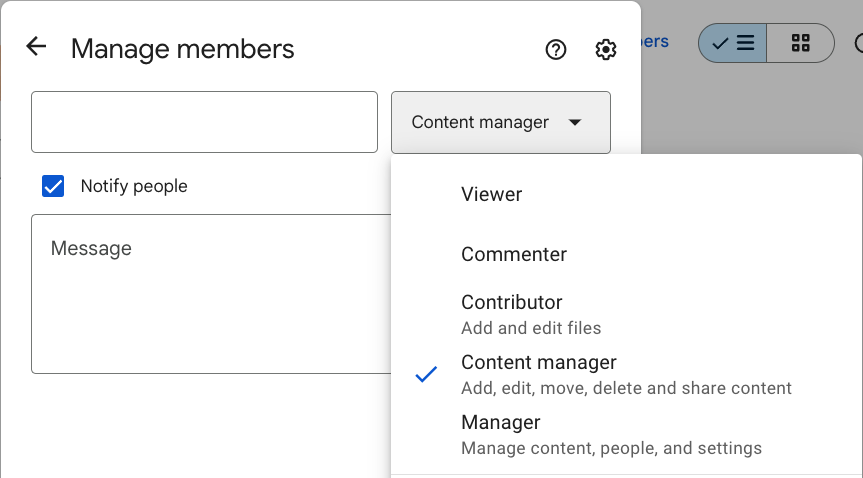
- Content manager is the defaul permission level. If you want to change permissions for the new member, click the down arrow and choose an option.
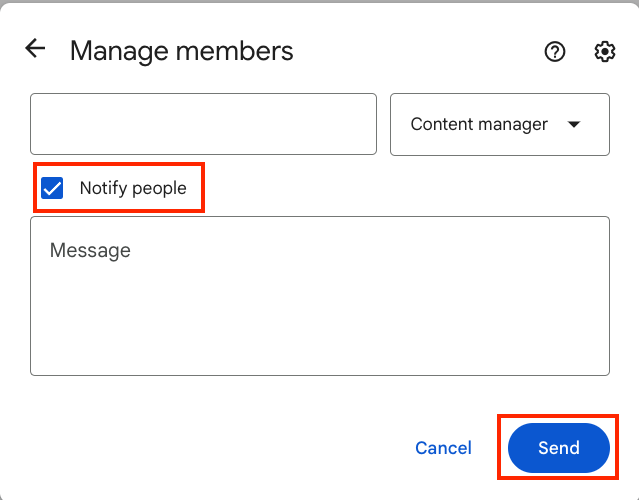
- If you want the new member(s) to get notified, check Notify people and click Send.
Note: If you don't want the new member(s) to be notified, ensure Notify people isn't enabled and click Share.
Change a member's access level to a shared drive
(Requires Manager access)
Important: As a best practice, each shared drive should be managed by a Stanford workgroup or have at least two people assigned manager permissions.
- Log into Stanford Google Workspace.
- Click Shared drives tab on the left menu.
- Find and click the desired shared drive.
- Click Manage Members in the upper right.
- Locate the member's name and click the down arrow to the right and select the appropriate level of access.

- Click Done.
Remove yourself from the shared drive
(Requires Manager access)
After you have added a new manager(s) to the shared drive, you can remove yourself from the drive.
Important: Every shared drive must have at least one manager. To avoid orphaning your content, never remove yourself as a manager unless you've assigned another workgroup or individual as a manager. If you are unable to add another manager, please contact your local IT team.
- Log into Stanford Google Workspace.
- Click Shared drives tab on the left menu.
- Find and click the desired shared drive.
- Click Manage Members in the upper right.
- Locate the member's name and click the down arrow to the right. Select Remove access.
- Click Save.