CrashPlan Permissions
Overview
Due to Apple's privacy restrictions for files and folders containing personal data in macOS Mojave (10.14) and later, CrashPlan cannot back up some files from locations like the Desktop, Contacts, Photos, and Mail until you manually grant access to the CrashPlan app. If you don't grant full disk access, your data might not be protected.
Note: these macOS Privacy preferences are not the same as POSIX file system permissions normally associated with Linux and Unix-like operating systems. See also the CrashPlan support article.
How to Grant Full Disk Access
- Open Apple System Preferences
- Open Security and Privacy
- Select the Privacy tab
- If the privacy settings are locked, click the lock icon in the lower-left corner, enter your device password, and click Unlock.
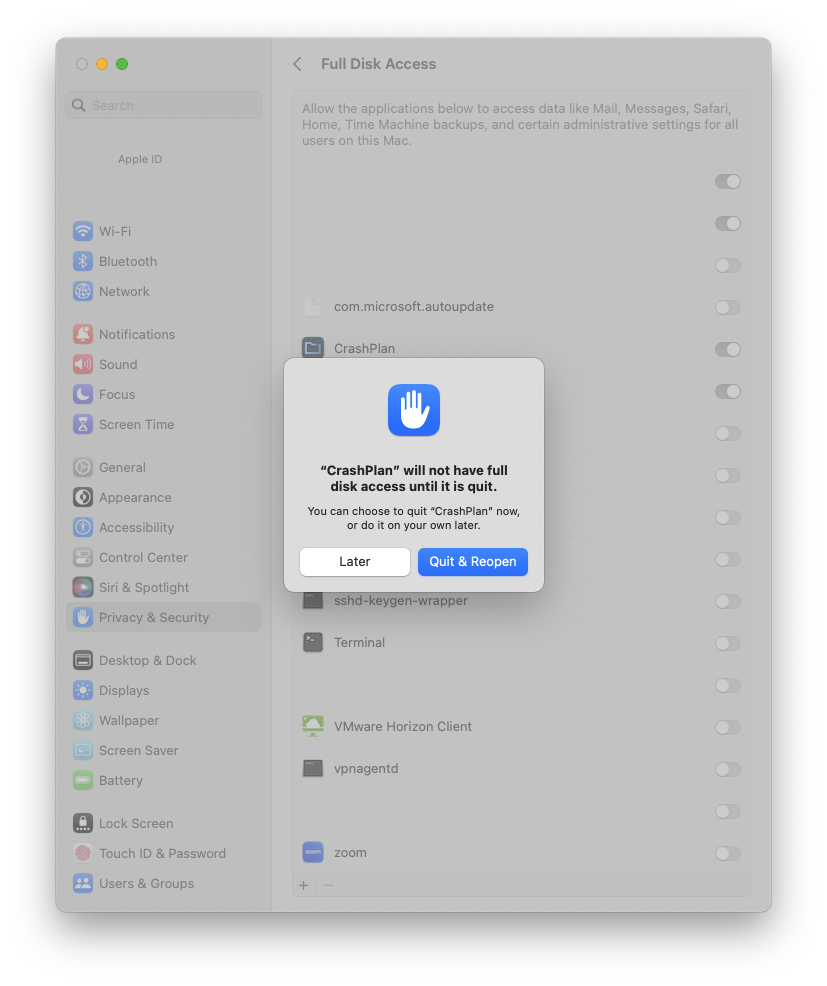
- In the left pane, select Full Disk Access.
- In the right pane, click the + icon.
- Navigate to Applications > CrashPlan.
- Click Open. The following message will appear: "CrashPlan" will not have full disk access until it is quit.
- Click Quit Now.
- (Optional) Click the lock in the lower-left corner to re-lock privacy settings.
- (Required) Follow the steps in the next section to restart the CrashPlan service. The CrashPlan app will not have full disk access until the CrashPlan service restarts.
Restart the backup service
There are two ways to restart the CrashPlan service: restart your device, or enter a command in the app command prompt. Choose whichever option is easiest for you.
Option 1
Simply, restart your Mac.
Option 2
- Open the CrashPlan app.
- When prompted, sign in to your account.
- Press Option+Command+C to open the CrashPlan commands prompt.
- Enter this command: restart
- Press Enter. This closes the app, reauthenticates the CrashPlan app with the server, and then restarts the CrashPlan service.
Last modified