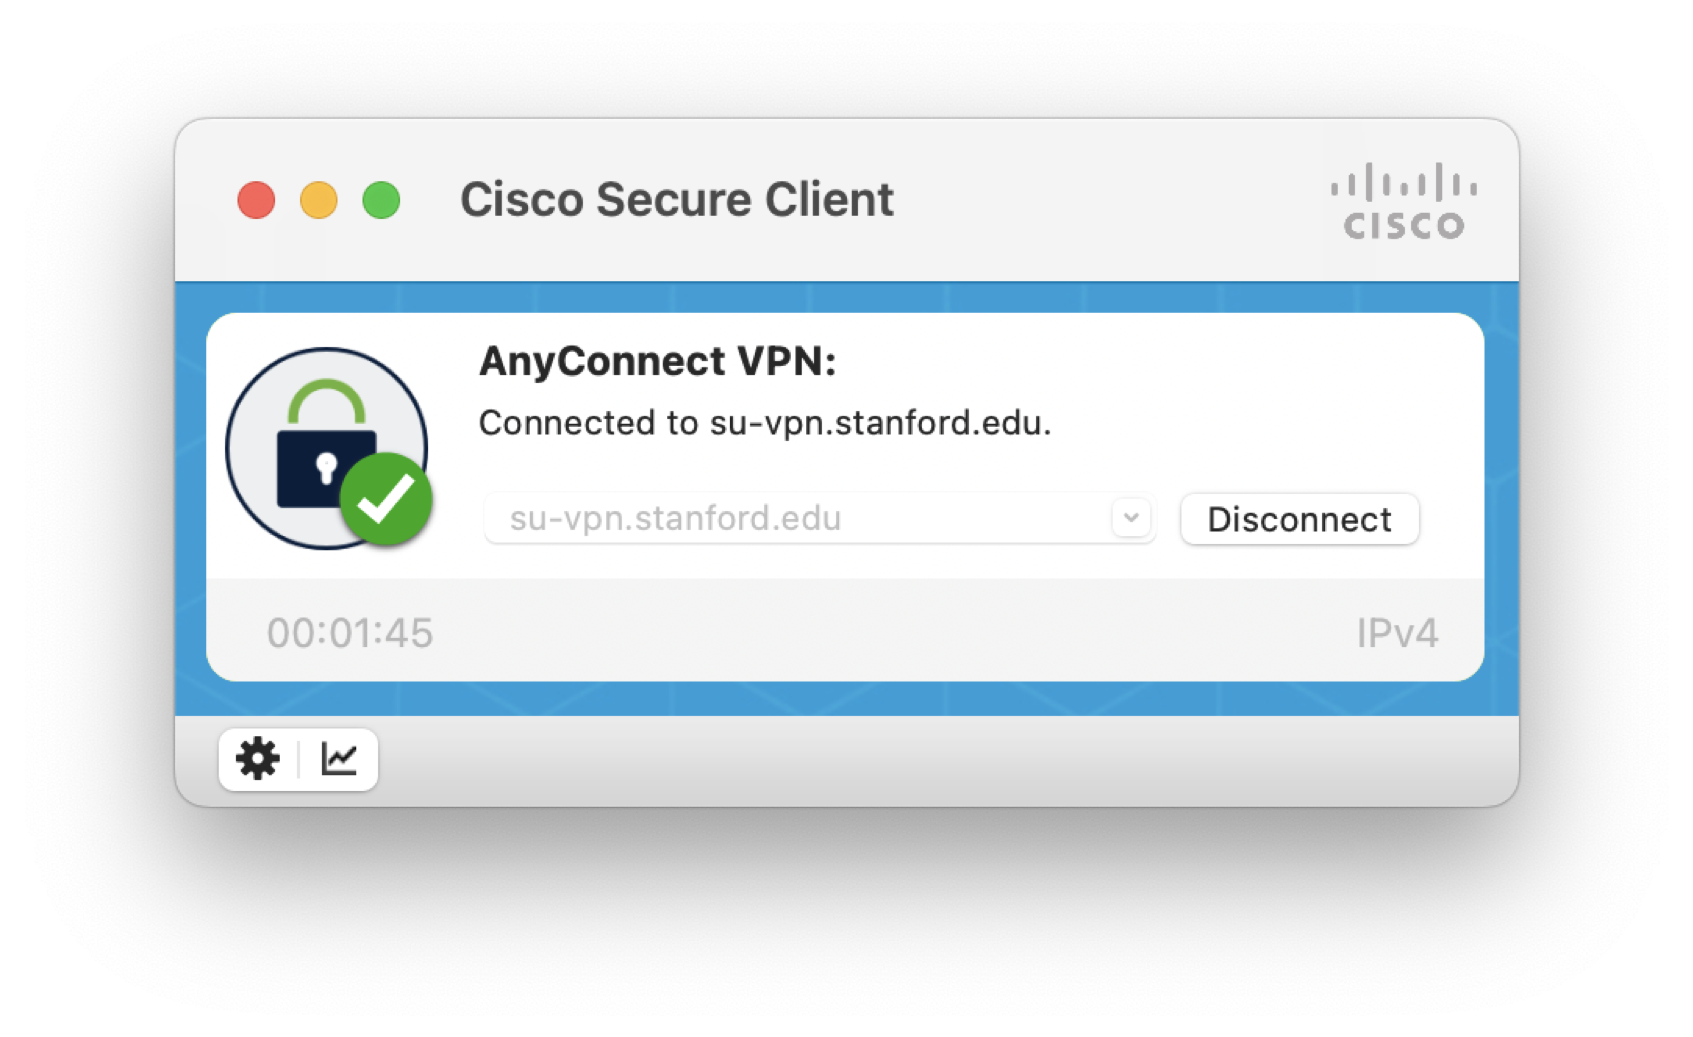
How to Configure Cisco Secure Client VPN Client for Mac
For clients accessing restricted library resources remotely, please use the "Stanford-Full" profile when connecting to the Stanford VPN.
Cisco Secure Client is the recommended VPN client for Mac. The built-in VPN client for Mac is another option but is more likely to suffer from disconnects.
Overview
Stanford's VPN allows you to connect to Stanford's network as if you were on campus, making access to restricted services possible. To connect to the VPN from your Mac you need to install the Cisco Secure VPN client.
Two types of VPN are available:
- Stanford (split-tunnel). When using Stanford's VPN from home, we generally recommend using the Stanford split-tunnel VPN. This routes and encrypts all traffic going to Stanford sites and systems through the Stanford network as if you were on campus. All non-Stanford traffic proceeds to its destination directly.
- Stanford-Full (non-split-tunnel). This encrypts all internet traffic from your computer but may inadvertently block you from using resources on your local network, such as a networked printer at home. If you are traveling or using wi-fi in an untrusted location like a coffee shop or hotel, you may wish to encrypt all of your internet traffic through the Stanford-Full non-split-tunnel VPN to provide an additional layer of security.
You can select the type of VPN you want to use each time you connect.
Install the VPN client
- Download the Cisco Secure Client installer for Mac.
- Double-click the InstallSecureClient.pkg file to start the Cisco Secure Client Installer wizard.
- When the Welcome window displays, click Continue.
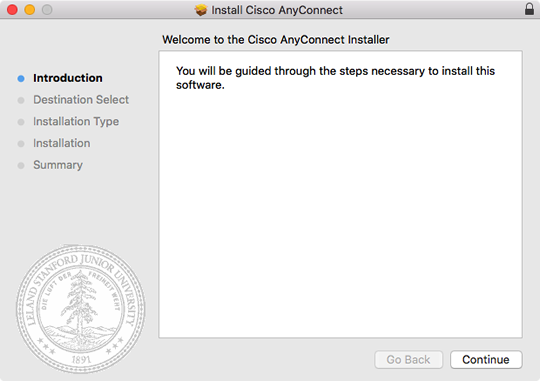
- Select your hard drive as the destination where you want to install Cisco Secure Client and then click Continue.
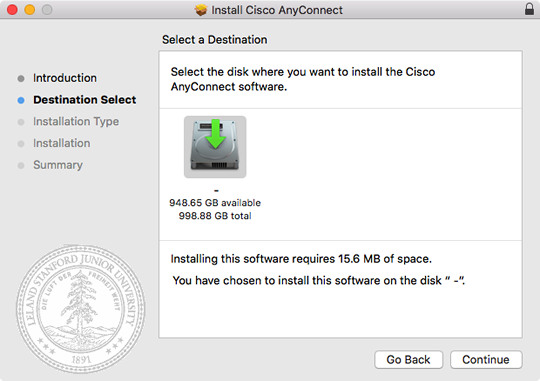
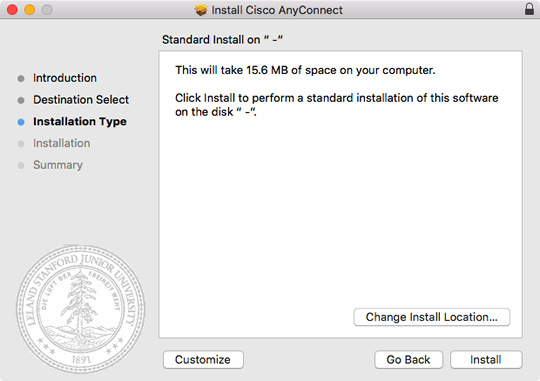
- Click Install to perform a standard installation of the software.
- 6. At the prompt, use your Touch ID or choose to use your administrator account password for the Mac and click Install Software.
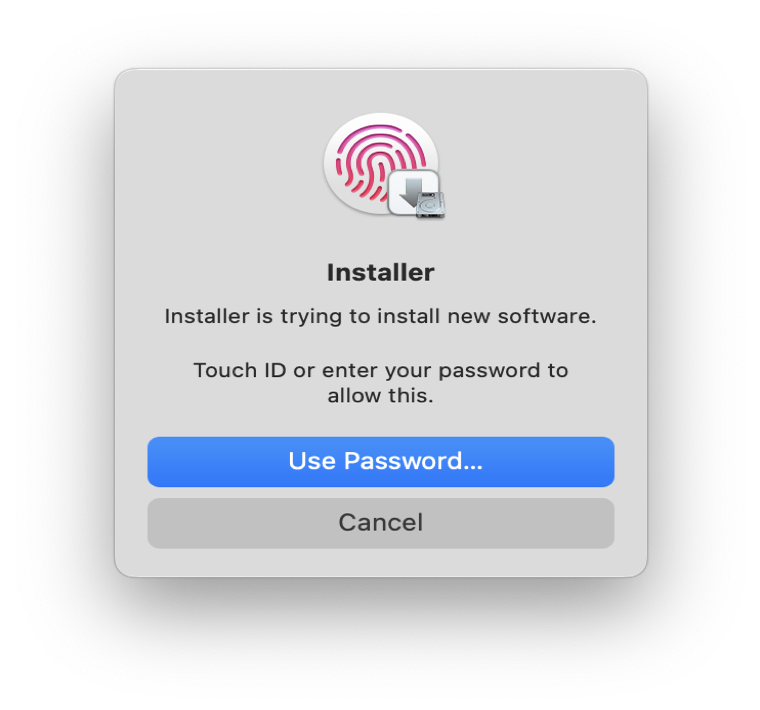
- (First time installation only): Depending on your version of MacOS you will see one of the following prompts to allow the Cisco AnyConnect system extension.
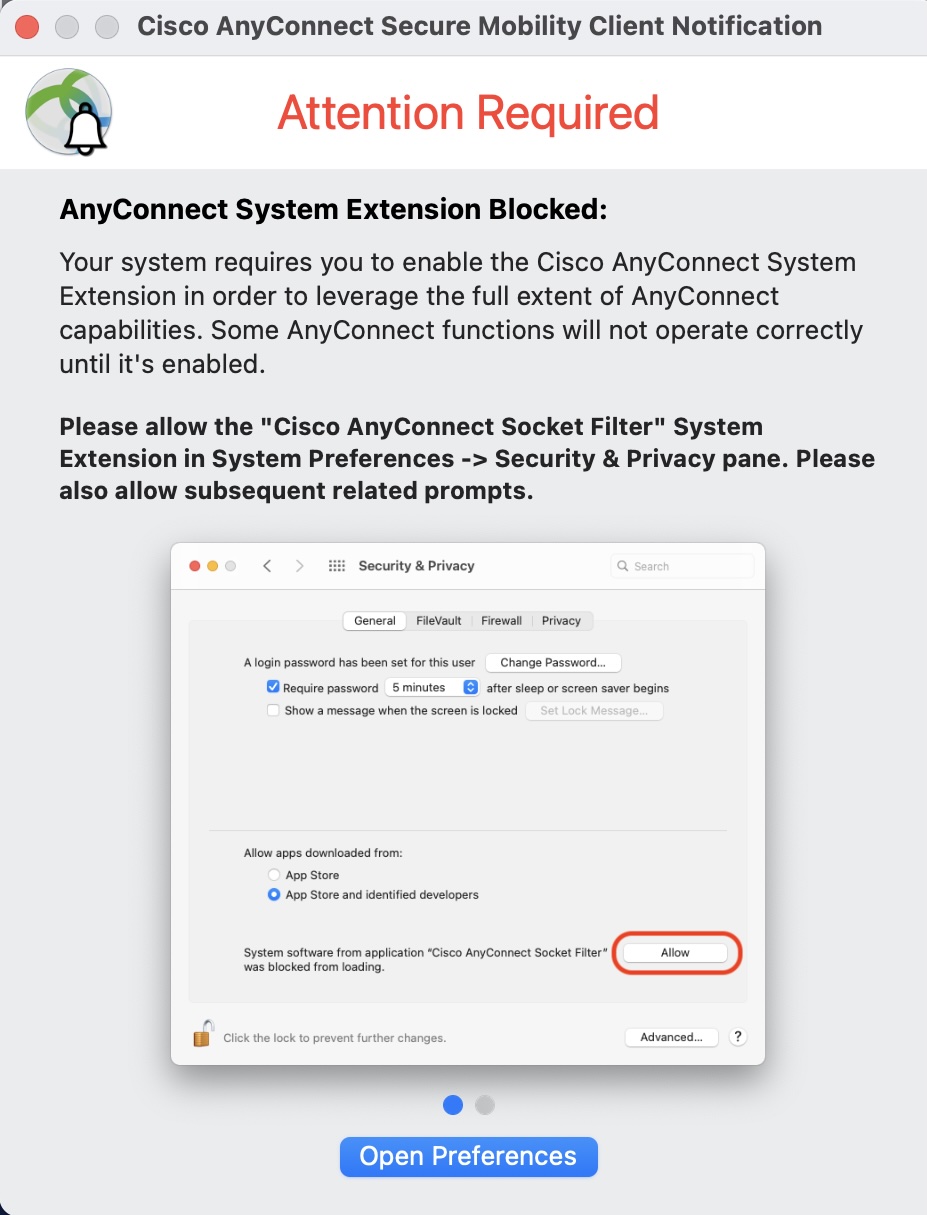
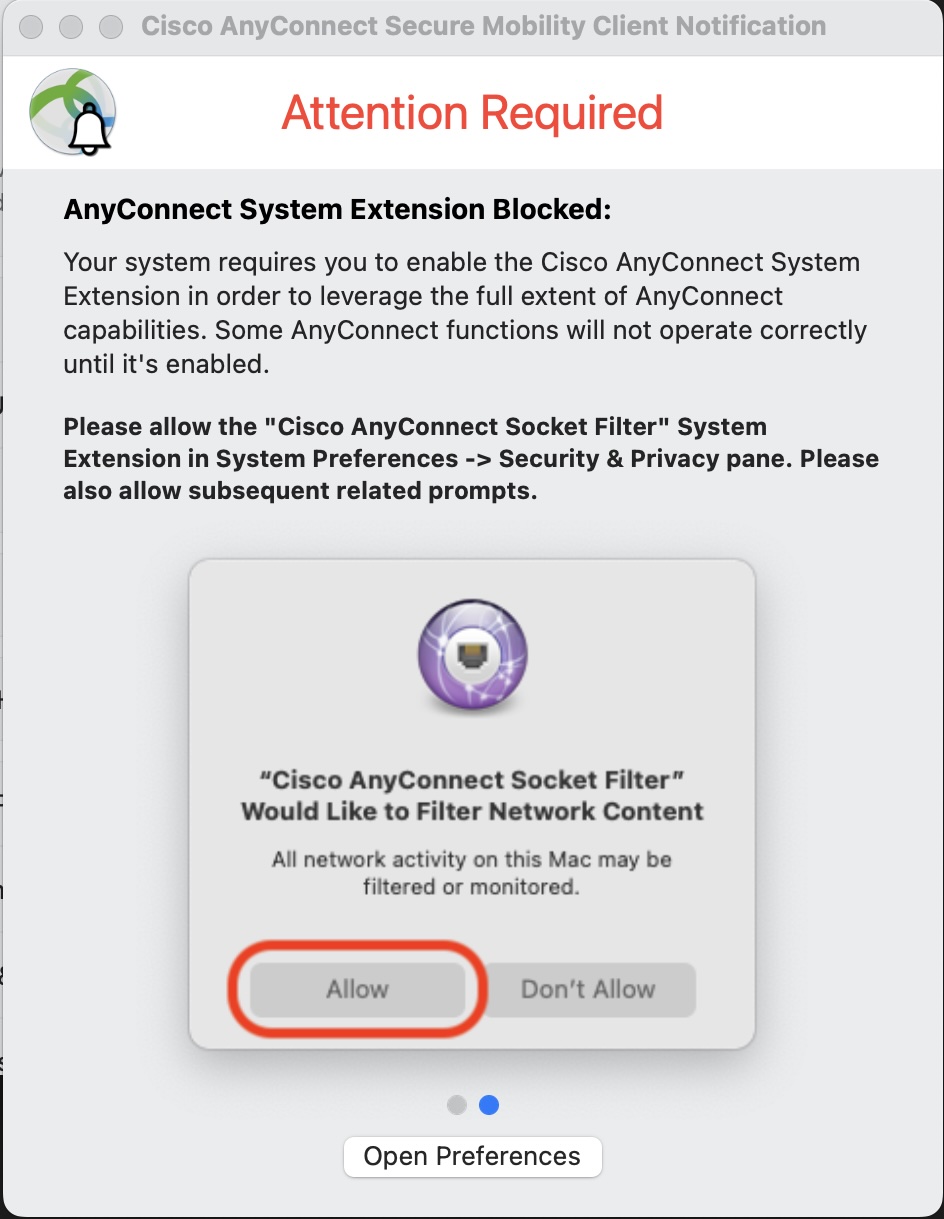
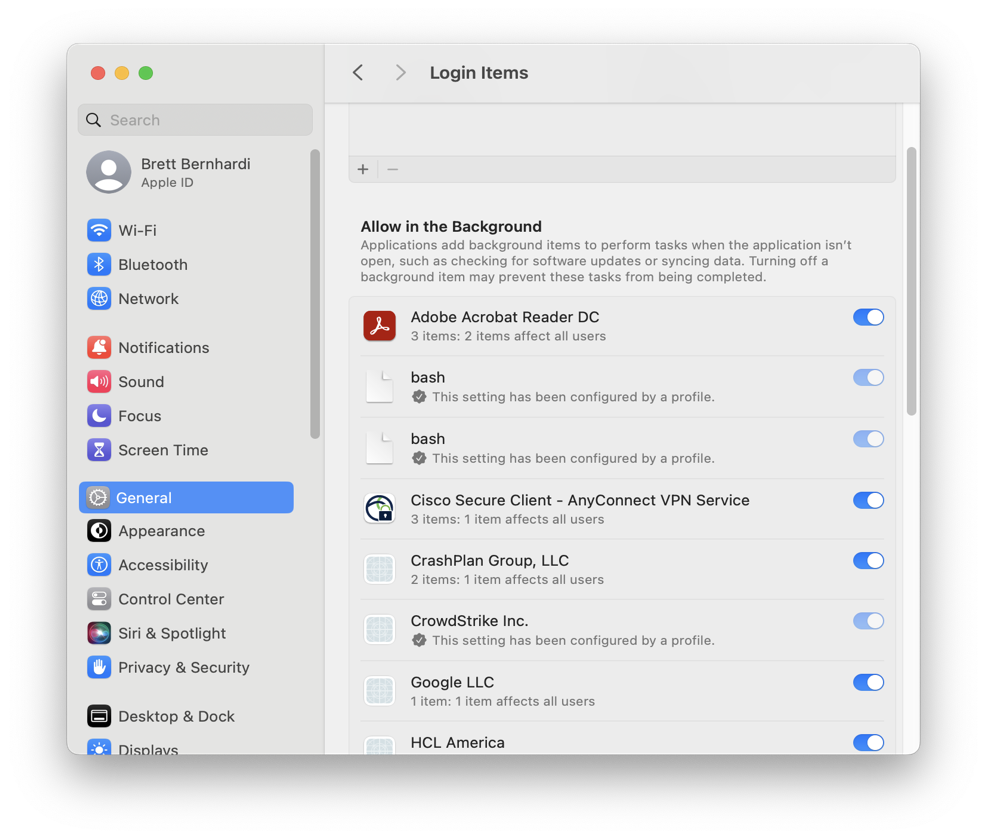
You will be prompted to enable the “Cisco Secure Client - Anyconnect VPN Service” in your system settings.
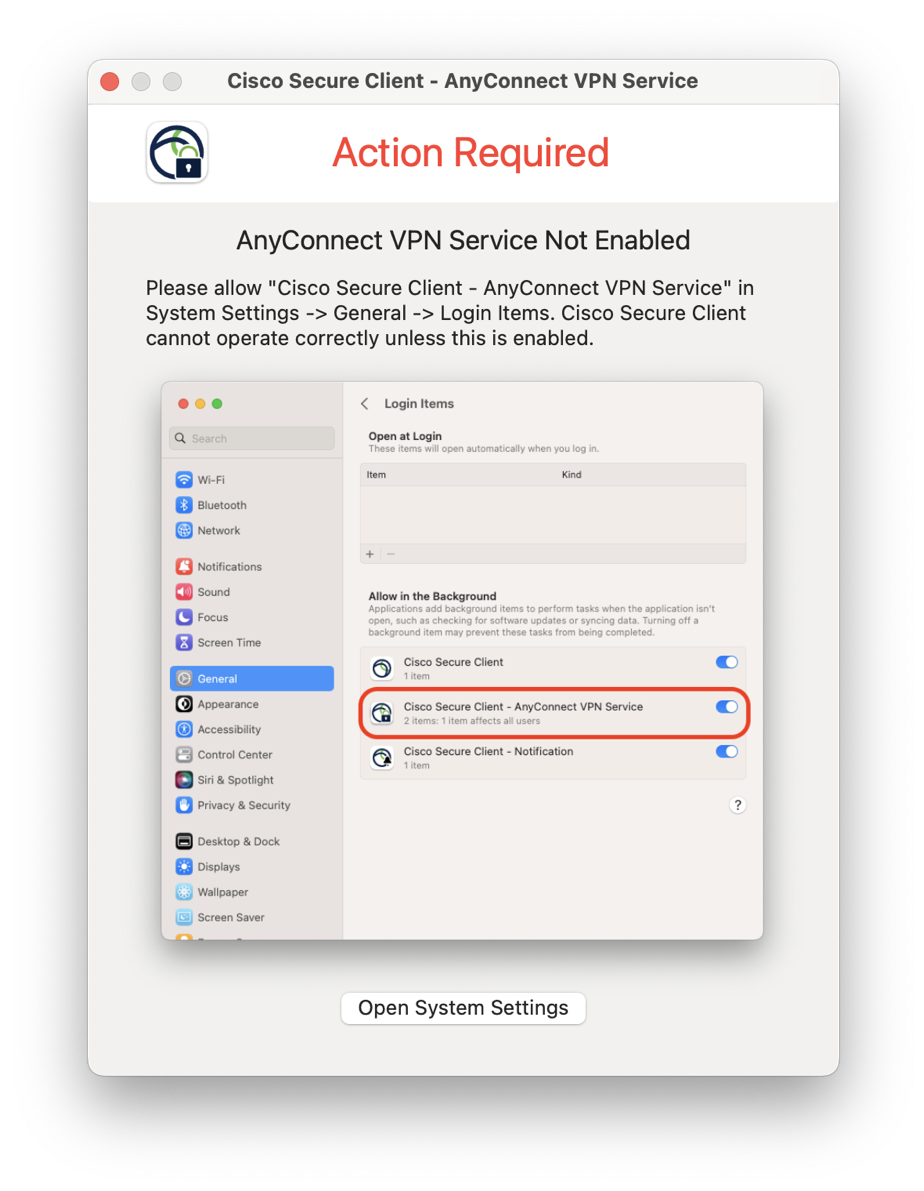
- To do that, open your “System Settings” and navigate to “General” and then “Login Items” and then click the switch to enable “Cisco Secure Client - Anyconnect VPN Service”:
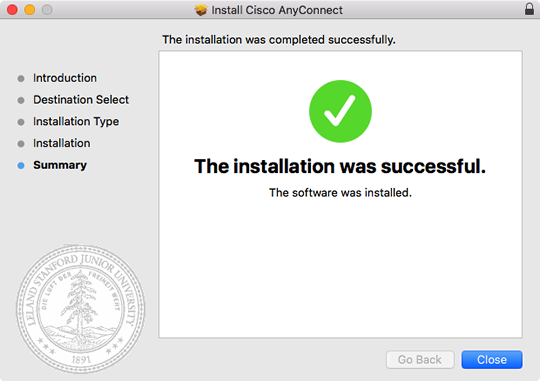
- When the software has finished installing, click Close.
Connect to the Stanford VPN
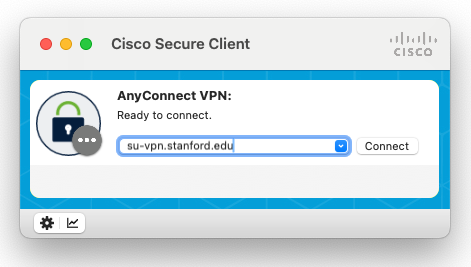
- To launch the VPN client, open your Applications folder and navigate to Cisco > Cisco Secure Client.app.
- When prompted for a VPN, enter su-vpn.stanford.edu and then click Connect.
- Enter the following information and then click OK:
- Group: select Stanford split- tunnel (non-Stanford traffic flows normally on an unencrypted internet connection) or Stanford-Full non-split-tunnel (all internet traffic flows through the VPN connection)
- Username: your SUNet ID
- Password: your SUNet ID password

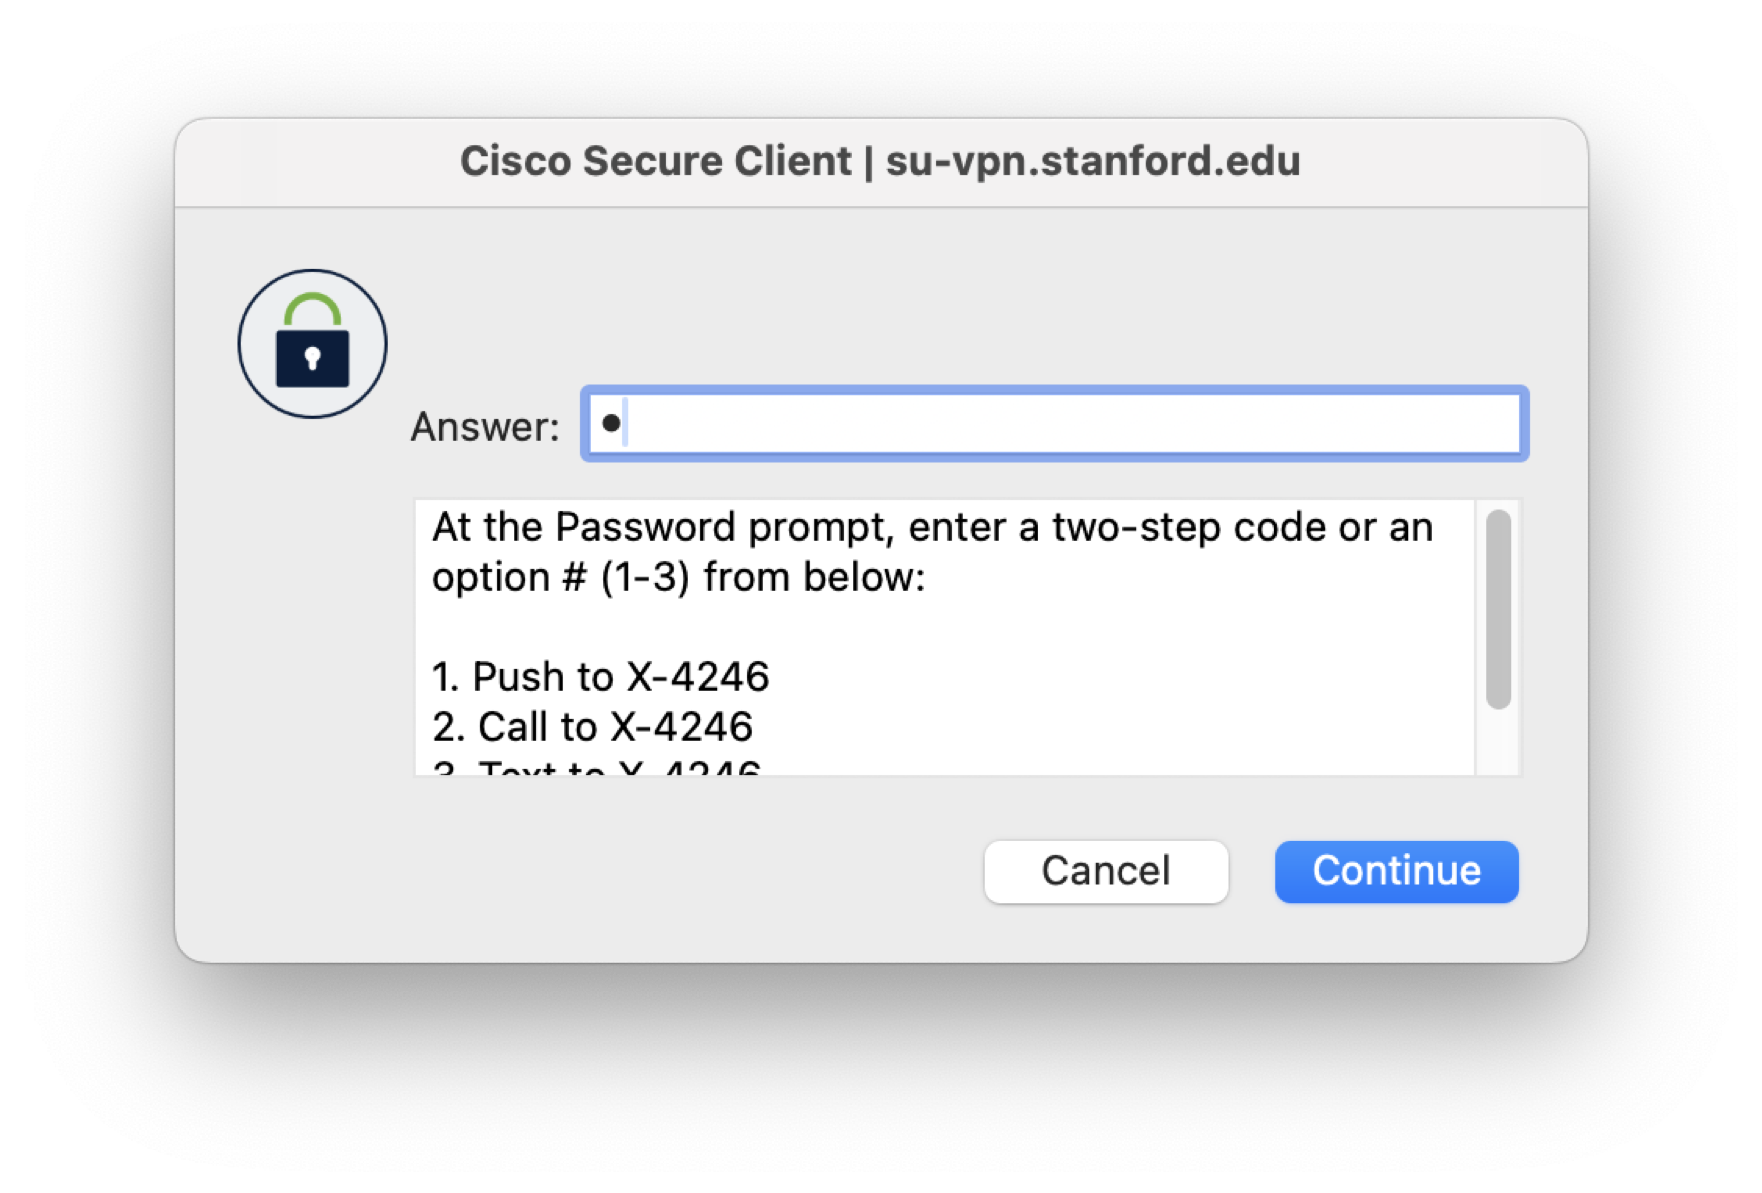
Next, the prompt for two-step authentication displays.
- Enter a passcode or enter the number that corresponds to another option (in this example, enter 1 to authenticate using Duo Push on an iPad). You may have to scroll down the list to see all of your options. Then click Continue.
- If your only registered authentication method is printed list, hardware token, or Google Authenticator, the menu does not display. Enter a passcode in the Answer field and click Continue.
- Once the VPN connection is established, the Cisco Secure Client icon with a small lock appears in the dock.

Disconnect from the Stanford VPN
- Click the Cisco Secure Client icon with a small lock.
- At the prompt, click Disconnect.
