SDR for Windows User Guide
When installing, you may see a "Windows protected your PC" alert. This is a standard security prompt for our new, secure client certificate. It's safe to click "More info" and "Run anyway."
Requirements
- An internet connection.
- Windows 10 or 11.
Note: The policy for minimum software versions at Stanford is N-2, the current version plus the two most recently supported versions available. For more information, go to sunset.stanford.edu. - If you are mandated to have an encrypted computer, SDR will require a Windows version with Bitlocker available (Pro, Education, Enterprise, etc.).
- To check if you can use Windows device encryption, follow these steps:
- In the search box on the taskbar, type System Information. Right-click System Information in the results list, then select Run as administrator. Or you can choose Start, and then under Windows Administrative Tools, select System Information.
- At the bottom of the System Information window, find Device Encryption Support. If the value says "Meets prerequisites," device encryption is available on your device.
- To check if you can use Windows device encryption, follow these steps:
Install SDR on Windows
Get started
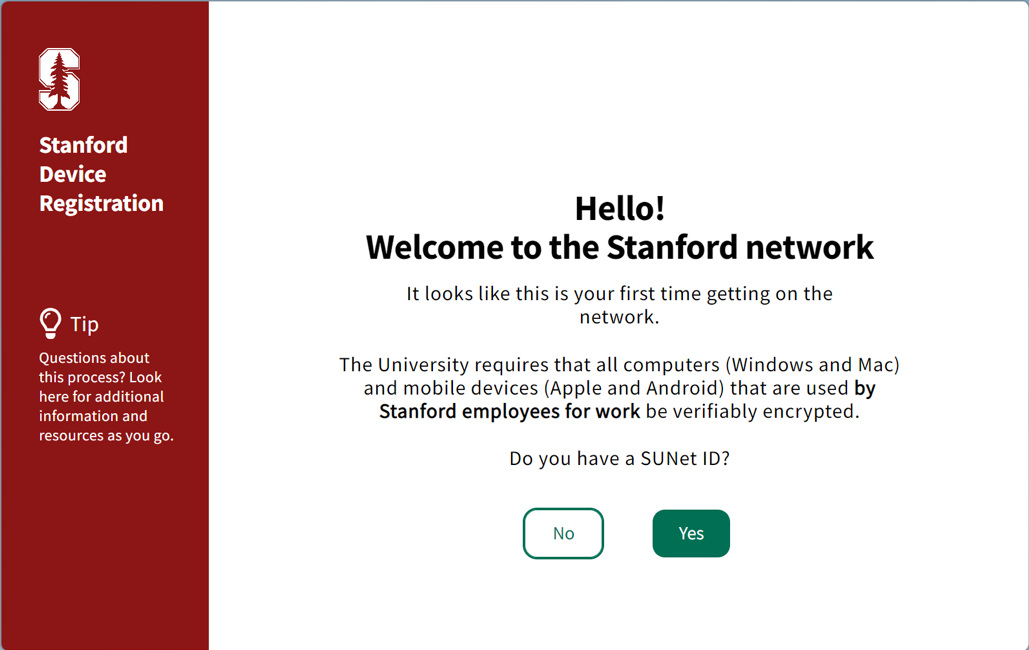
Download and run the installer.

- Select Yes to continue.
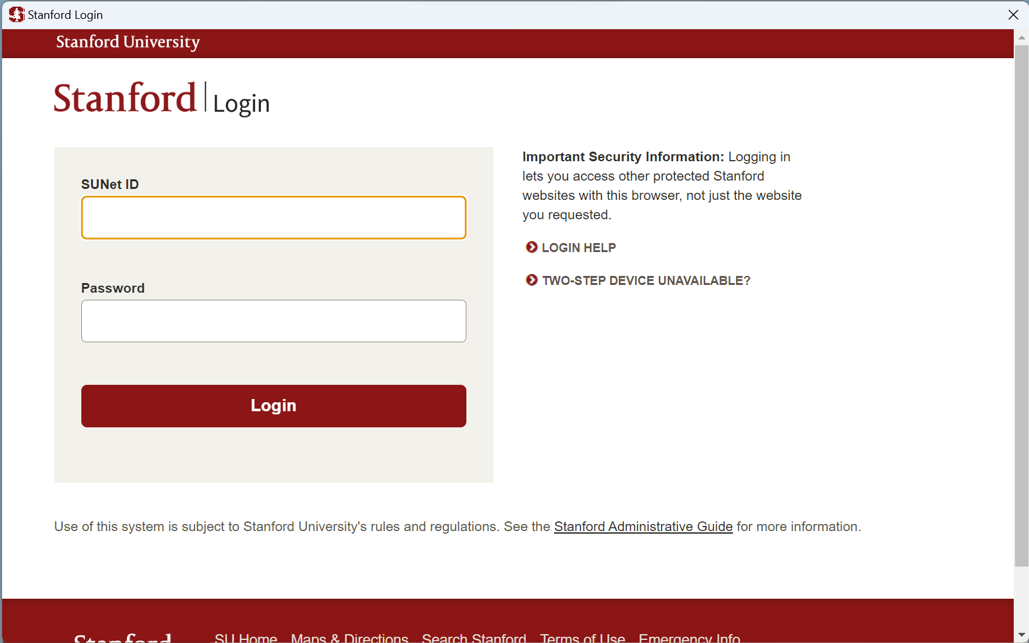
- Authenticate with your SUNet ID and password. Approve the Duo two-step when prompted.
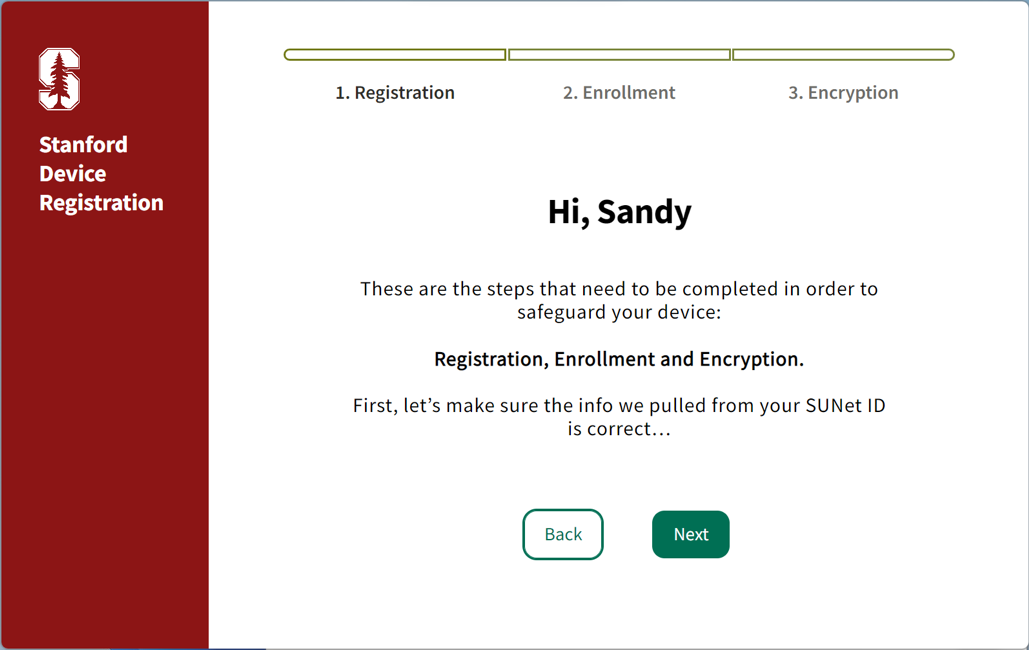
- For the following windows, click Next to move forward.
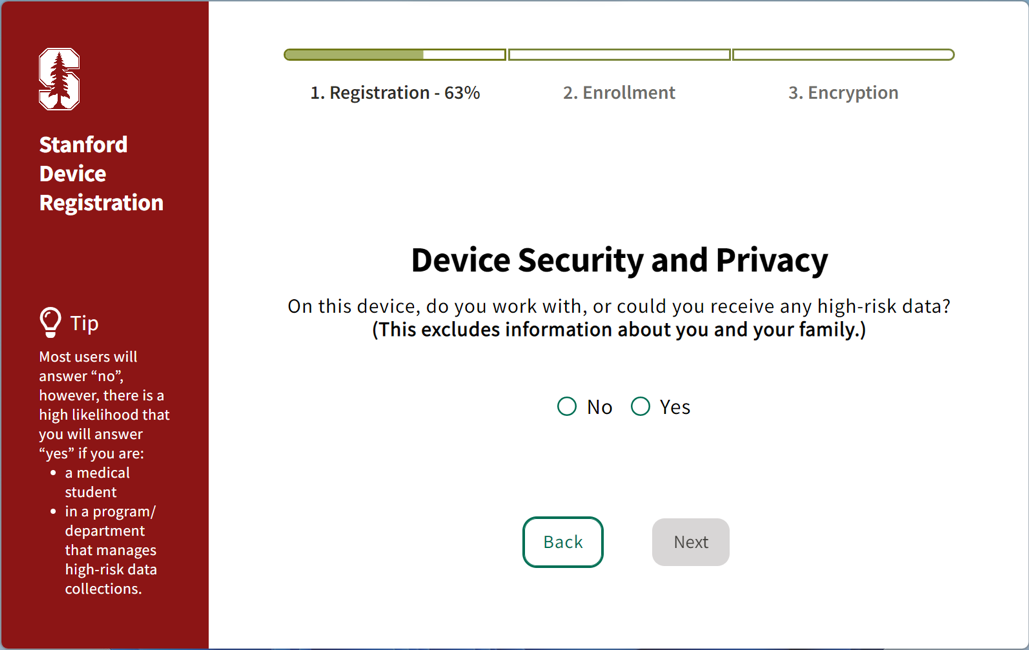
- Choose "No" or "Yes" and click Next.
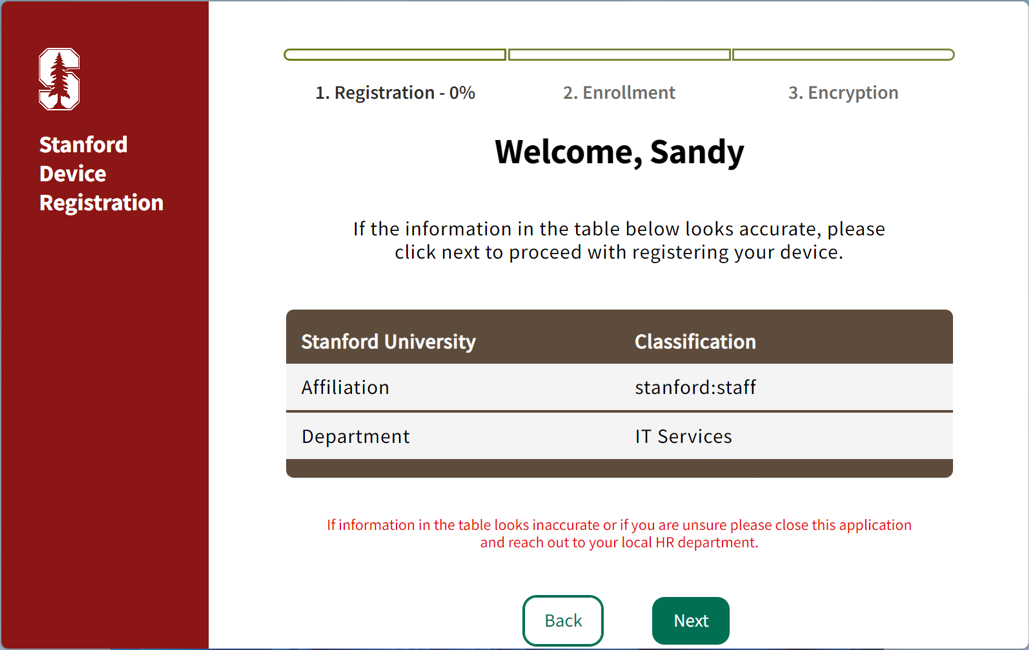
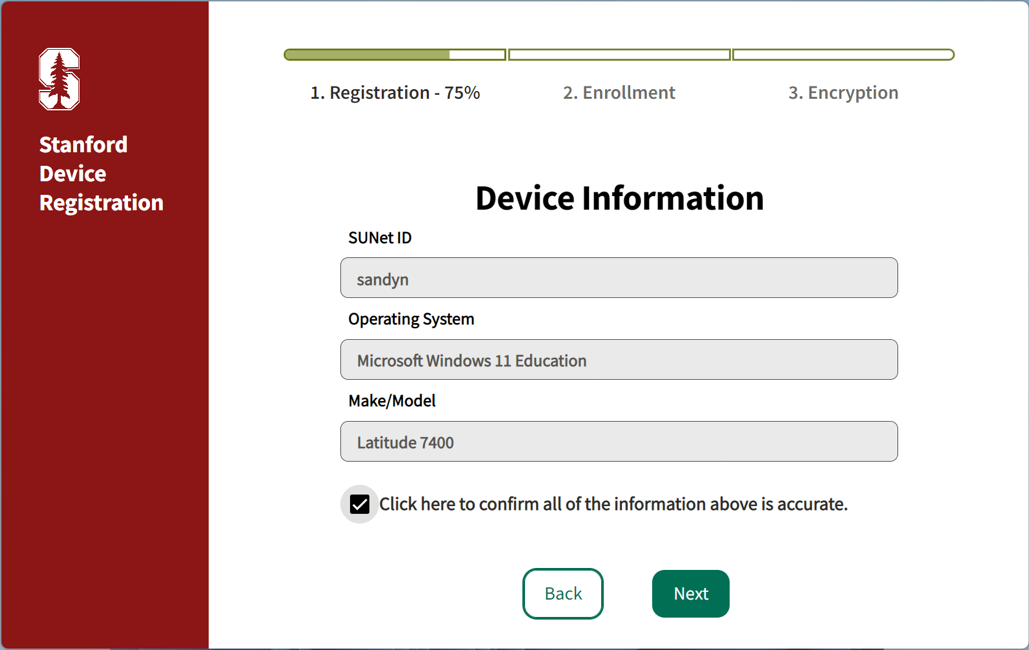
Your device information will load.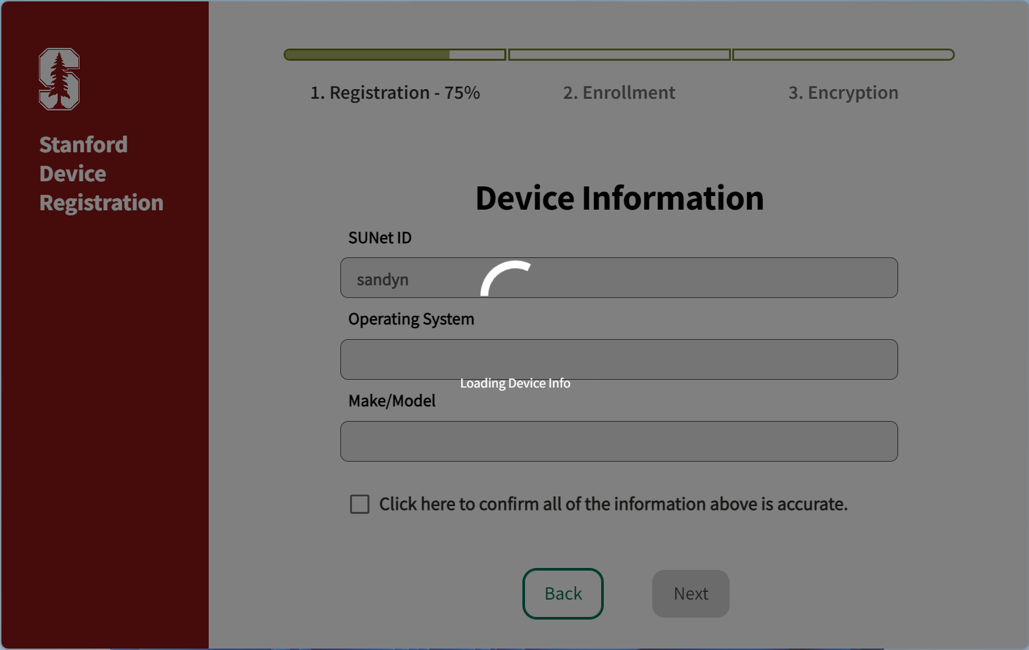
- Check the box and click Next.
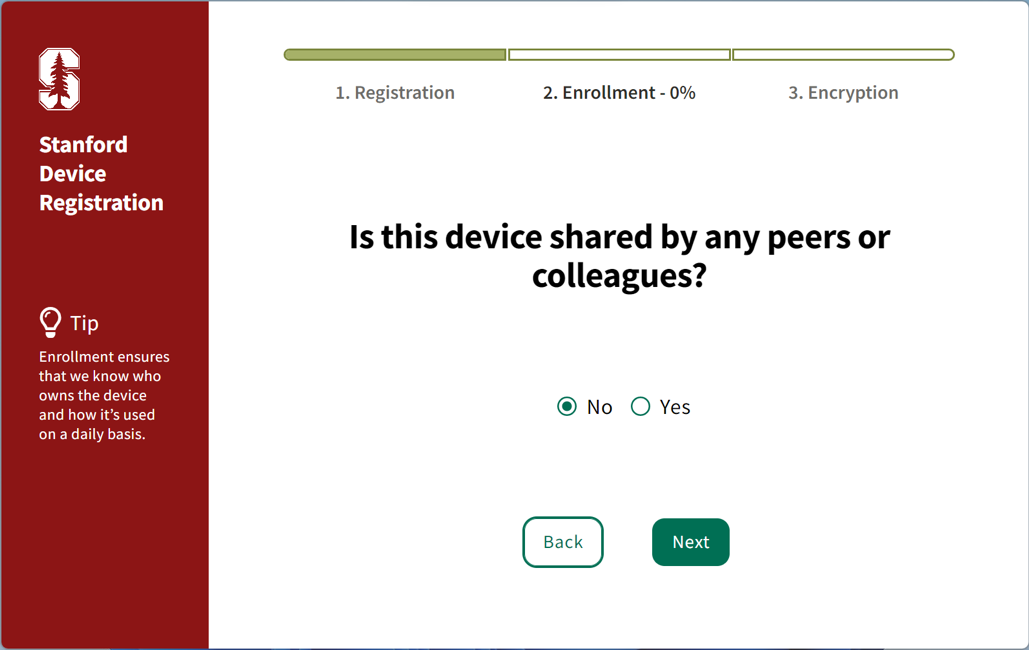
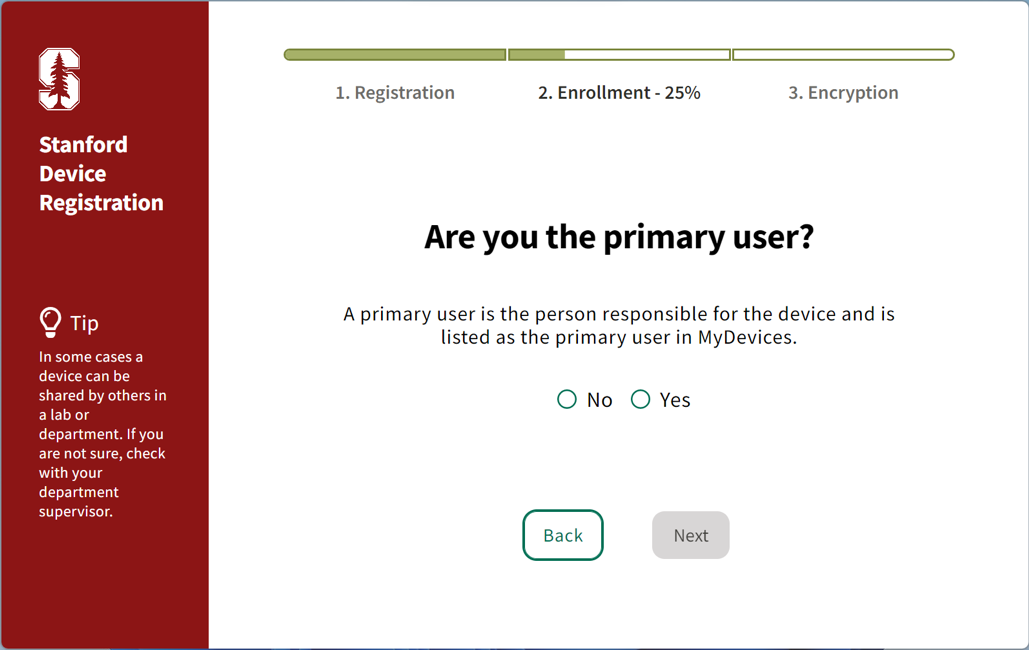
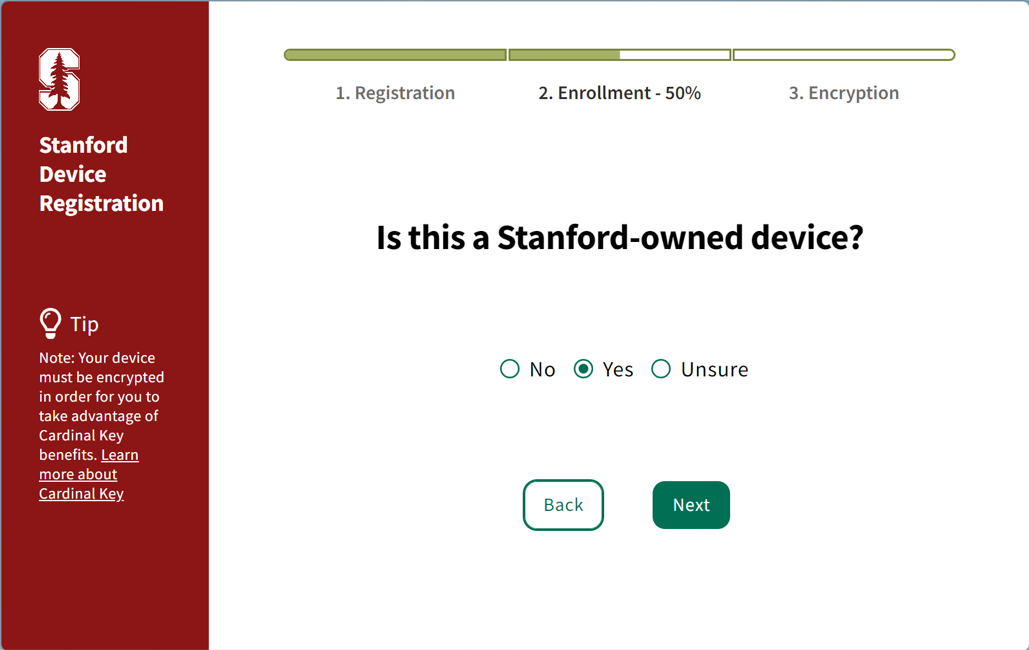
- Choose the answer that best matches your use case for each question and click Next.
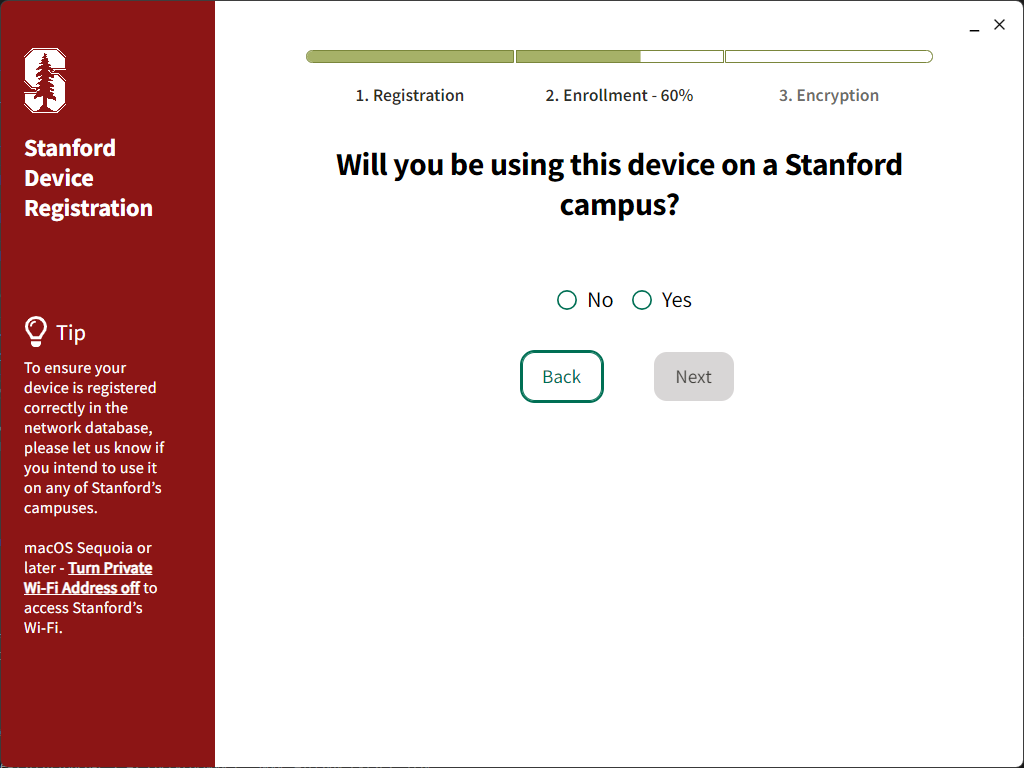
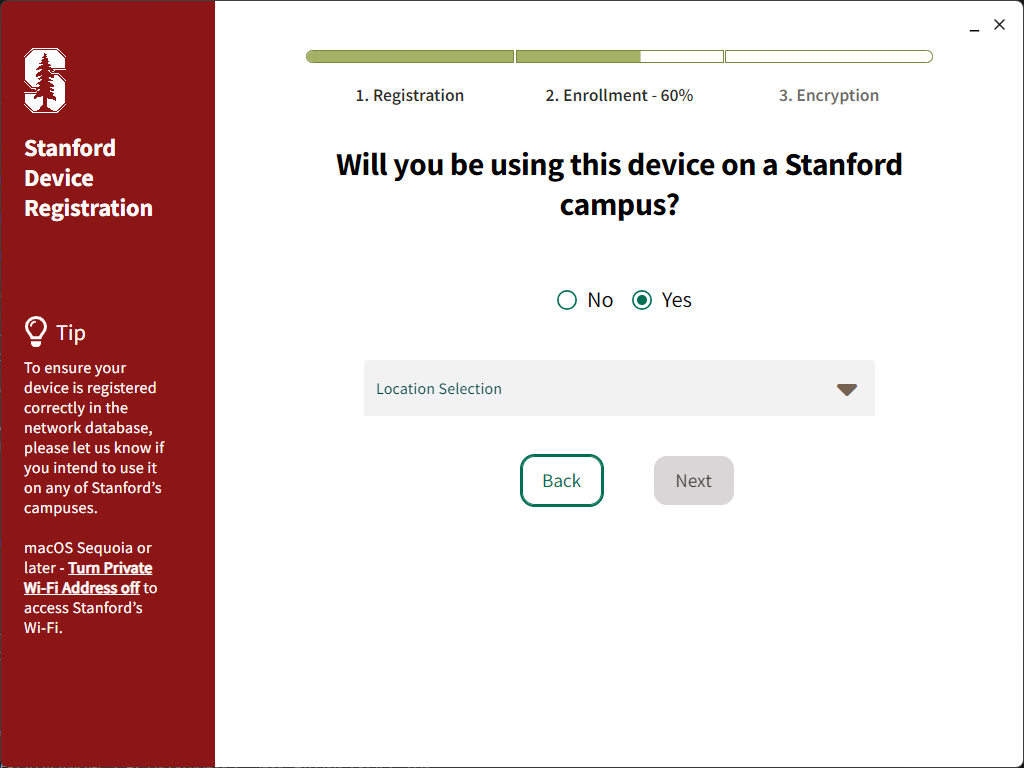
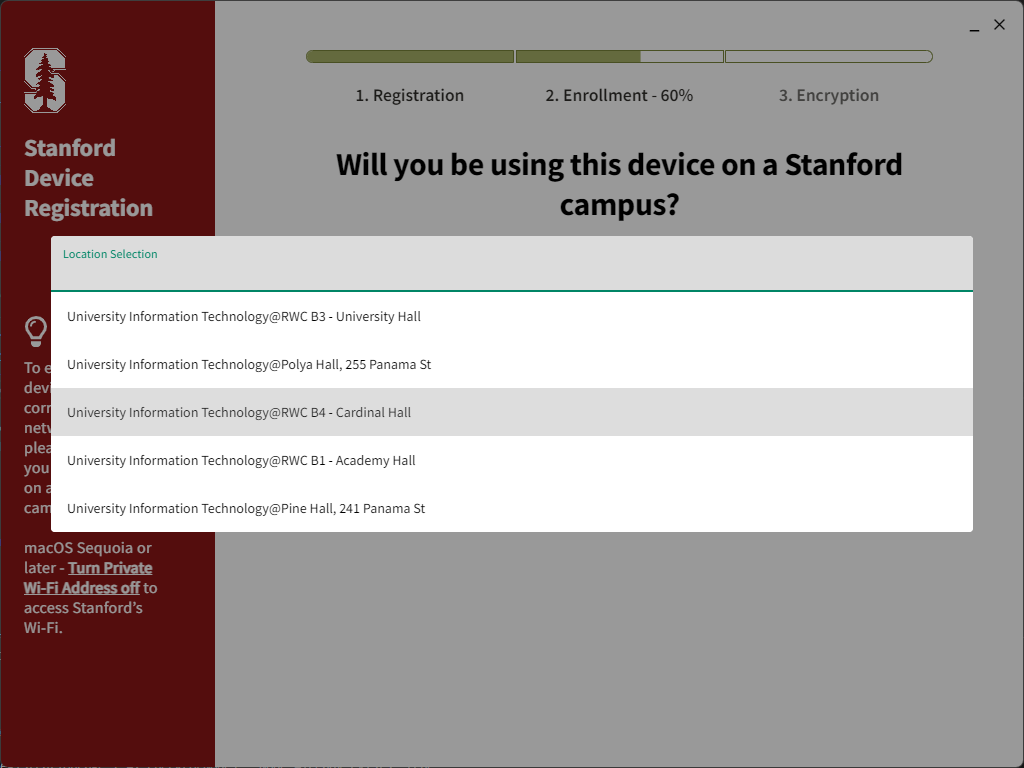
- The following question determines your device’s eligibility for Stanford network access. If you answer “Yes,” choose your on-campus work location.
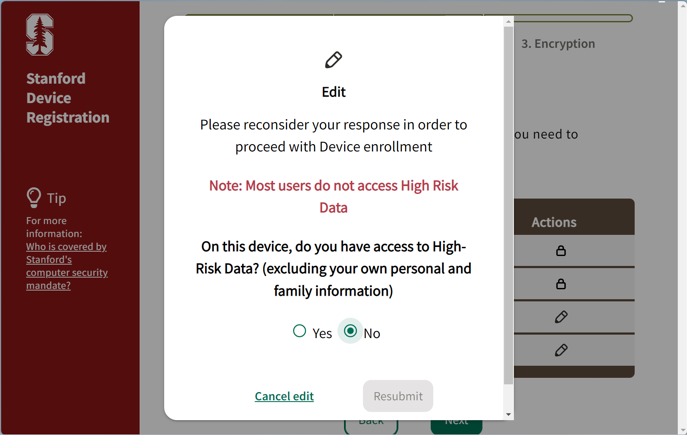
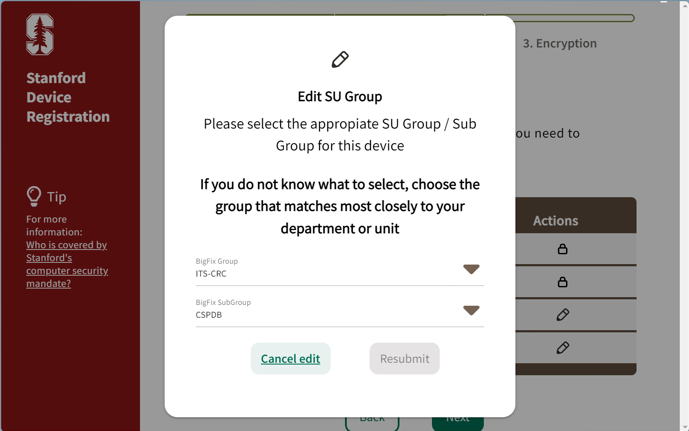
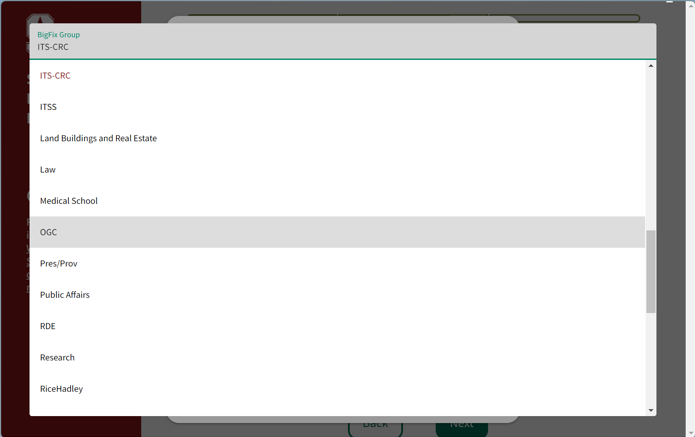
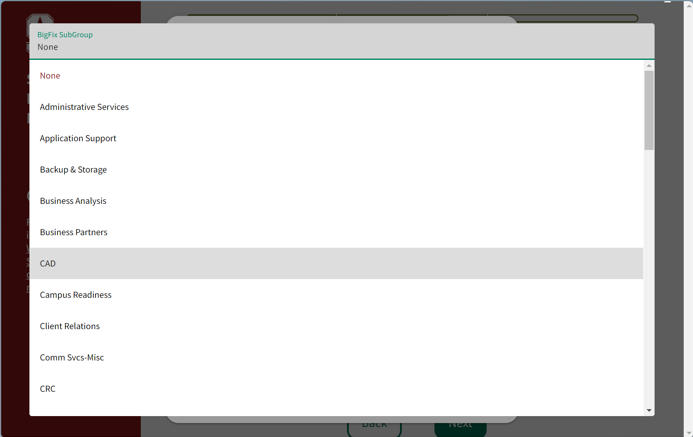
If the information looks accurate, click Next. Otherwise, click the pencil icon to edit your response and the SU Group selections.
Known issues: The affiliation row can get crowded based on the user's information.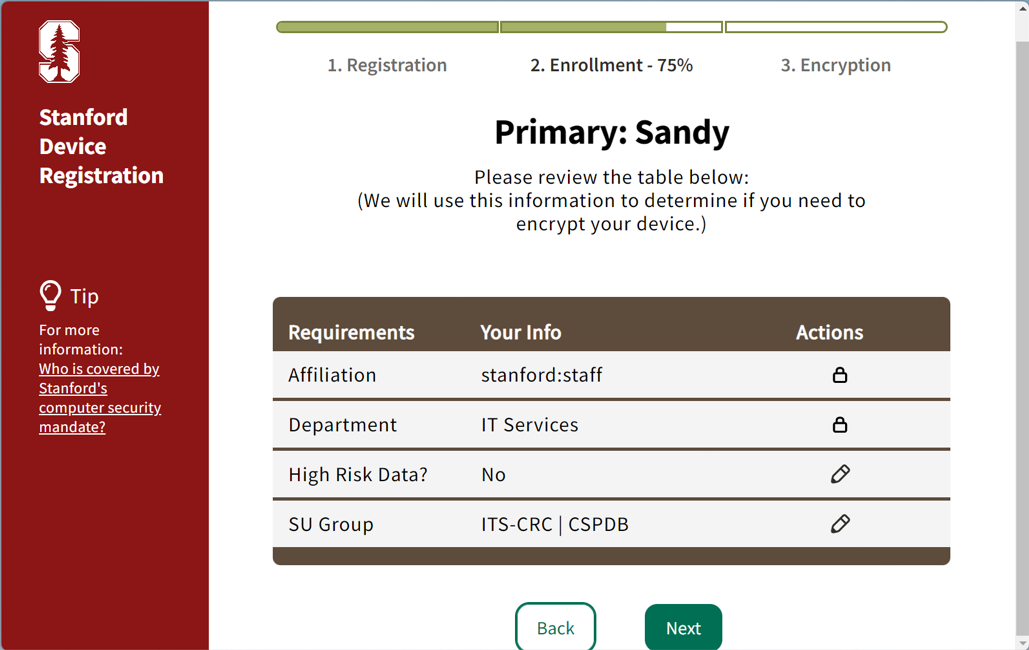
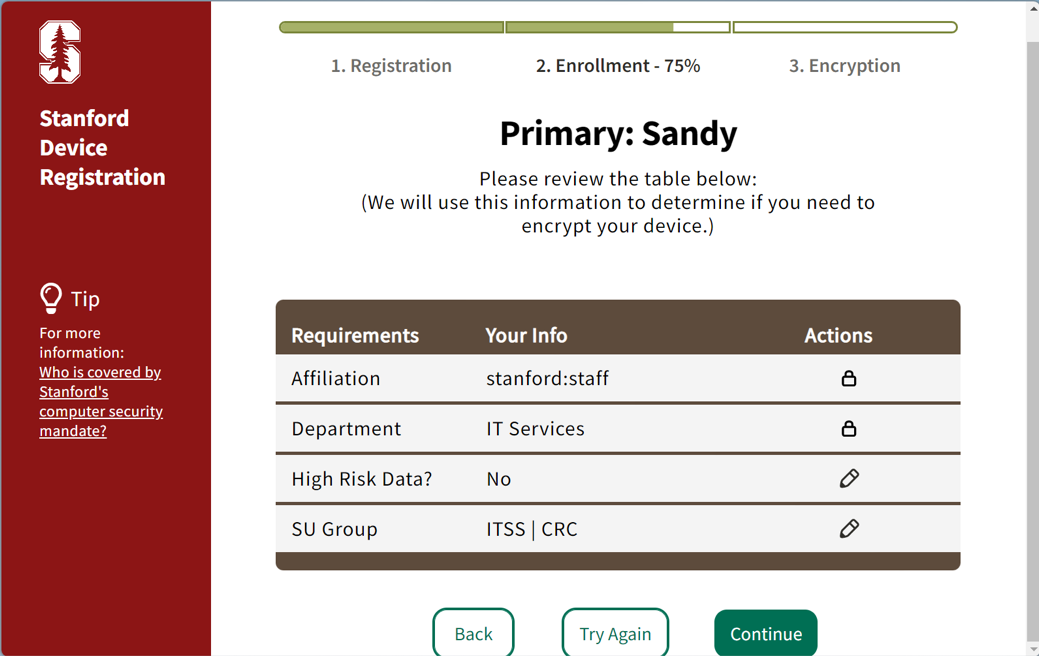
- Review your information. Then click Continue.
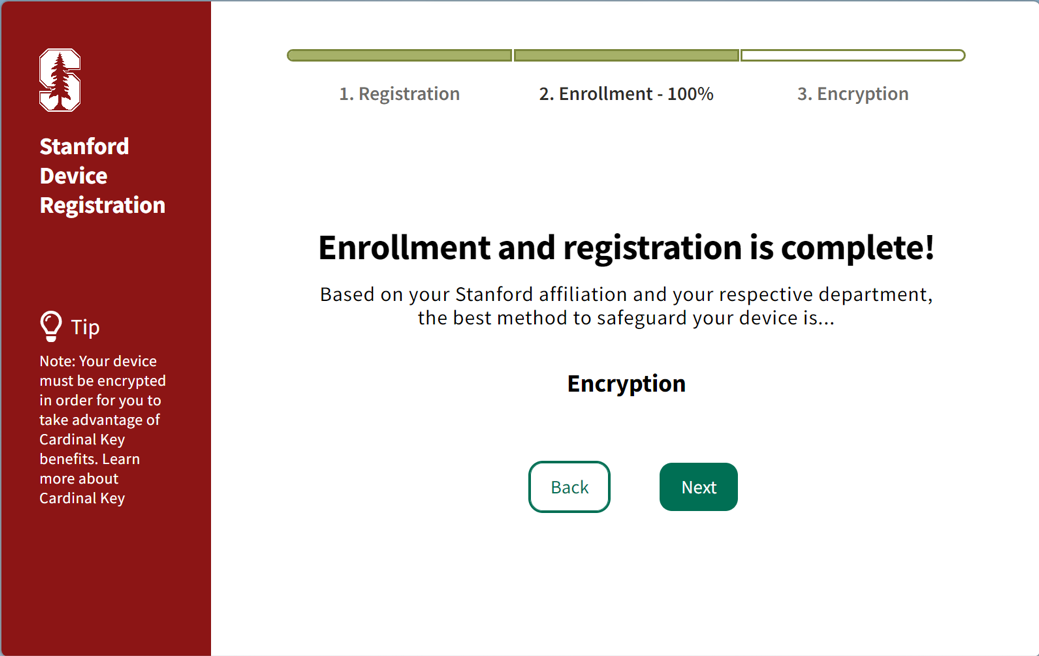
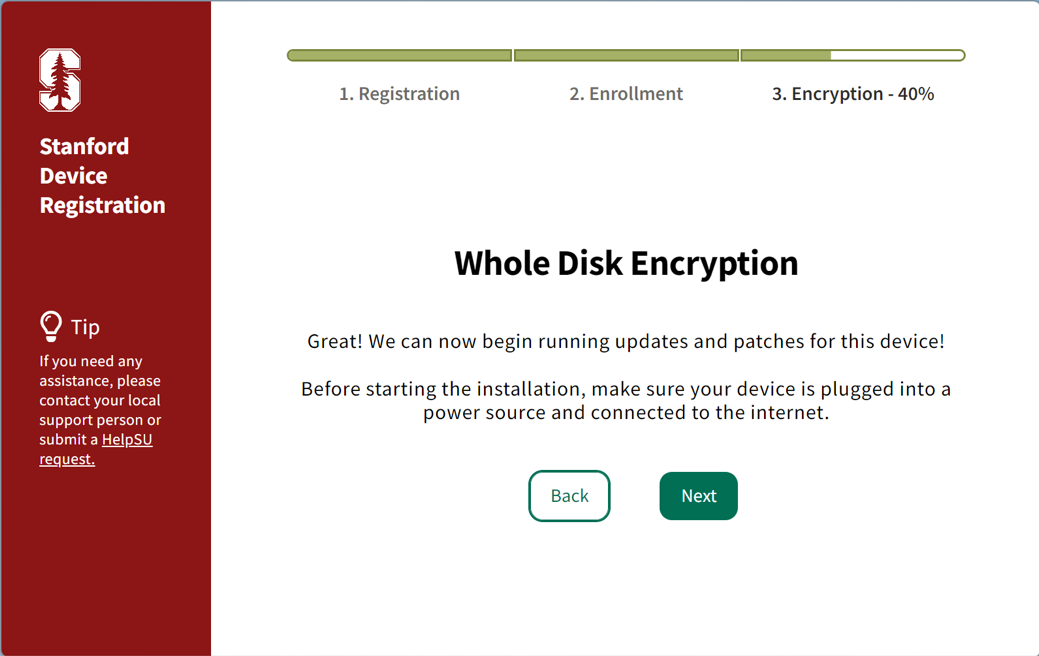
- The following four windows cover encryption if you are mandated to be encrypted. Click Next to move forward.
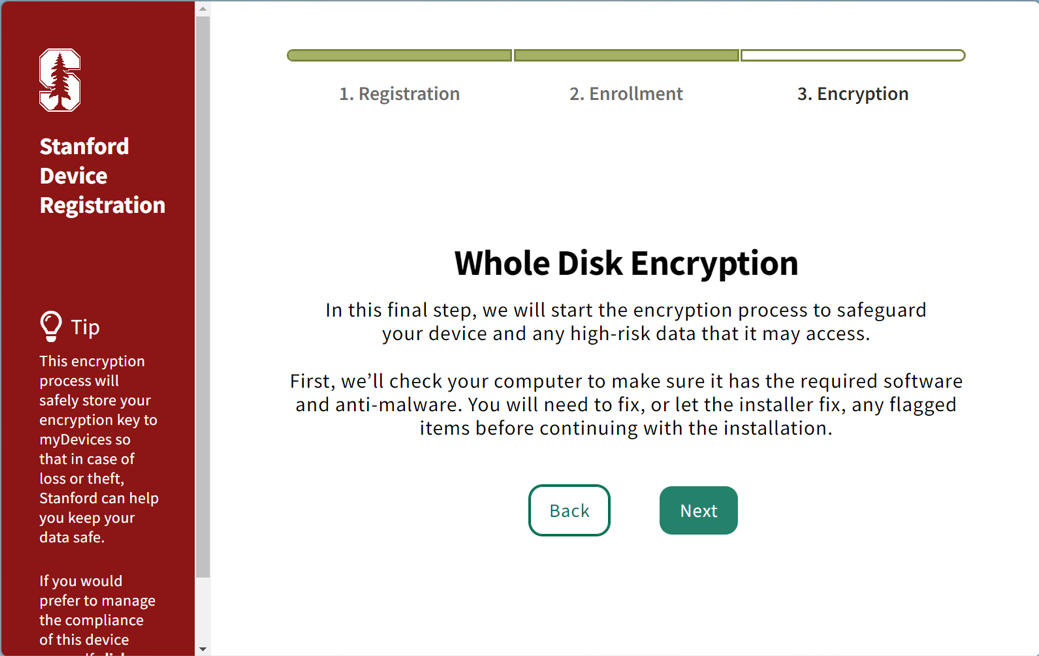
💡 Note: If you would prefer to manage the compliance of this device yourself, click the link in the left "Tip" section called "click here to install VLRE." You may need to scroll down on the left section to see the link.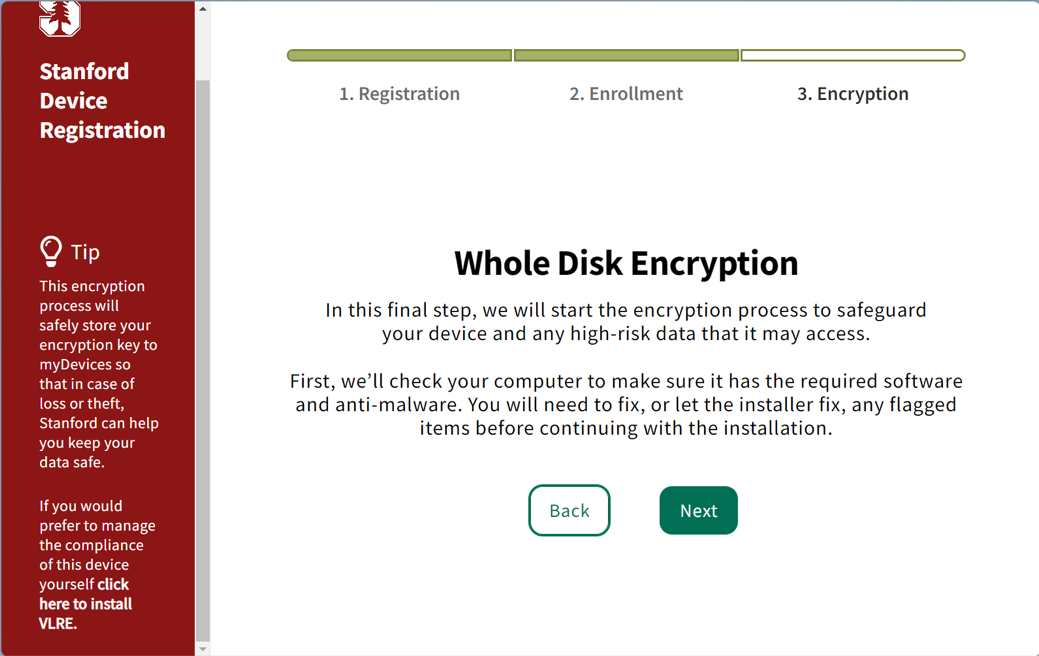
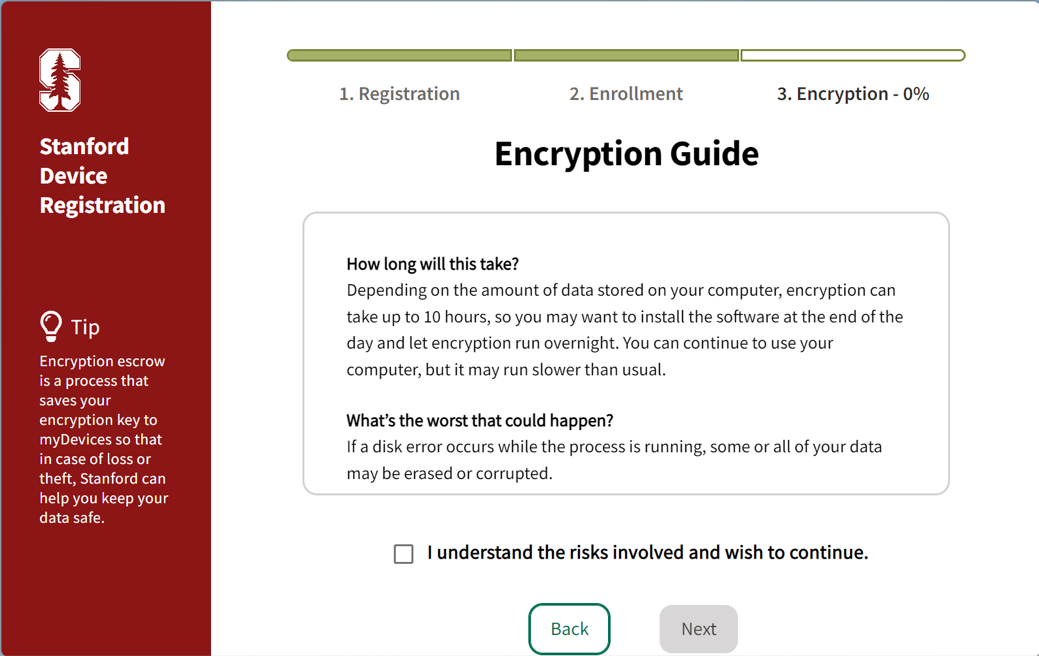
- Review the encryption guide, then check the box to continue.
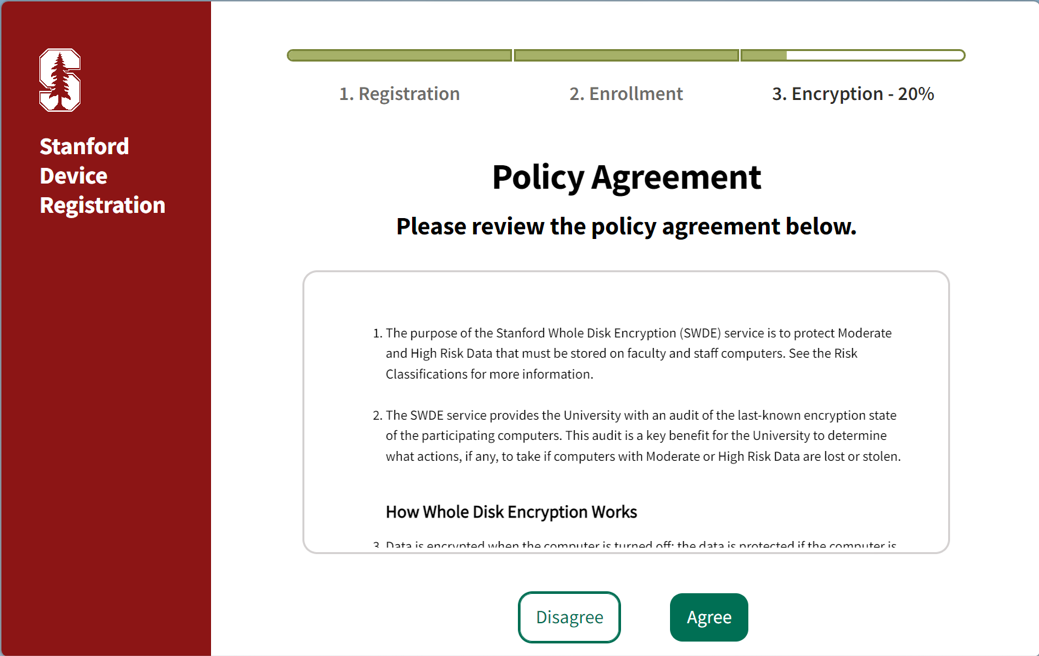
- Review the policy agreement, then click Agree to continue.
- Click Next to begin running updates, configurations, and software installs. Be sure your computer is plugged into a power source and connected to the internet.
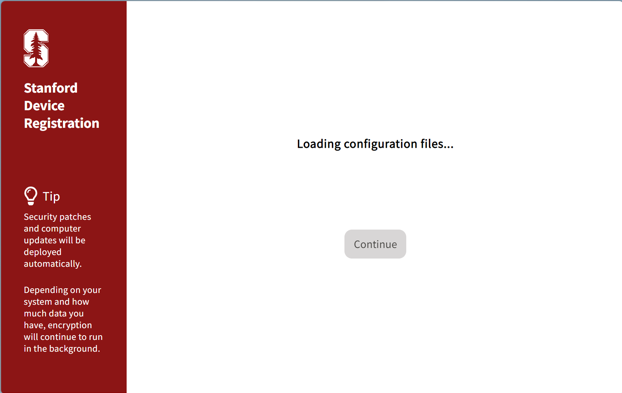
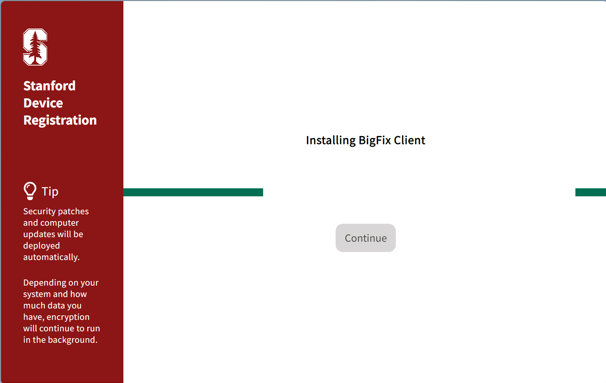
- Software and configurations will be installed. Expect this process to take two or three minutes.
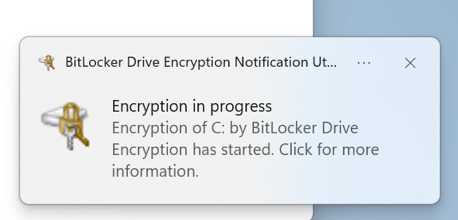
Note: During the encryption process, you'll see the BitLocker notification in the lower right corner.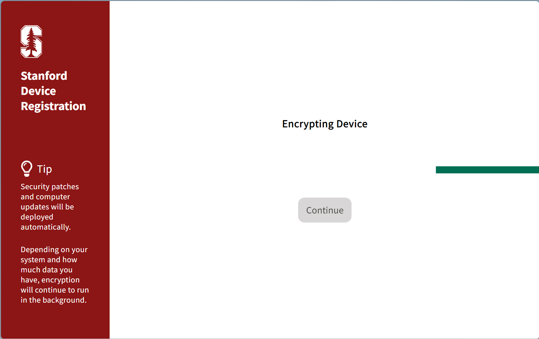
Note: A PowerShell window will pop up behind the application during the system updates. This window will go away by the end of the program. If the window remains open once you're done, you can close it.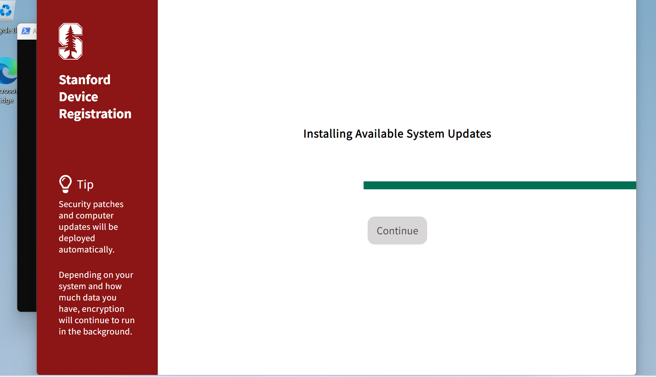

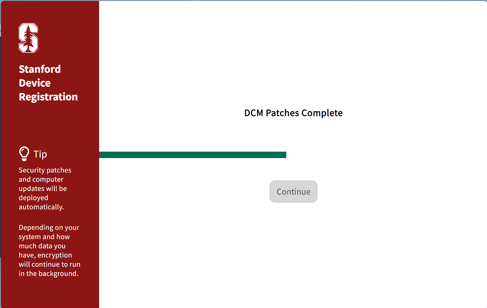
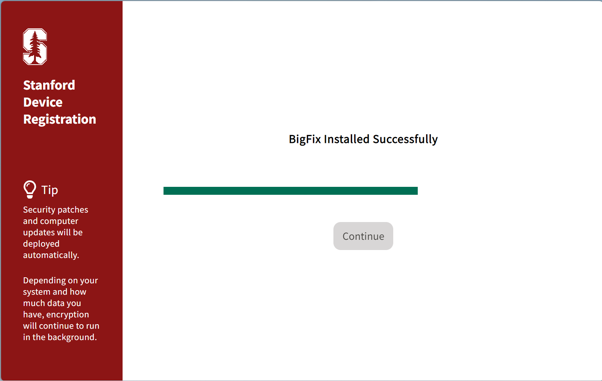
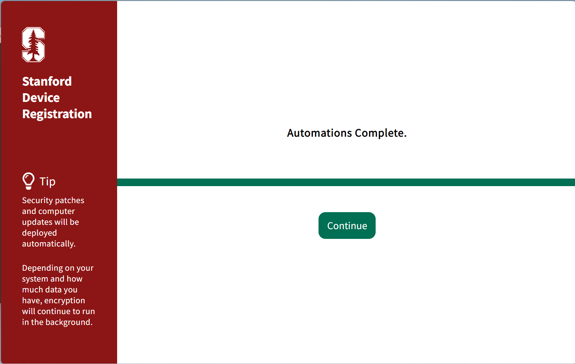
- Automations have been completed. Click Continue.
- Save your Bitlocker key by clicking on the download button
Bug: This doesn't work now, but you can grab a screenshot by pressing the Windows key + Shift + "S" or with your phone's camera.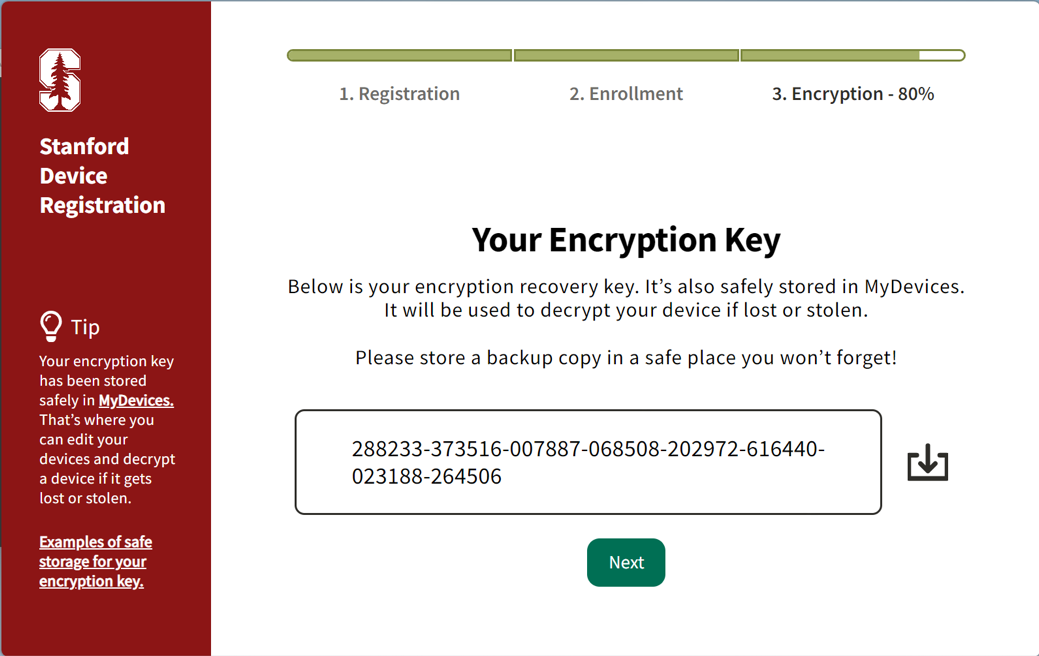
- Review your compliance requirements, then click Next.
Note: There is a PowerShell window that will open behind this window. It will go away as you proceed with the application. You can close it if it remains open when you are done with the process.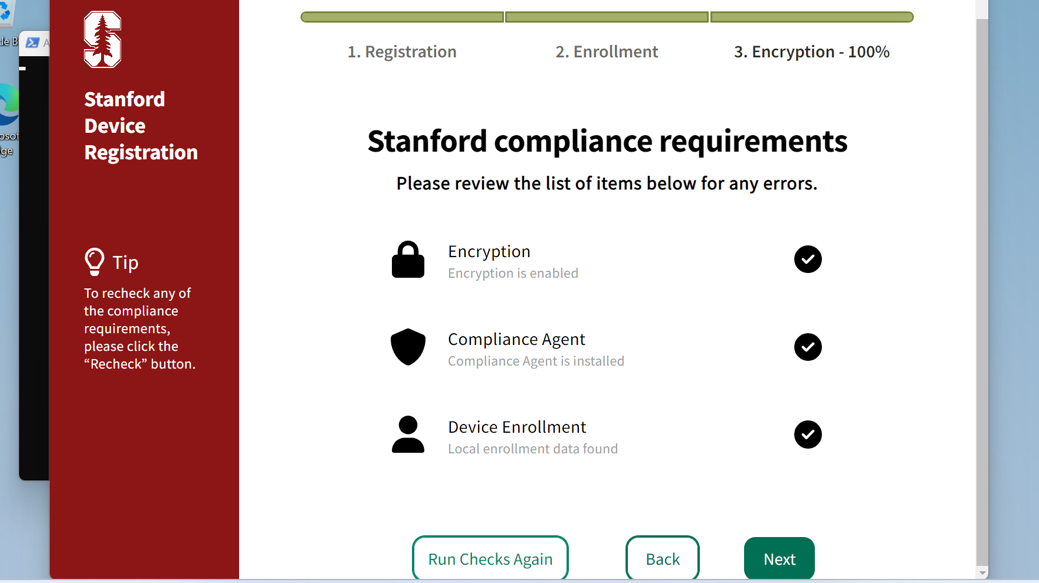
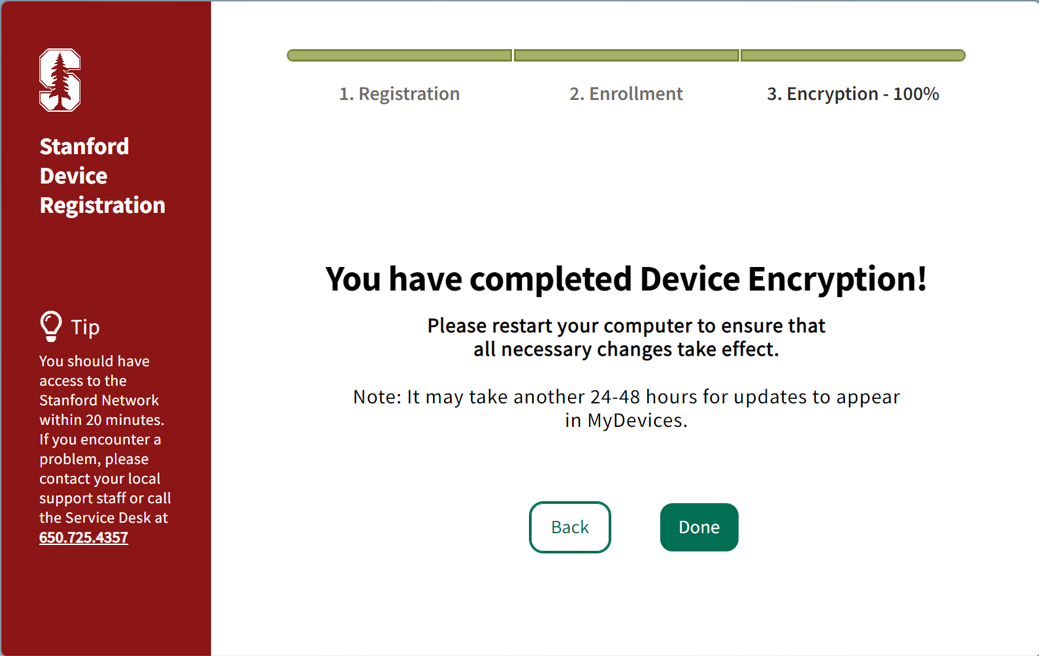
- That's all. Click Done to close the program.
Last modified