Manage PTS Groups
Overview
Note: This utility is used to create and manage personally defined pts groups. Groups created by the system administrators to manage group and department AFS folders cannot be managed through this utility.
A pts group is a list of SUNet IDs that are given a single name. It provides a way for you to grant permissions to a set of folders to many people with one command.
You own all the files and folders in your account, and you can determine who gets access to your files. You can create your own pts groups and then give them permissions to access your folders. When you create a pts group, you automatically become its owner. Only the owner of a group can add members, remove members, or delete the group entirely.
In AFS, permissions are set by folder, not by file. Every file in a folder has the same permission. New sub-folders inherit the permissions of their parent folders. There is no restriction on the number of members in a pts group.
Open the Manage PTS Groups utility
- Navigate to Applications > Stanford > AFS and click AFS Controller to display the Mount AFS Volume window.
- On the File menu, click Manage PTS Groups.
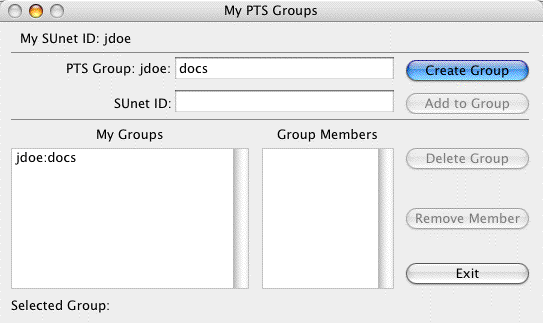
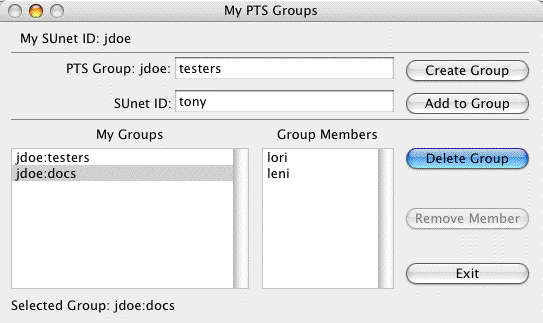
Create a PTS group
- In the PTS Group box, enter a name for your group and then click Create Group.
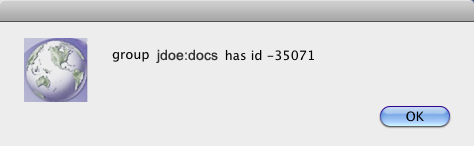
- If you see a message listing the group id, click OK.
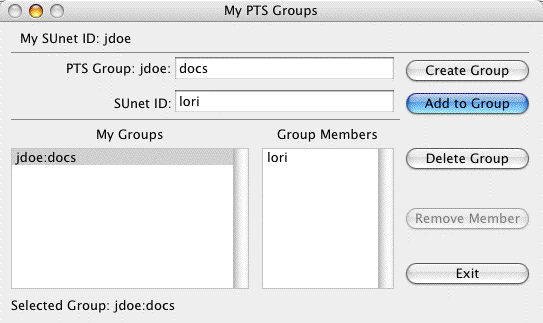
Add a member to a PTS group
- To add a member to a group, click the group name in the My Groups column.
- In the SUNet ID box, enter the SUNet ID of the person you want to add to the group. (This must be a true SUNet ID, not an alias.)
- Click Add to Group. The SUNet ID of the person added appears in the Group Members column.
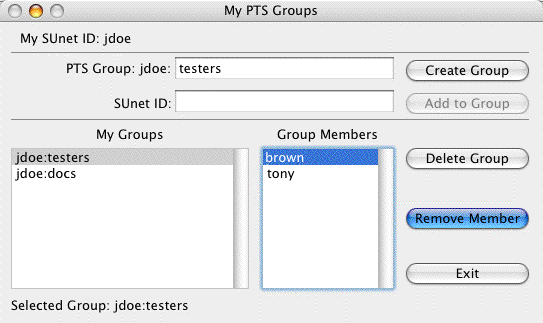
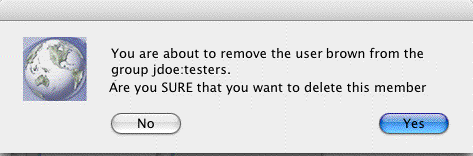
Remove a member from a PTS group
- To remove a member from a group, click the group name in the My Groups column.
- In the Group Members column, click the member you wish to remove.
- Click Remove Member.
- Click Yes to remove the member from the group.
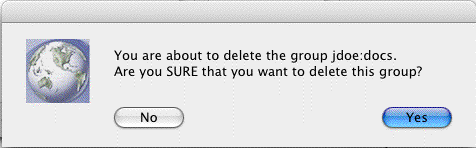
Delete a PTS group
- Click the name of th egroup you want to delete in the My Groups column.
- Click Delete Group.
- Click Yes to delete the pts group.
Set folder permissions for a PTS group
- Start AuriStorFS to access AFS on your Mac.
- Navigate to the folder where you want to give permissions to a pts group, and check the box to the left of the folder icon.
- Under Actions, click Set Permissions for Folder.
- When Permissions Manager opens, enter the name of your pts group in the text box. The name must start with your SUNet ID and a colon.
- Check the boxes for the permissions you want to grant to the members of the pts group.
Note: See More about Permissions for descriptions of each permission.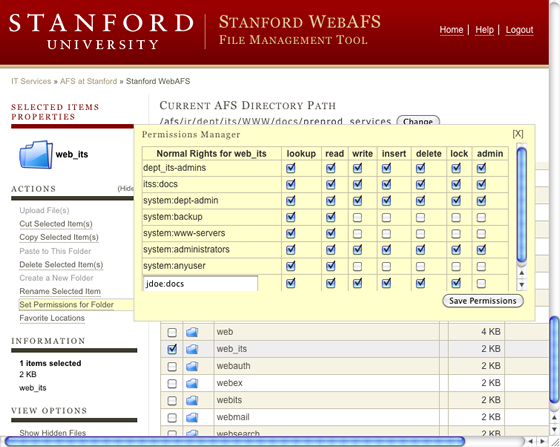
- Click Save Permissions.
Note: You can also set folder permissions from the UNIX command line. First, make sure you are logged into Kerberos. Then, log into one of the shared UNIX workstations. See Setting Permissions with UNIX for more information.