Skip to content Skip to site navigation Skip to service navigation

Connecting to Stanford's Wireless Network with Mac OS X

Note: See the Wireless Network and Services site for information about wireless locations on campus.

Before you begin

To access Stanford's wireless network, you will need the following:

  • A valid SUNet ID or wireless guest account*
  • Your Mac OS X computer
  • An 802.11g, 802.11n, or 802.11ac compatible wireless adapter

*If you do not have a SUNet ID, please follow the instructions on the Access for Stanford Visitors web page.

Register your wireless system (or device)

For Faculty and Staff, and Students living off-campus

You should see the Stanford Network Self-Registration page when you first attempt to connect your computer to the Stanford Network. The instructions below walk you through the self-registration process; if for any reason they don't work for you, contact your Local Network Administrator (LNA) or submit a Help Request. See Getting additional help at the end of this page for details.

Registration instructions

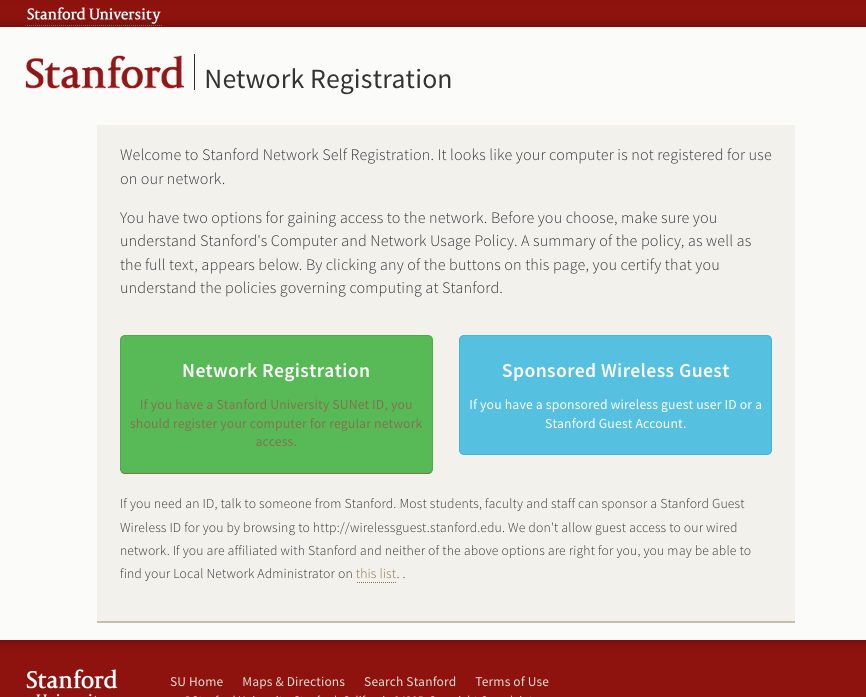
  1. From within a Stanford wireless-enabled location, connect to the Stanford wireless network (for assistance, see Connecting to the Stanford Network), open a web browser and point it to any page. Instead of your target URL, the Stanford Network Self-Registration page is displayed. Click Continue to Registration.

    begin network self-registration

  2. The Stanford University Network Options page is displayed. Click Network Registration.

  3. When the login screen is displayed, log in with your SUNet ID and password.
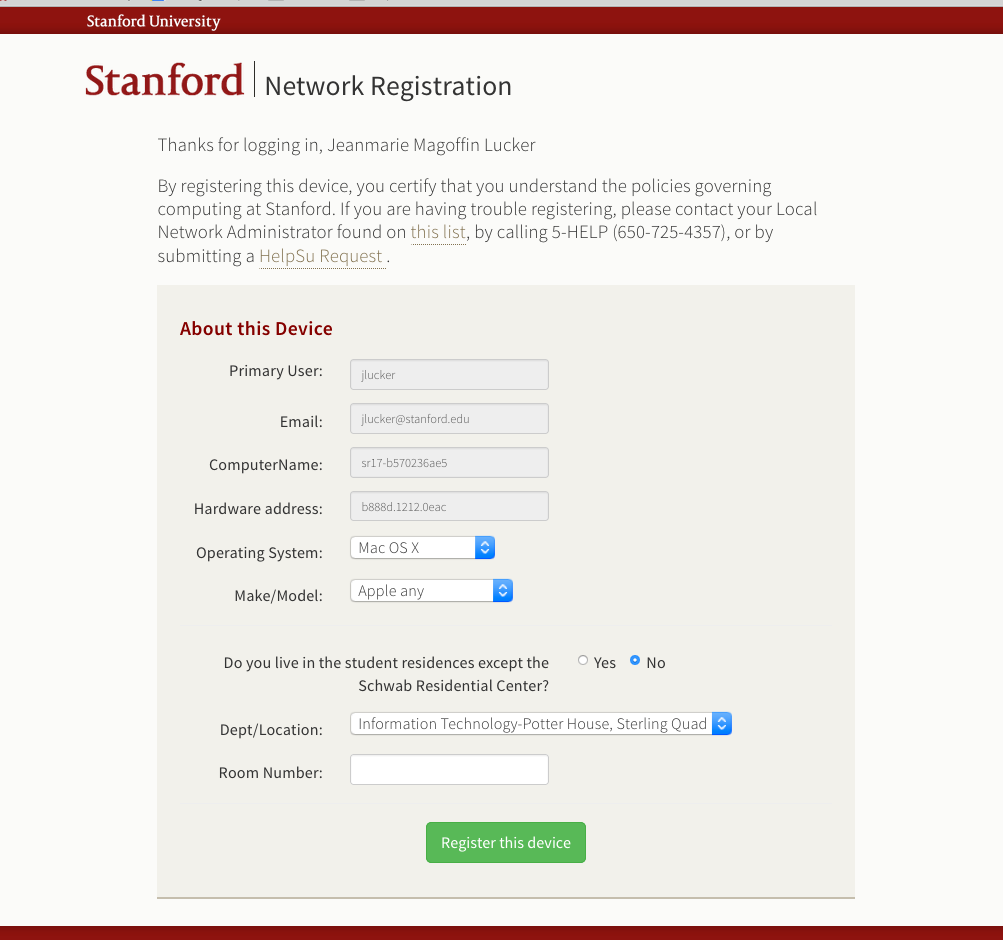
  4. The system auto-fills your SUNet ID, email, and your computer's unique identifier. You will be asked if you live in the student residences,  the operating system of the device,  the make/model of the device, and your department.  Once complete, click Register this device to proceed.  If you need help filling in this information, click the HelpSU Request link.
    • Dept./Location: Select the department or location that most closely corresponds with where you will typically use the computer (required).
    • Room Number: Enter your room or office number. If you don't know the exact room or office number, enter a very brief description of where you will be using the computer. 
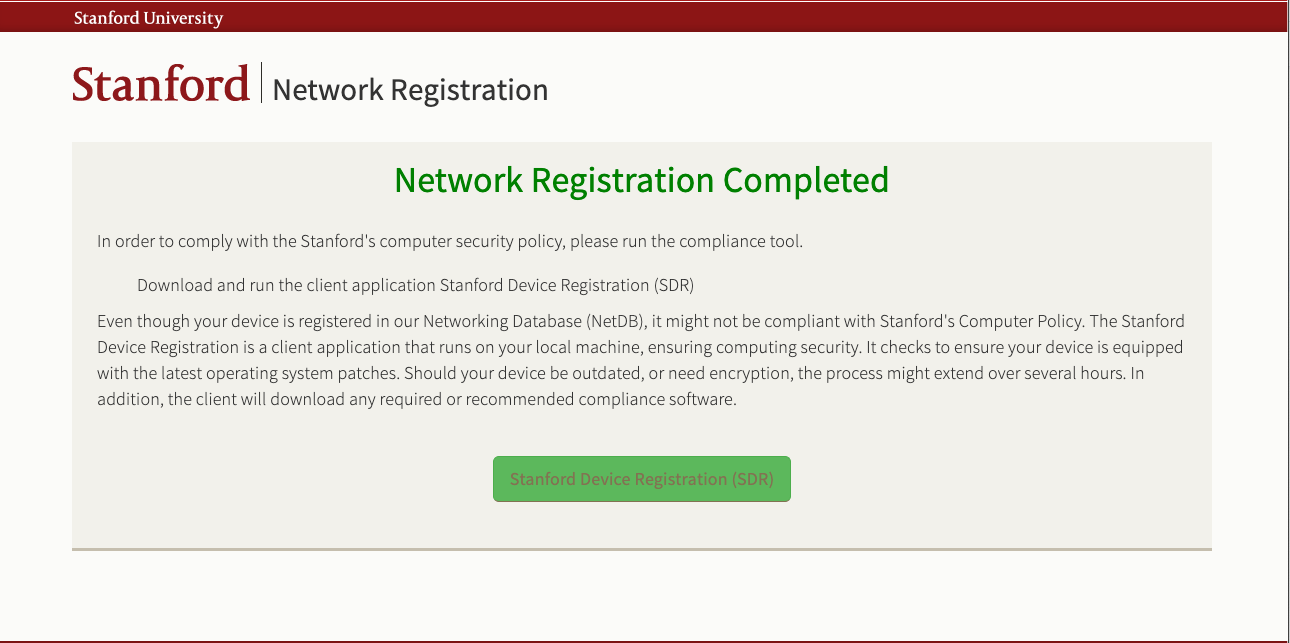
    self-registration description page
  5. You have 7 days to complete the registration process. Click Stanford Network Registration Tool (SNRT) to download the tool.

    link to download the Stanford Network Registration Tool
     
  6. If you started the self-registration process in the last 7 days but did not complete it: You will see a page welcoming you back, along with the date you started the process. Click Stanford Network Registration Tool (SNRT).

    welcome back
  7. Open the installer package to install the software. If any of the checks fail, click the button to the right in order to take the appropriate action to correct the problem.

    Note: If you need to install any patches that require your computer to reboot, you will need to rerun the Stanford Network Registration Tool after rebooting  to verify that your system now passes that test. For computers that need a number of patches, it is not uncommon to have to do this a few times. (On average, installations take about a half hour; however, if your computer requires a large number of operating system updates, the process could take up to several hours.)
  8. Once the software is installed and the program has run its checks on your computer, a diagnostic page is displayed. Click Continue.

    self-registration diagnostic results
  9. When the Almost done page is displayed, click Continue.

    almost done page
     
  10. A message appears when registration has been successfully completed. Click OK.

    self-registration finished message
  11. After approximately 20 minutes, restart your computer so it will receive its newly assigned network address.

If you are unable to self-register, or if you have questions about the process, contact your Local Network Administrator (LNA) or Peer Technology Specialists, or submit a Help Request. See Getting additional help at the end of this page for details.

Connecting to the Stanford Network

Once you have registered your wireless card, follow these steps to access the Stanford network.

  1. Go to an area of campus where wireless networking is available. See the list of wireless locations at Stanford.

  2. Click the AirPort status menu in the menu bar on the upper right side of the screen.
    • Ensure that AirPort is on.
    • Ensure that Stanford is selected as the wireless network.

    Note: If Stanford does not appear in the menu, it is because you are not in an area where the Stanford wireless network is available. If another network appears in the menu, it is a private one. Contact the department or building LNA if you need access to this network.

    Airport menu

Getting additional help

You can submit a Help Request to contact the Stanford IT Help Desk for consulting help. Or, contact your department's Local Network Administrator (LNA).

Apple's Web site also contains helpful tips for troubleshooting common Internet connection issues.

Students: Contact Peer Technology Specialists (PTS).

You will need to provide your LNA or PTT with your AirPort ID (also called a MAC address). Here's how to find it:

  1. Under the Apple menu, click System Preferences.

  2. Click the Network button in the System Preferences window.

    Network system preferences

  3. In the Show drop-down menu, select AirPort. The recommended AirPort settings are:
    • Allow this computer to create networks: unchecked
    • Show AirPort status in menu bar: checked
       
    Airport settings
     
  4. Write down the displayed AirPort ID. (The AirPort ID is the hardware address of the wireless Ethernet adapter.)

    Note: Your Macintosh will not be able to access Stanford's wireless network until your wireless adapter information has been entered in NetDB.

Last modified April 12, 2023