How to Request New or Change Oak Storage Service
University IT (UIT) has transitioned the ordering process for Oak Storage services from OrderIT to a more modernized ordering system. This enhancement is part of a multi-year project to streamline the ordering process for all University IT services.
Request New Oak Storage Space
-
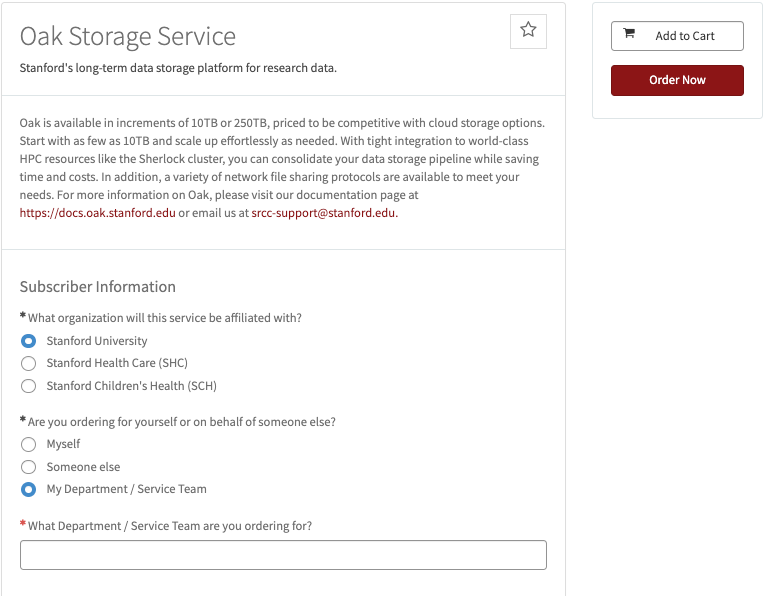
Visit Oak Storage Service and click the Request Service button at the top of the page.
-
Login with your SUNet ID and password (if prompted).
-
In the Subscriber Information section, select Stanford University for the organization with which the service will be affiliated and specify the person or entity for whom you are placing the service order.

-
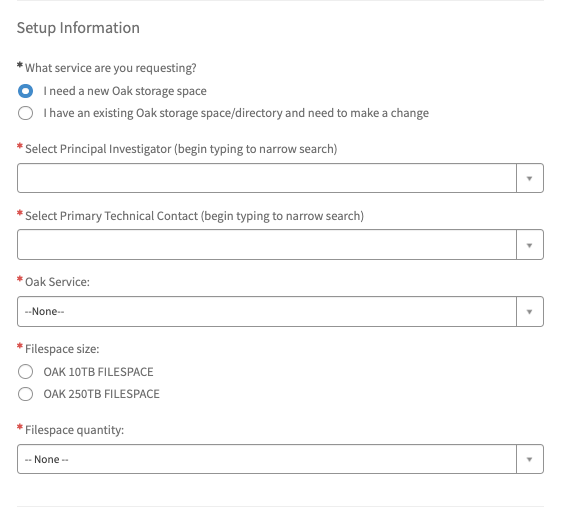
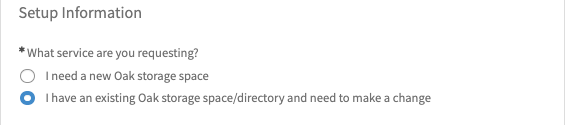
In the Setup Information section, select I need a new Oak storage space for the service you are requesting.
-
Complete all required (*) fields for Setup, Security Confirmation, and billing information, as applicable.
-
After you have completed all of the required (*) fields, click the Order Now button if you are ready to submit your request.

Request to Change an Existing Oak Storage Space
Follow the steps below to change an existing Oak Storage space/directory.
-
Visit Oak Storage Service.
-
Login with your SUNet ID and password (if prompted).
-
In the Subscriber Information section, select Stanford University for the organization with which the service will be affiliated and specify the person or entity for whom you are placing the change service request.
-
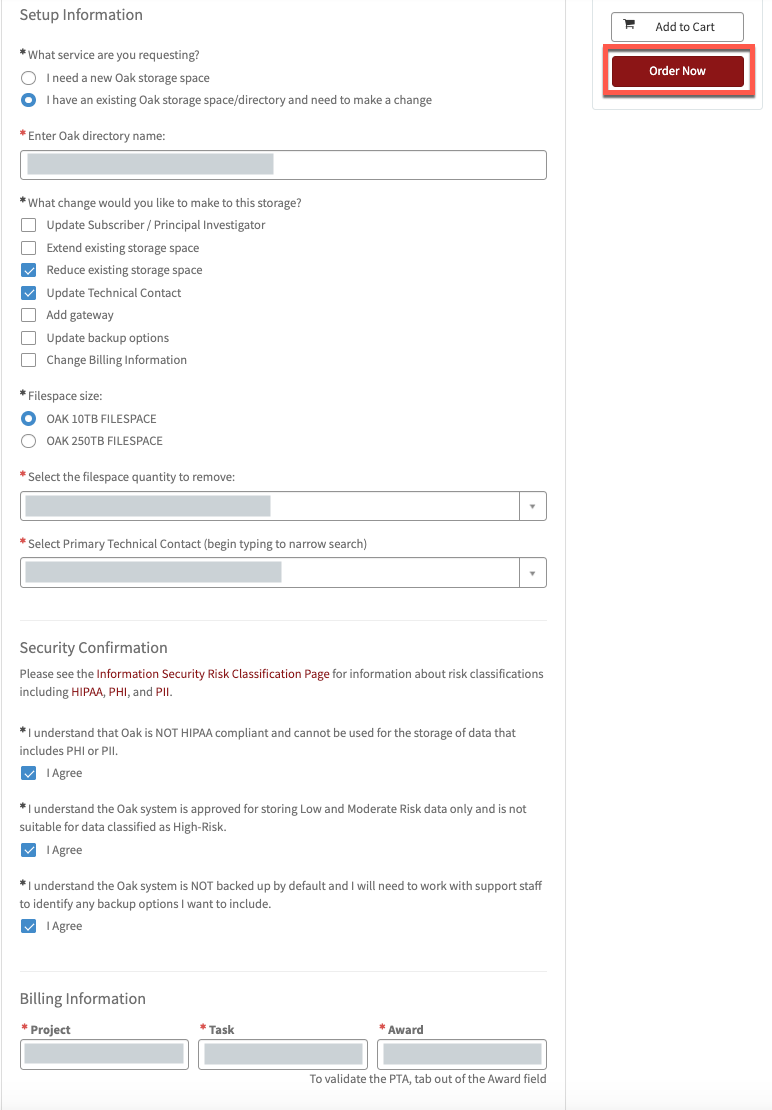
In the Setup Information section, select I have an existing Oak storage space/directory and need to make a change for the service you are requesting.
-
Enter the Oak directory name and check the box(s) to indicate what change(s) you would like to request.

-
Complete all required (*) fields for Setup, Security Confirmation, and billing information, as applicable.
-
After you have completed all of the required (*) fields, click the Order Now button if you are ready to submit your request.