Add Sessions to SecureCRT and SecureFX for Mac
A session is a set of options assigned to a connection to a remote machine. Settings and options are saved under a session name and let you have different options for different hosts. It is recommended for staff to use cardinal.stanford.edu and for students to use rice.stanford.edu, unless directed to use another cluster. If you need to connect to a server, other than the Cardinal or Rice, you will need to use the instructions below to create a new session.
- Start SecureCRT or SecureFX.
- Start the New Session Wizard:
- SecureCRT: On the Session Manager toolbar, click the + icon.

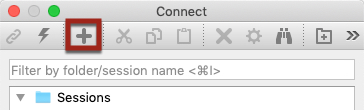
- SecureFX: On the File menu, click Connect. When the Connect window displays, click the + icon on the toolbar.
- SecureCRT: On the Session Manager toolbar, click the + icon.
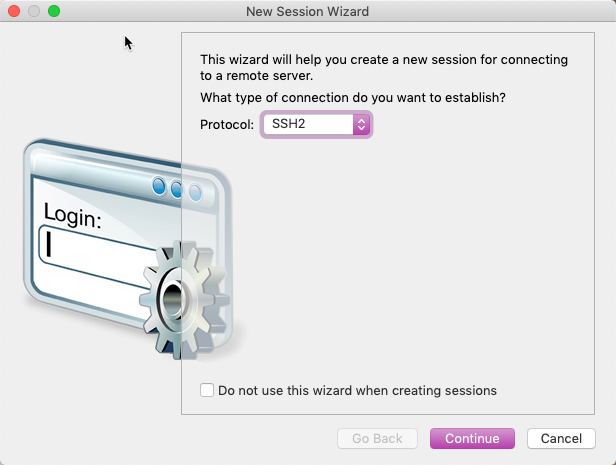
- When prompted to enter the protocol for the new session:
- SecureCRT: select SSH2 and then click Continue.
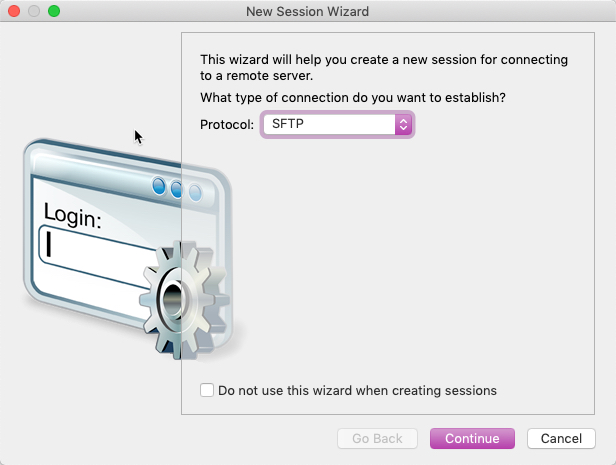
- SecureFX: select SFTP and then click Continue.
- SecureCRT: select SSH2 and then click Continue.
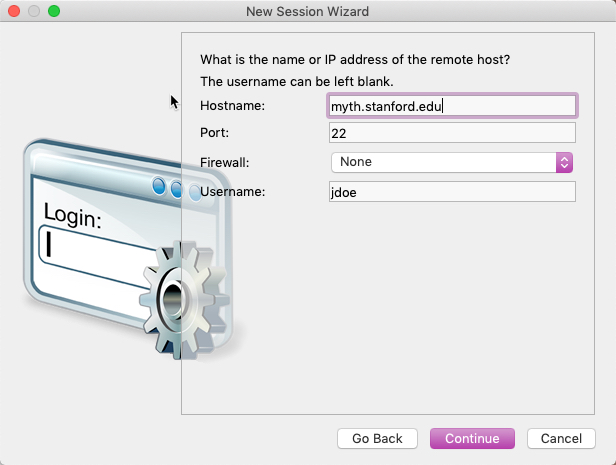
- Enter the following information and then click Continue:
- Hostname: name or IP address of the computer you wish to connect to (use the full DNS name)
- Port: 22
- Firewall: None
- Username: Your user name on this computer
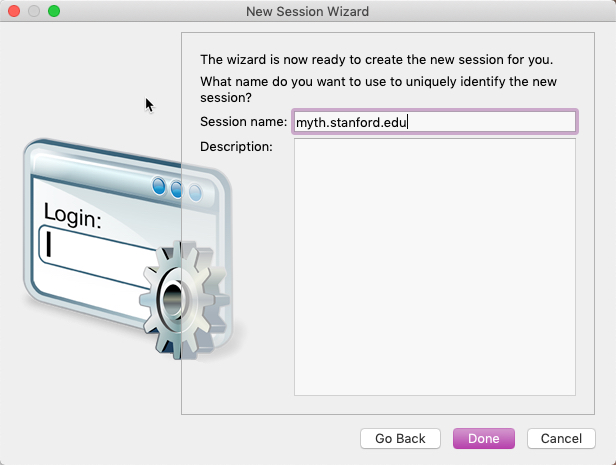
- Enter a Session name and Description if you wish and then click Done. The default session name is the hostname for this session.
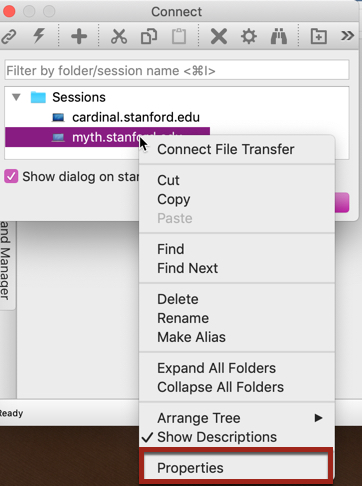
- Right-click the name of the session you are adding. In the popup menu, click Properties.
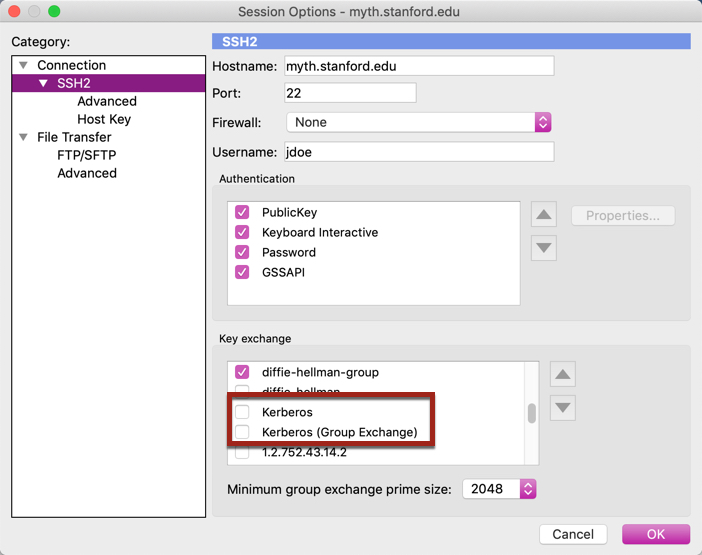
- In the Session Options window, in the Category section, under Connection, click SSH2. In the Key exchange section of the window, uncheck the boxes for Kerberos and Kerberos (Group Exchange). Click OK to close the window.
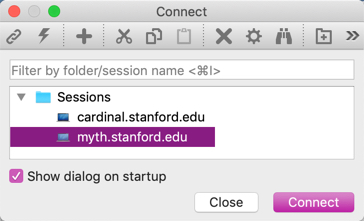
- When the Session Manager window (SecureCRT) or Connect window (SecureFX) displays with the new session highlighted, click the Connect icon on the toolbar.
- The first time you connect to a new session, a New Host Key window may appear. Click Accept & Save.

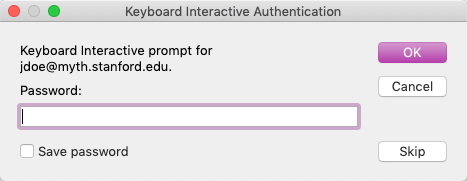
- Enter your SUNet ID password in the Password field and click OK. Do not check the box to save your password.
Last modified