Install SecureCRT + SecureFX for Windows
SecureCRT is a terminal emulation program for Windows. It allows encrypted Secure Shell (SSH1 and SSH2) sessions with many servers and with Stanford's distributed network of UNIX computers.
SecureFX is a secure file transfer program. It supports SSH2, SFTP, FTP/TLS, SCP, and legacy FTP in a single client.
A single installer installs both SecureFX and SecureCRT, and configuration settings for the two applications are integrated. Configuring a connection to a particular server only needs to be done once in order for the selected server to be continuously available to both programs.
Note: The installer includes preconfigured sessions named Cardinal and Rice. Any sessions using these names that were created in an earlier version of SecureCRT + SecureFX will be overwritten. If you have customized sessions named Cardinal or Rice, you may want to rename them before installing SecureCRT + SecureFX.
Installing SecureCRT + SecureFX
- Download and install SecureCRT + SecureFX if you have not already done so.
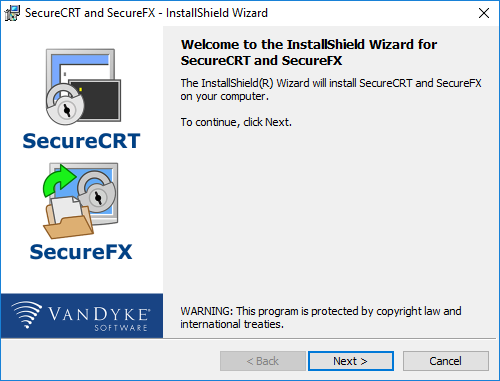
- When the Welcome page is displayed, click Next to continue.
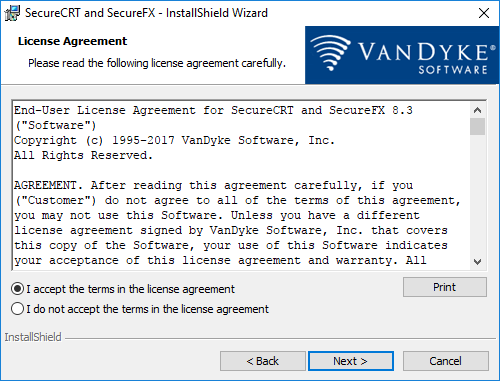
- Accept the terms in the license agreement and then click Next.
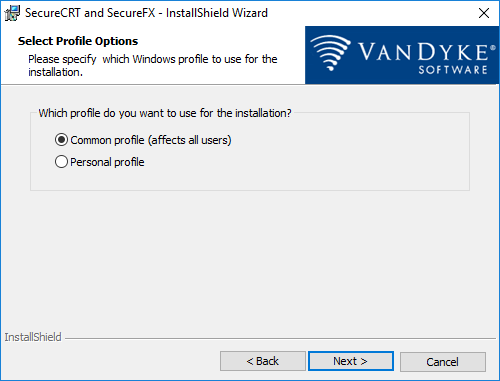
- Select the profile to use for the installation and then click Next.
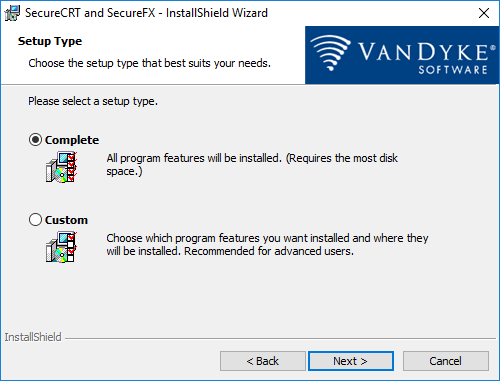
- Select a setup type and then click Next. (You may not see this page if you are upgrading from a previous version.)
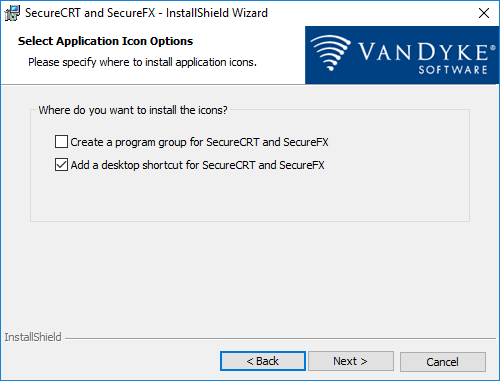
- Check the boxes for where you want to install application icons and then click Next to continue.
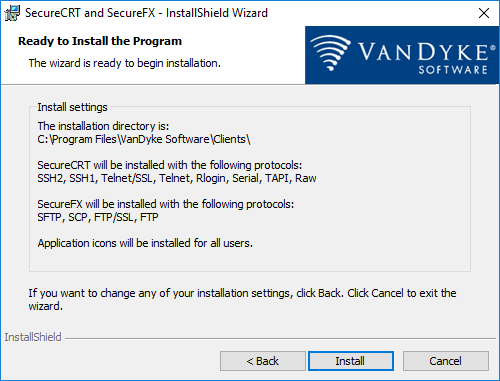
- Review your installation settings. If you want to change anything, click Back until you find the page with the settings you want to change. If you are satisfied with the installation settings, click Install.
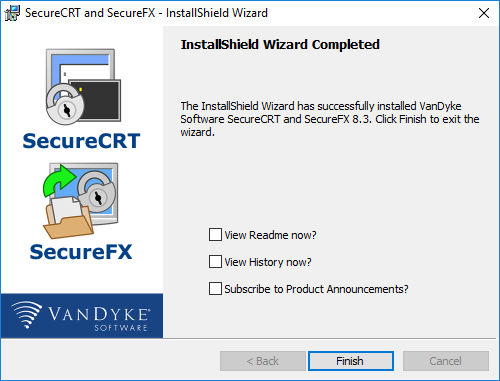
- Click Finish to exit the wizard.