Installing OpenAFS/Auristor on Your Device
Software download
- Go to the Essential Stanford Software page.
- Select on “AFS at Stanford.”
- Click the blue “Download AFS at Stanford” button.
- On the AFS download page, select which AFS version is appropriate for your device.
NOTE: You do not need to download the AFS Controller.

5. Login and Webauth.
Mac Installation (jump to Windows Installation)
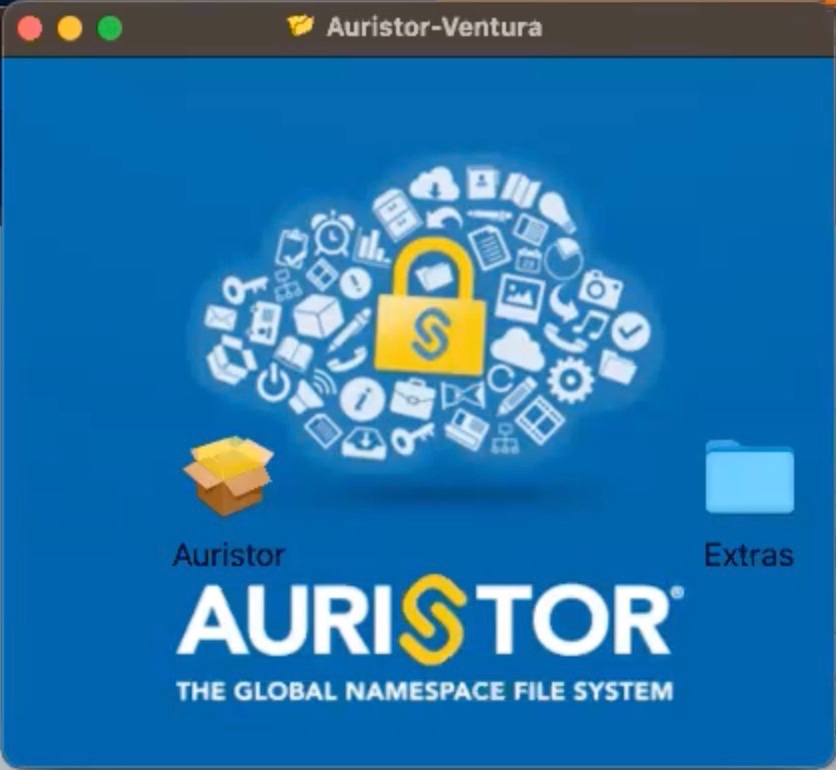
- After selecting the appropriate link from the AFS download page, the Auristor window will appear. Double-click on the Auristor icon.
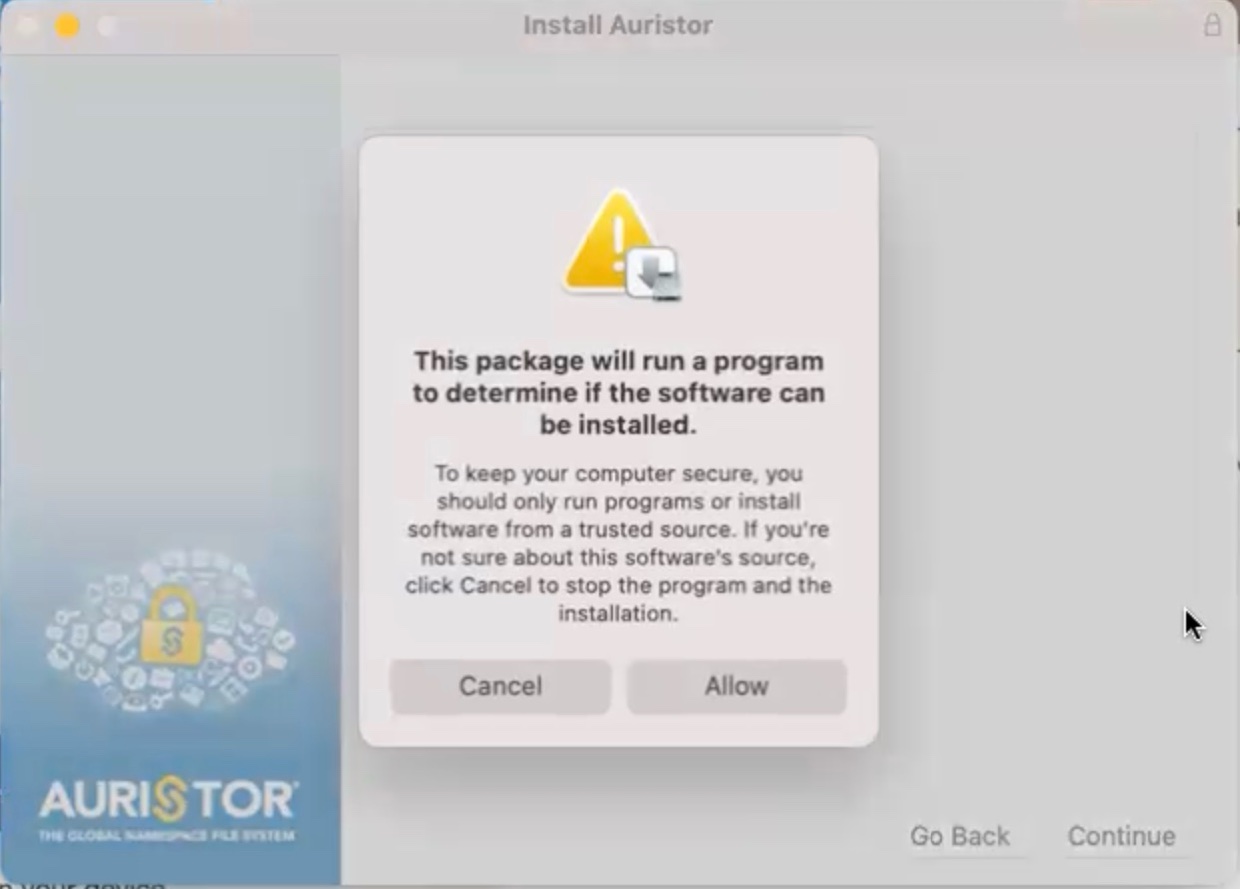
- A notification will appear. Select “Allow.”
- Scroll through the End User License Agreement, and then Click “Continue.”
- Select “Continue” on the Important Information window.
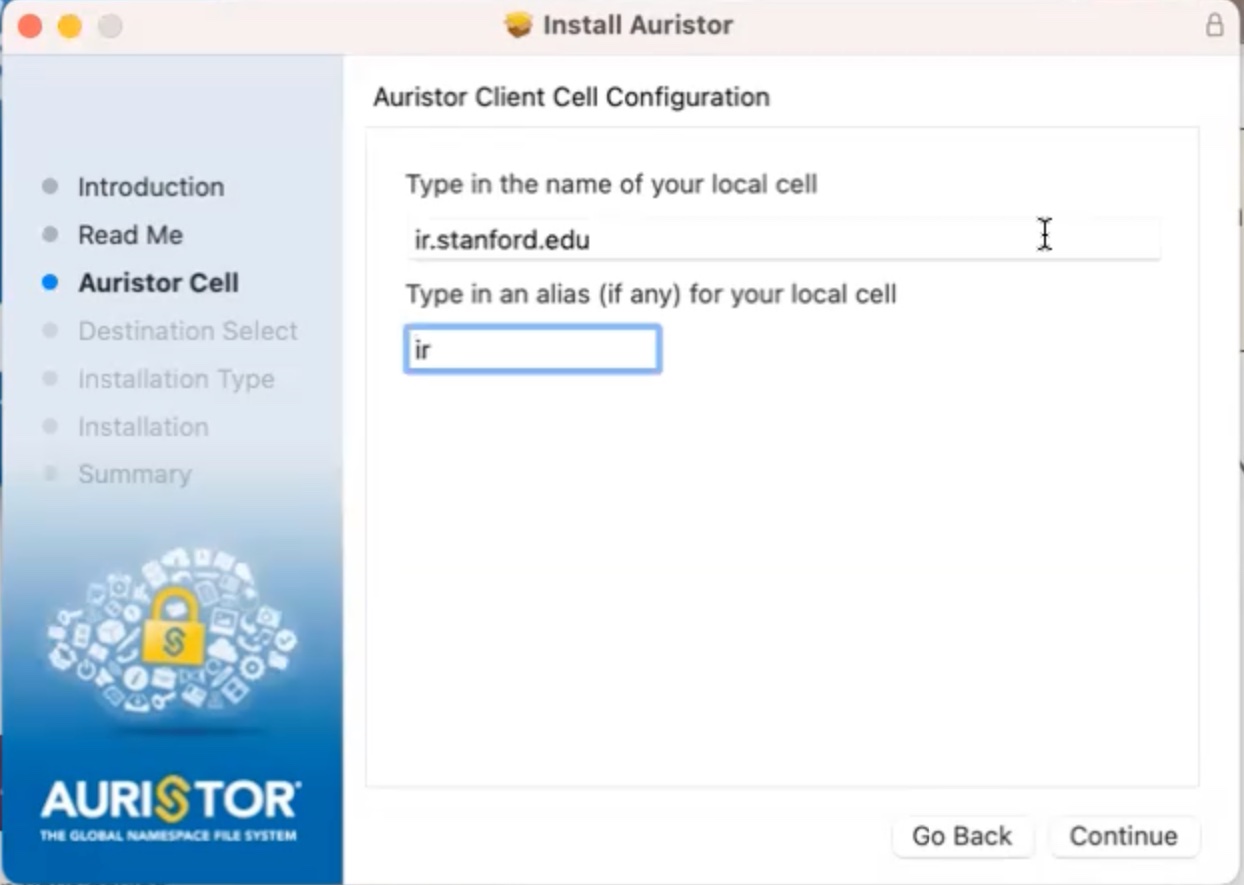
- The Auristor Client Cell Configuration window, in the local cell textbox, enter “ir.stanford.edu.”
- Type in the alias textbox “ir.”
- In the Standard Installation window, click “Install.”
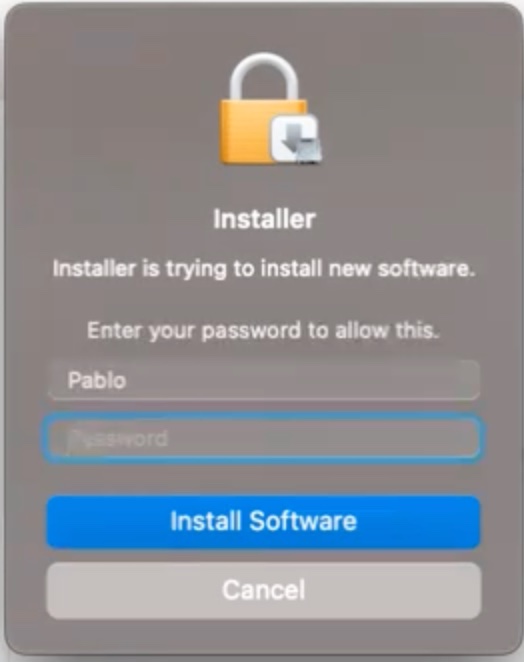
- If prompted to confirm the installation, enter your Mac password.
NOTE: Auristor Inc will be added to items that can run in the background on your device.
Mac configuration
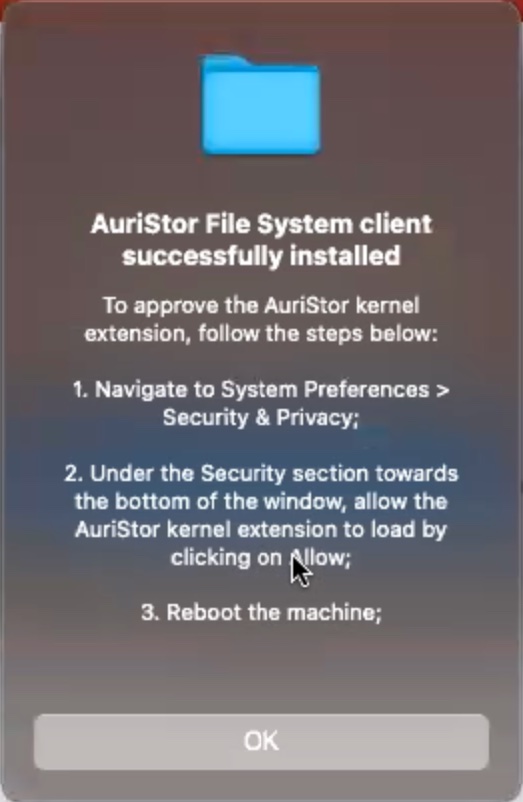
- After confirming installation, an “AuriStor File System Client successfully installed” window will appear with additional instructions. Read the instructions, then click “OK.”
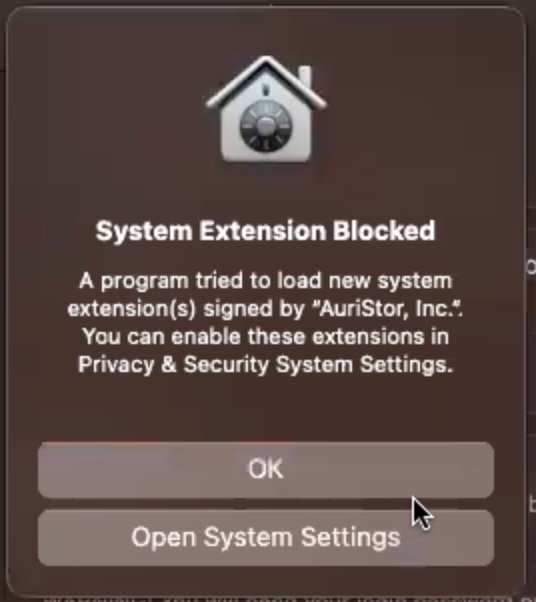
- A System Extension notice will appear. Select “Open System Settings.”
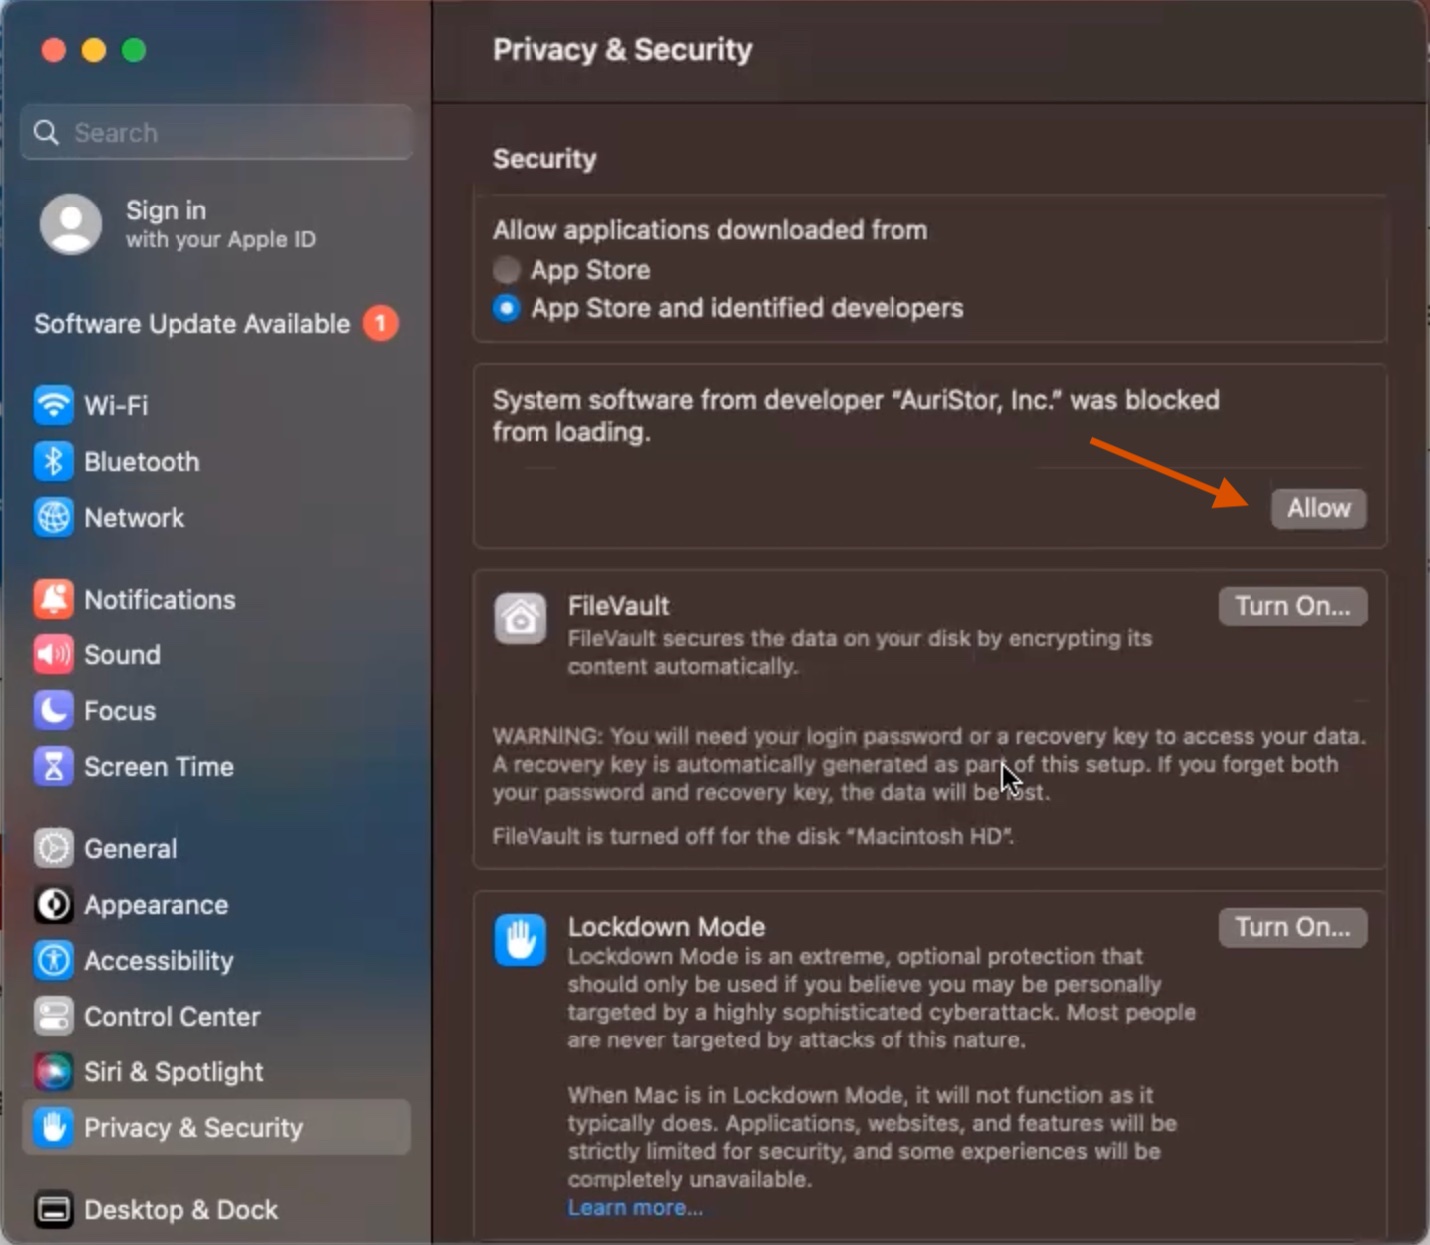
- In the Settings window, click “Allow.”
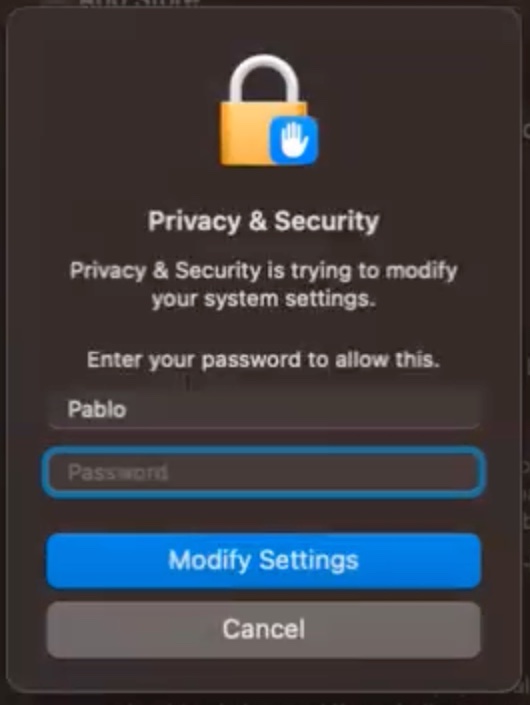
- Enter your Mac password and select “Modify Settings.”
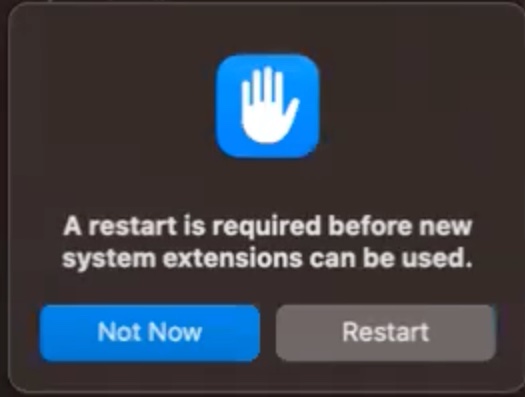
- You will be prompted to restart your computer. Select “Restart.”
Configuration Settings for Mac’s with M1 Chipset
- Shut down your device.
- Press the power button once to restart your computer, then quickly press and hold the power button until your screen reads "Machintosh HD" with an options icon.
- Click the options icon.
- Click "Continue."
- Log in to your device.
- A menu will appear. From the menu, select Utilities > Startup Security Utility.
- A hard drive will be listed. Click the hard drive button, then select the unlock button.
Setting security
- After reentering your device password, click on the “Security Policy” button.
- Change the Security Policy from “Full Security” to “Reduced Security.”
- Select the “Allow user management of kernel extensions from identified developers” check box.
- Click ok.
AFS on your device after installation
- After your computer restarts, open a terminal window.
- Authenticate into Kerberos.
- Enter the following “kinit Your SUNet@stanford.edu.”
- Enter your password.
- Once authenticated into Kerberos, authenticate into AFS using the command “aklog.”
Windows installation
Ensure that Kerberos is installed on your Windows device before proceeding with the AFS installation.
- After clicking the “Download OpenAFS 1.7.3301 for Windows” link on the Download AFS for Stanford webpage, enter your SUNet ID and password.
- Double-click on the OpenAFSInstaller.exe file.
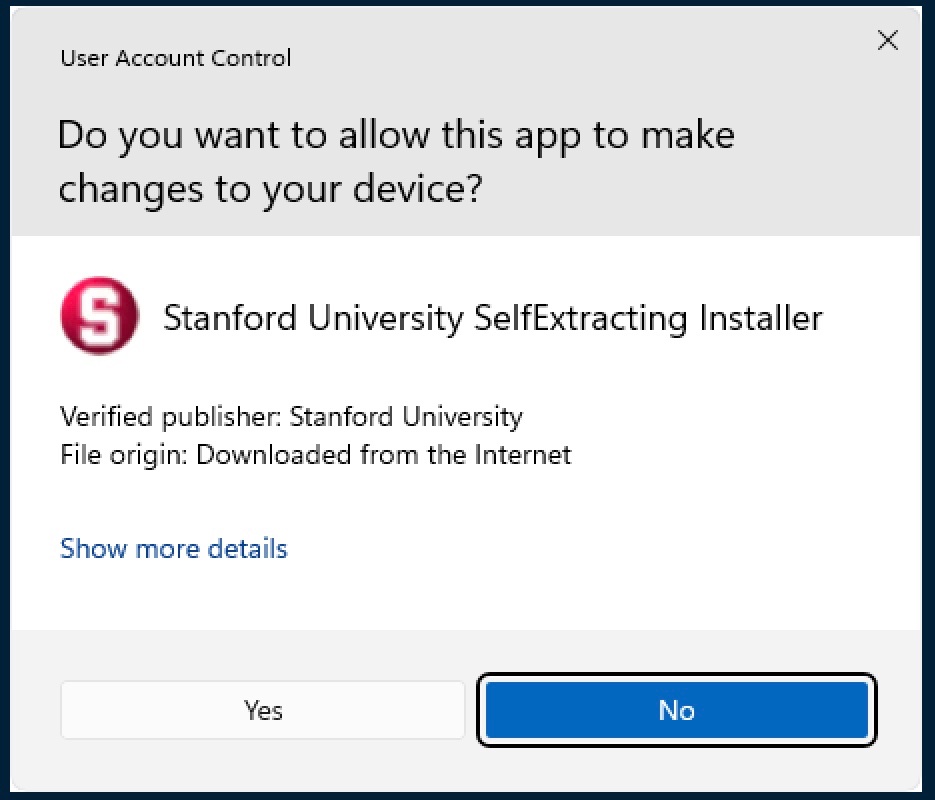
- Select “Yes.”
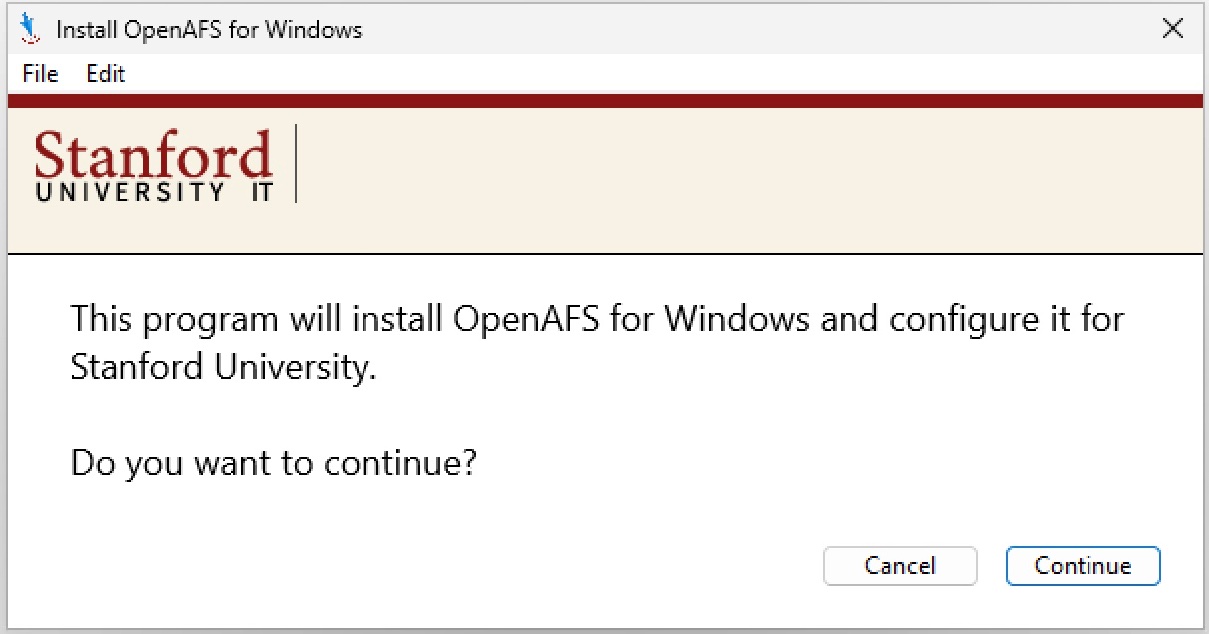
- The Install AFS for Windows notification will appear. Click “Continue.”
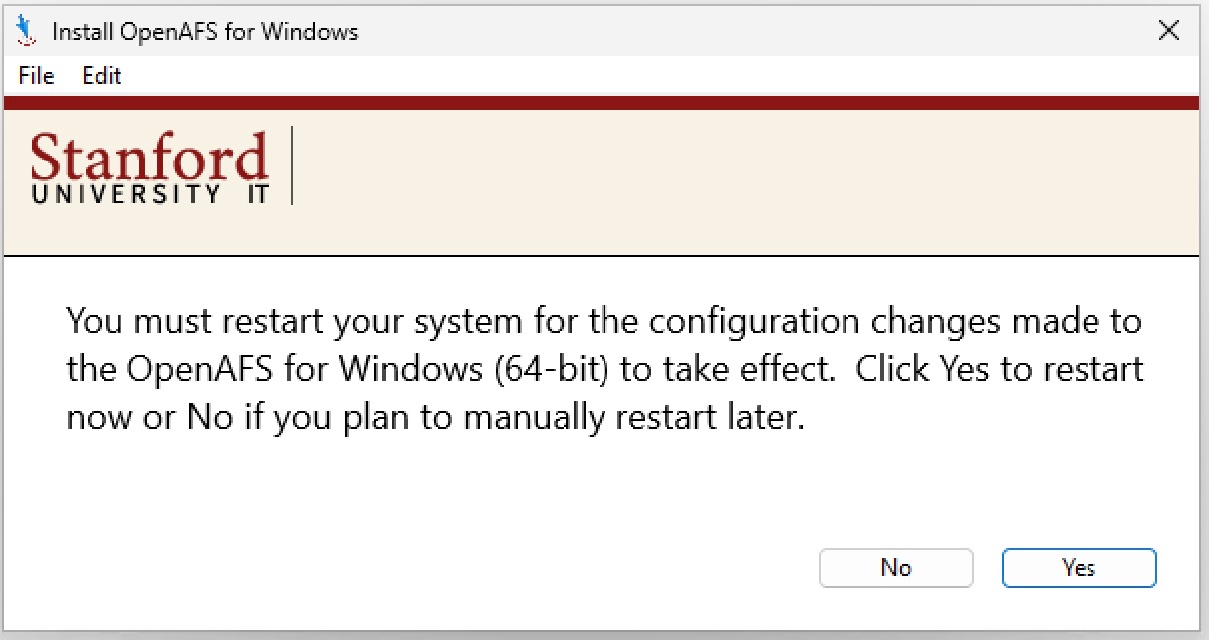
- You will be prompted to restart your system. Click “Yes.”
Kerberos and AFS credentials for Windows
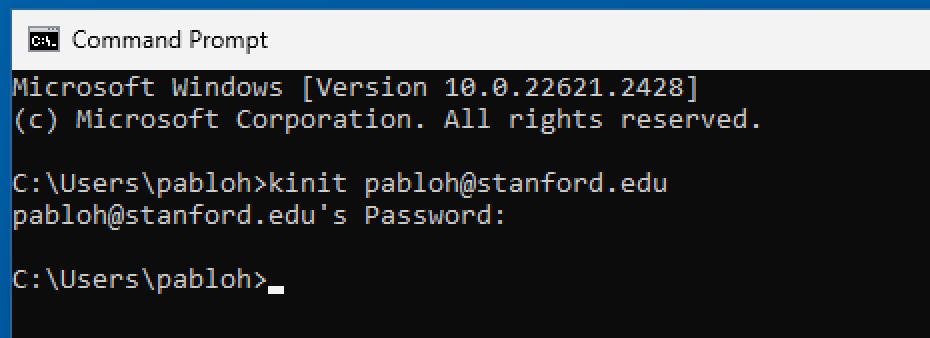
- Open a command line and type “kinit Your SUNet@stanford.edu.” The path to a your personal AFS space is \\afs\ir.stanford.edu\users\{first_letter_of_SUNetID}\{second_letter_of_SUNetID\{SUNetID}.
- Enter your SUNet password.
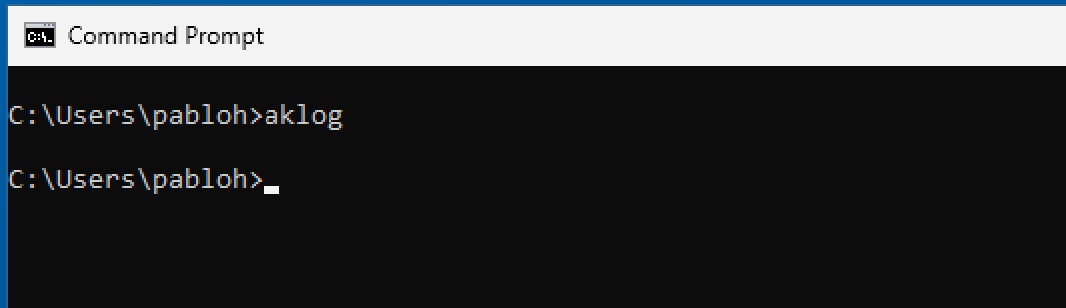
- Once authenticated into Kerberos, authenticate into AFS using the command “aklog.”
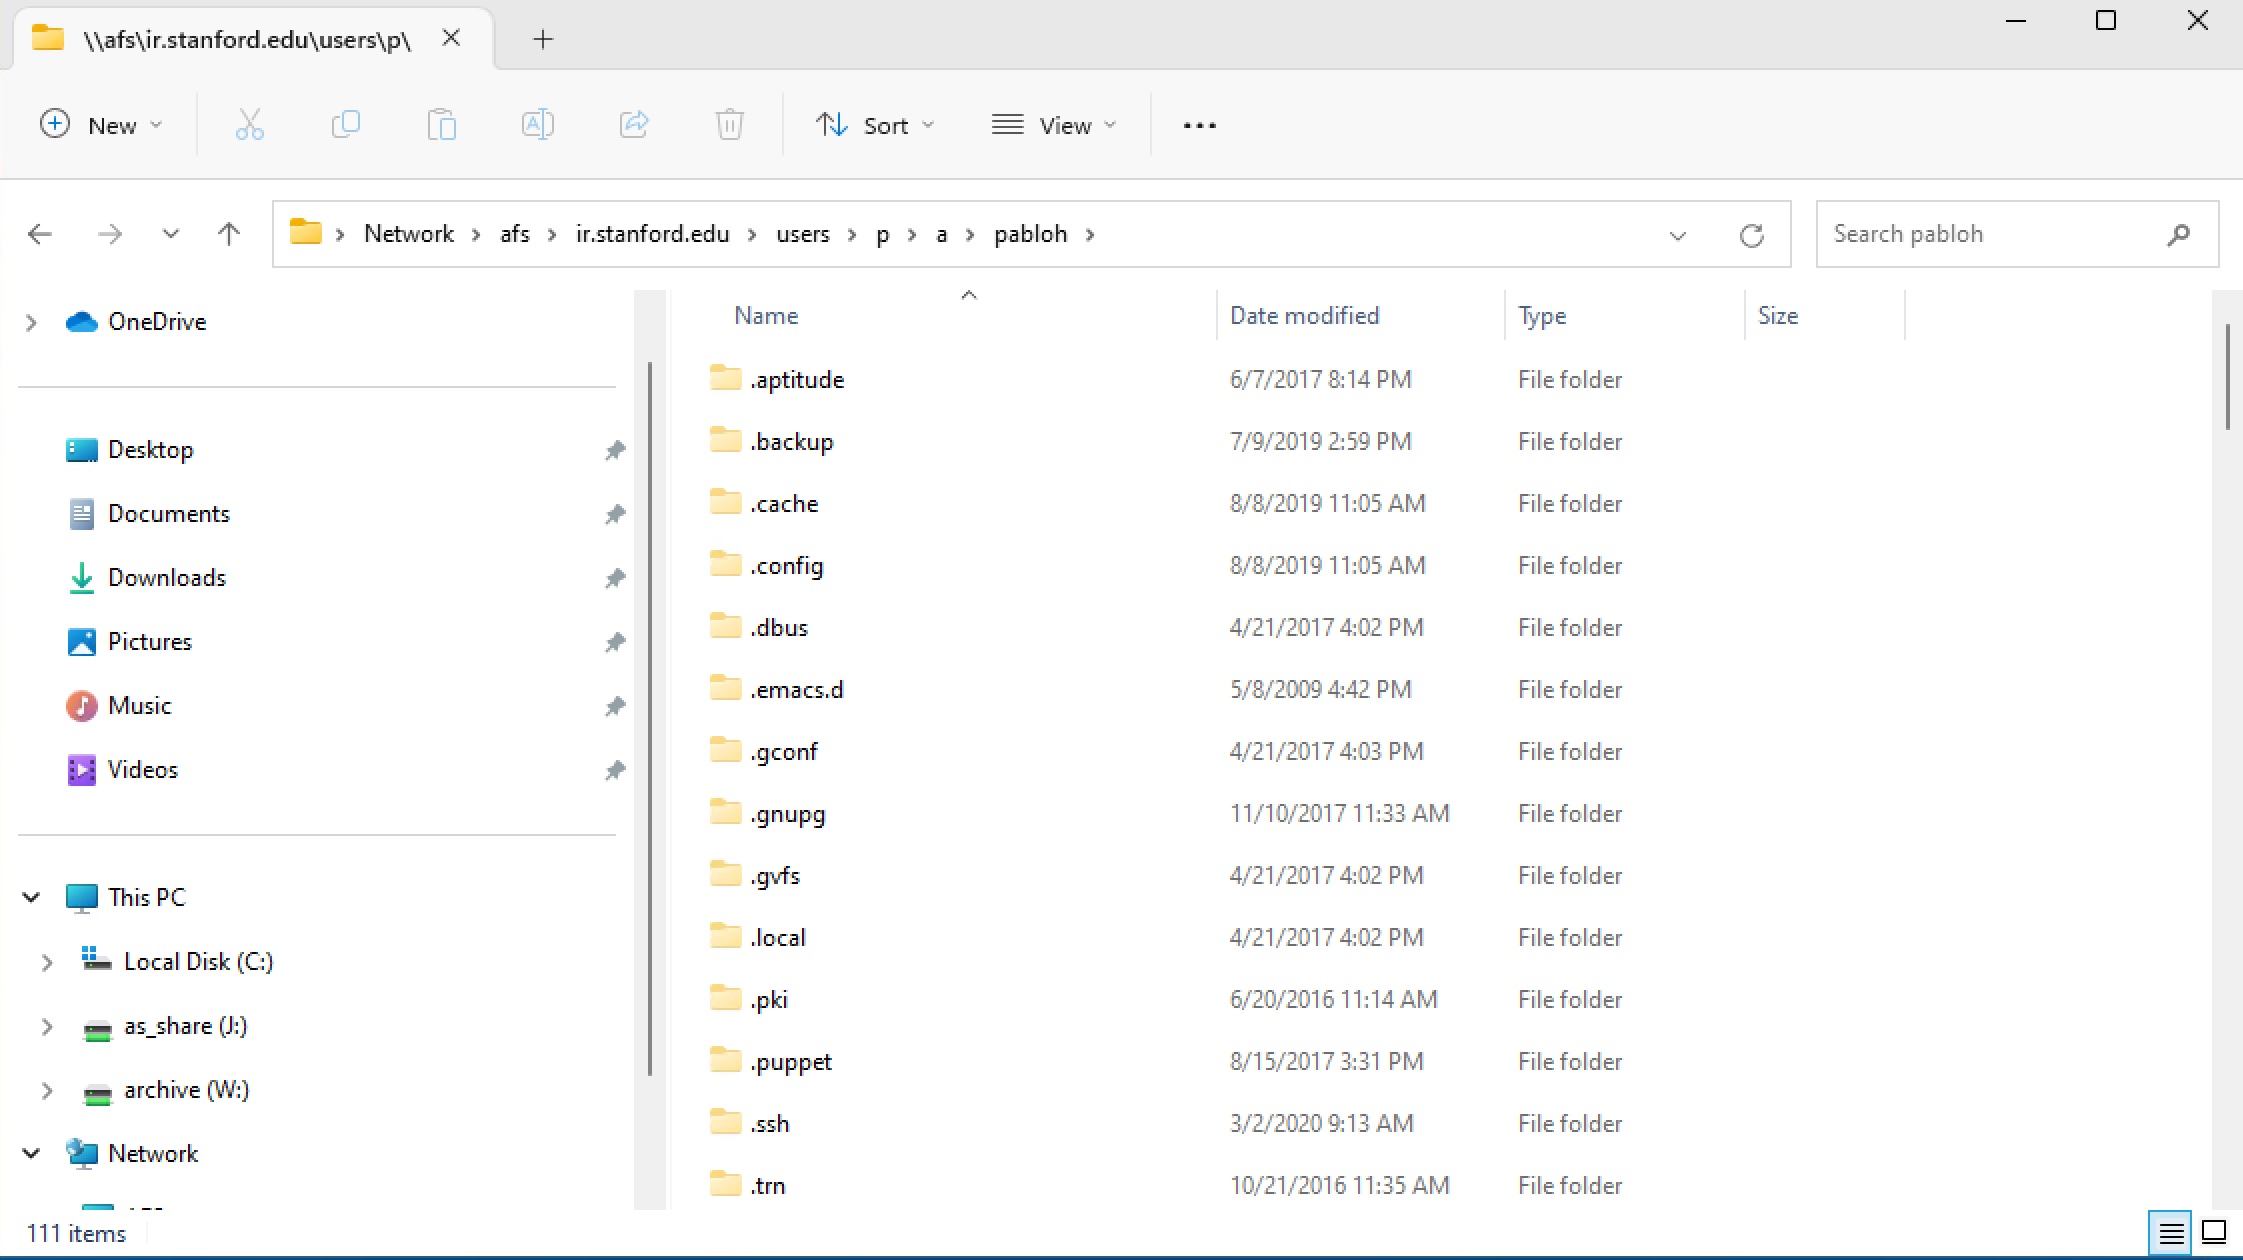
Accessing AFS for Windows
- In the command line enter “explorer \\afs\ir.stanford.edu\users\{first_letter_of_your_SUNet}\{second_letter_of_your_SUNet}\{SUNet}.”
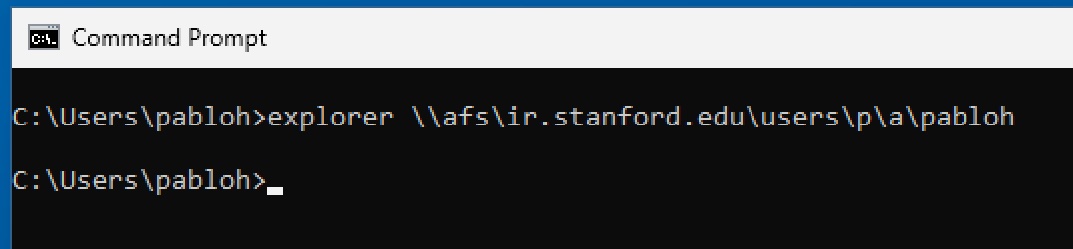
- This will load your file explorer with your AFS paths open.
Last modified