Intune Enrollment App for Personal Windows Devices
These instructions are for the School of Medicine community.
This enrollment option will only display on Windows devices that are eligible for this enrollment method.
You can enroll your personal Windows device into Microsoft Intune using the Stanford enrollment app deployed via BigFix.
Launch the app
Ensure you've reviewed the information on Guided Intune Enrollment for Windows Devices (via BigFix) to understand how to prepare for the guided enrollment experience and launch the Stanford Intune Migration app.
Before you begin
- Backup your data: No issues are expected, but it's always a good idea to back up important data.
- Network connection: A reliable Wi-Fi network or wired connection will help ensure your enrollment goes smoothly.
- Save your work: Please ensure all your work is saved and applications are closed before starting the process.
Start Your Intune Enrollment
Follow the steps on Guided Intune Enrollment for Windows Devices (via BigFix) to launch the app. Once the app displays, follow the steps below to enroll your Windows device.
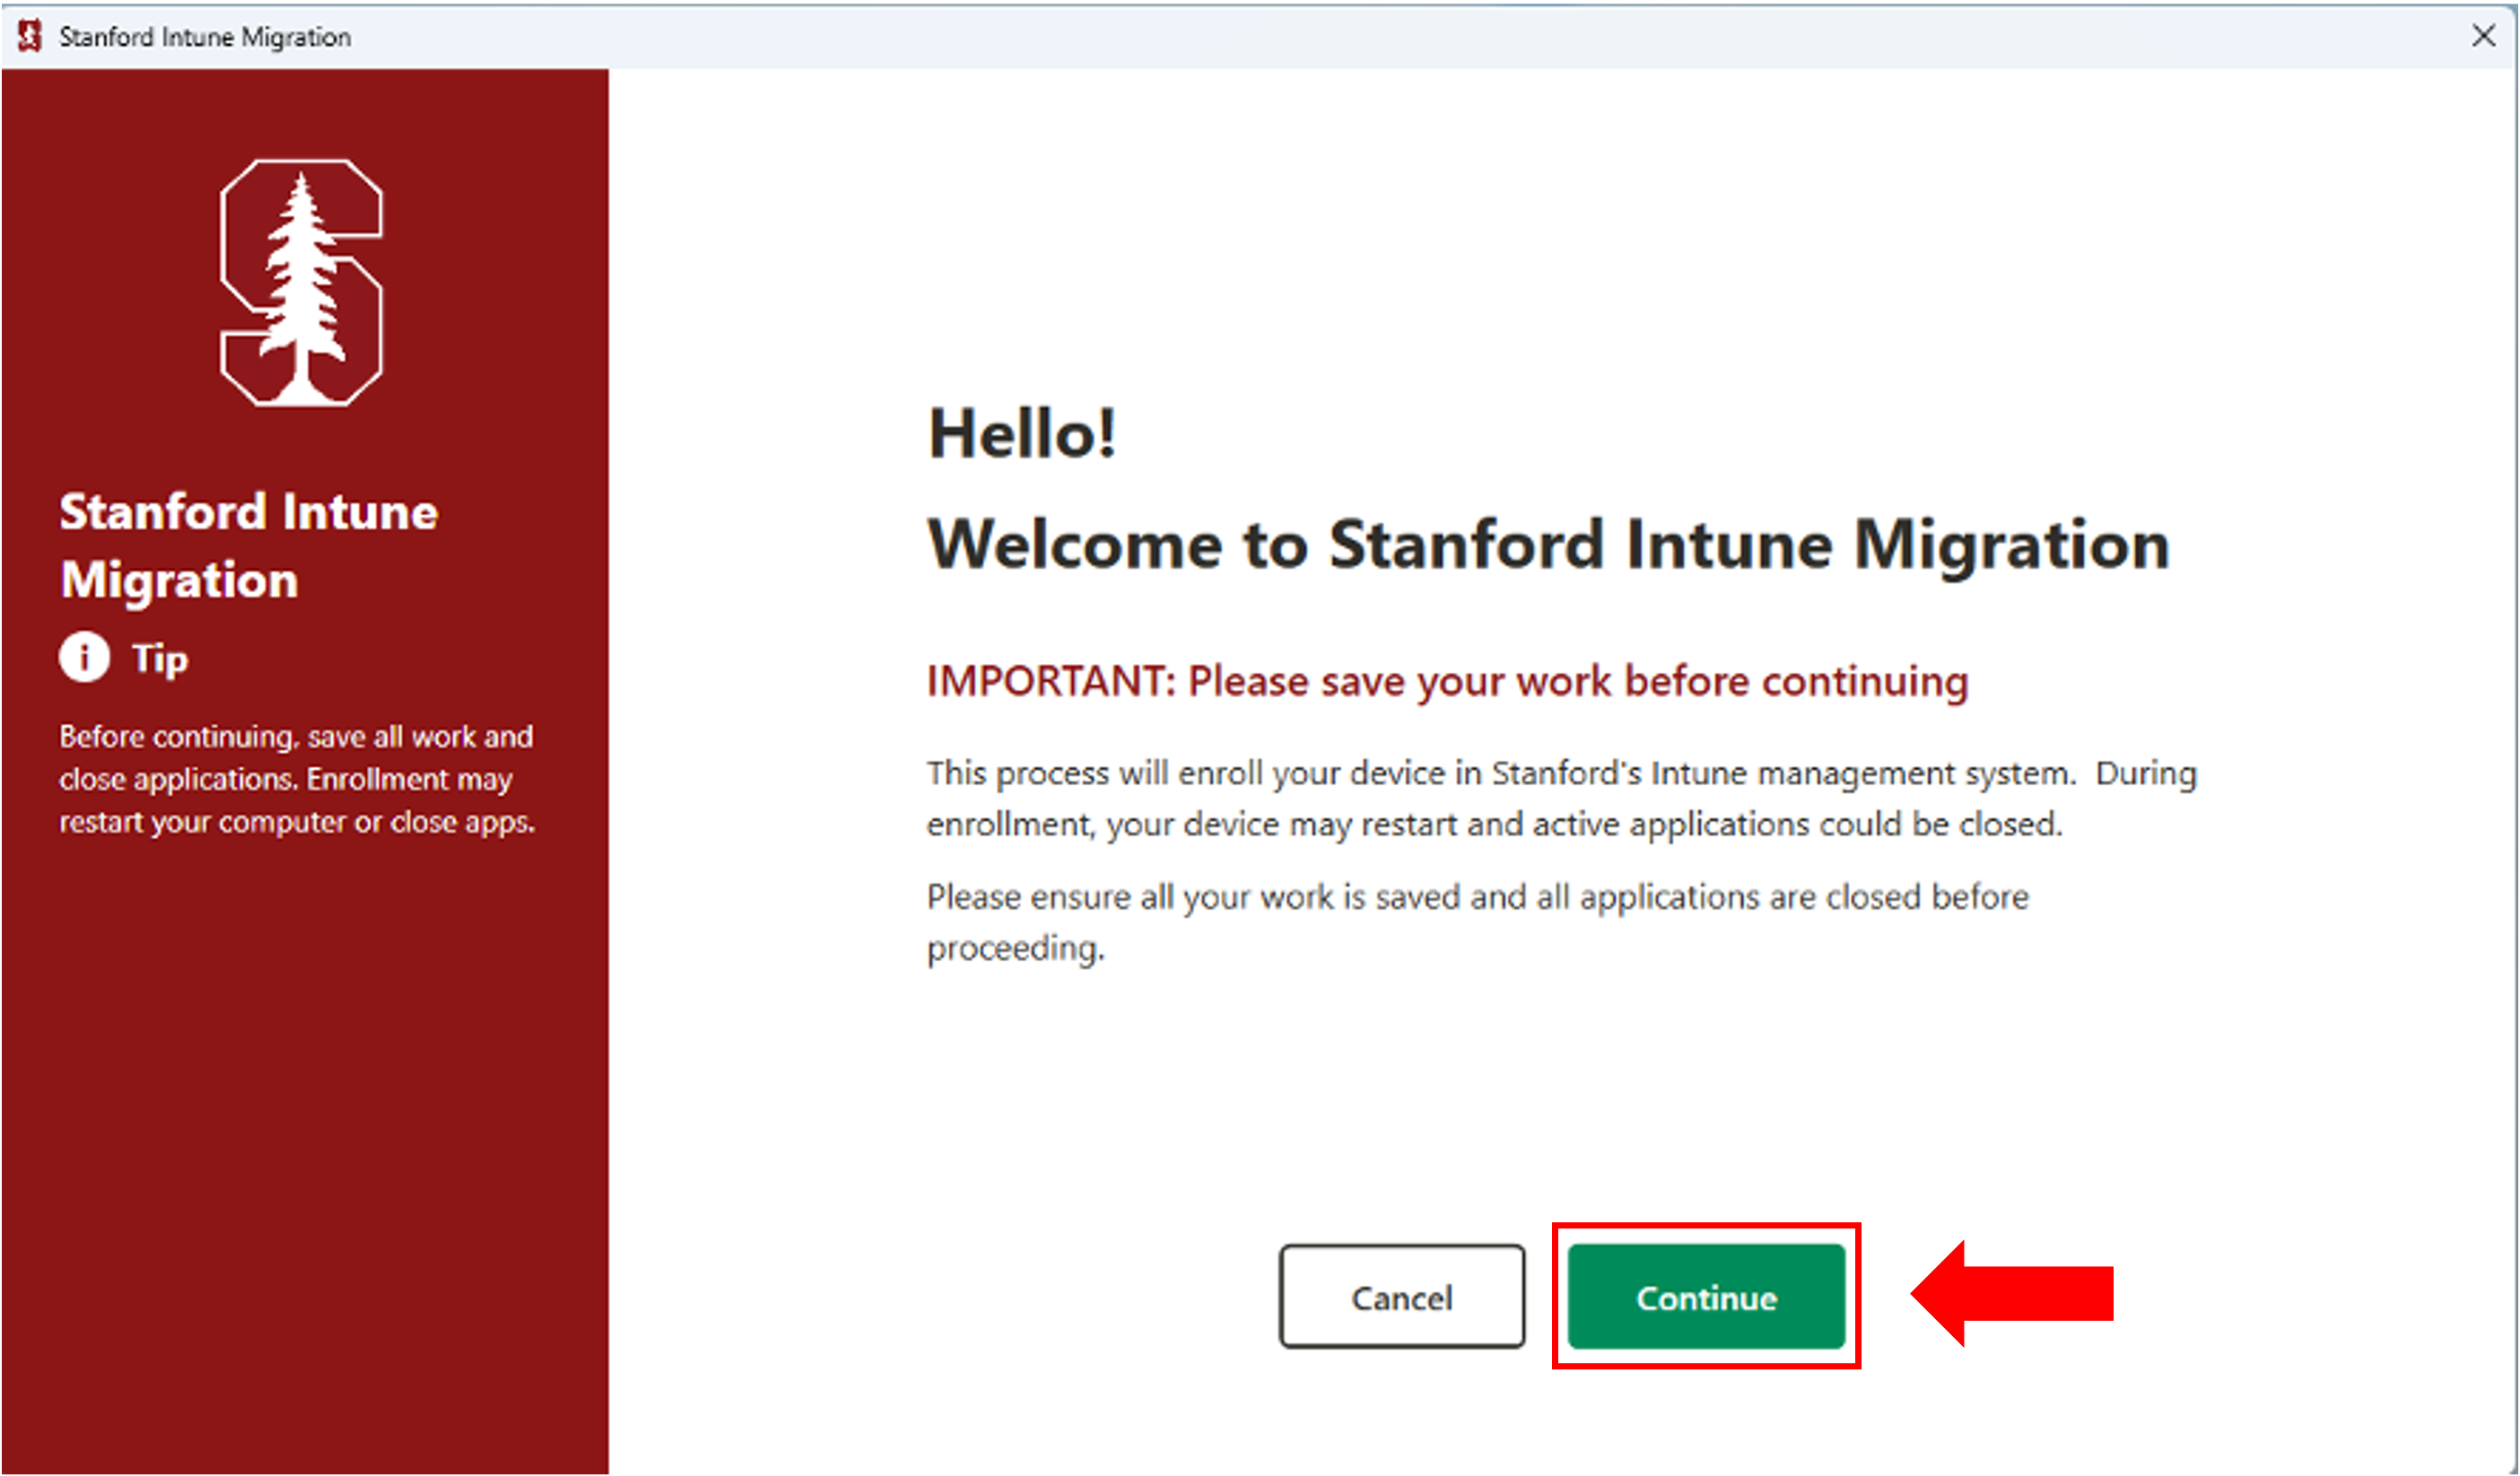
The Welcome page will appear. Before you continue, save your work. Carefully read the information on the Welcome page and select Continue to proceed.
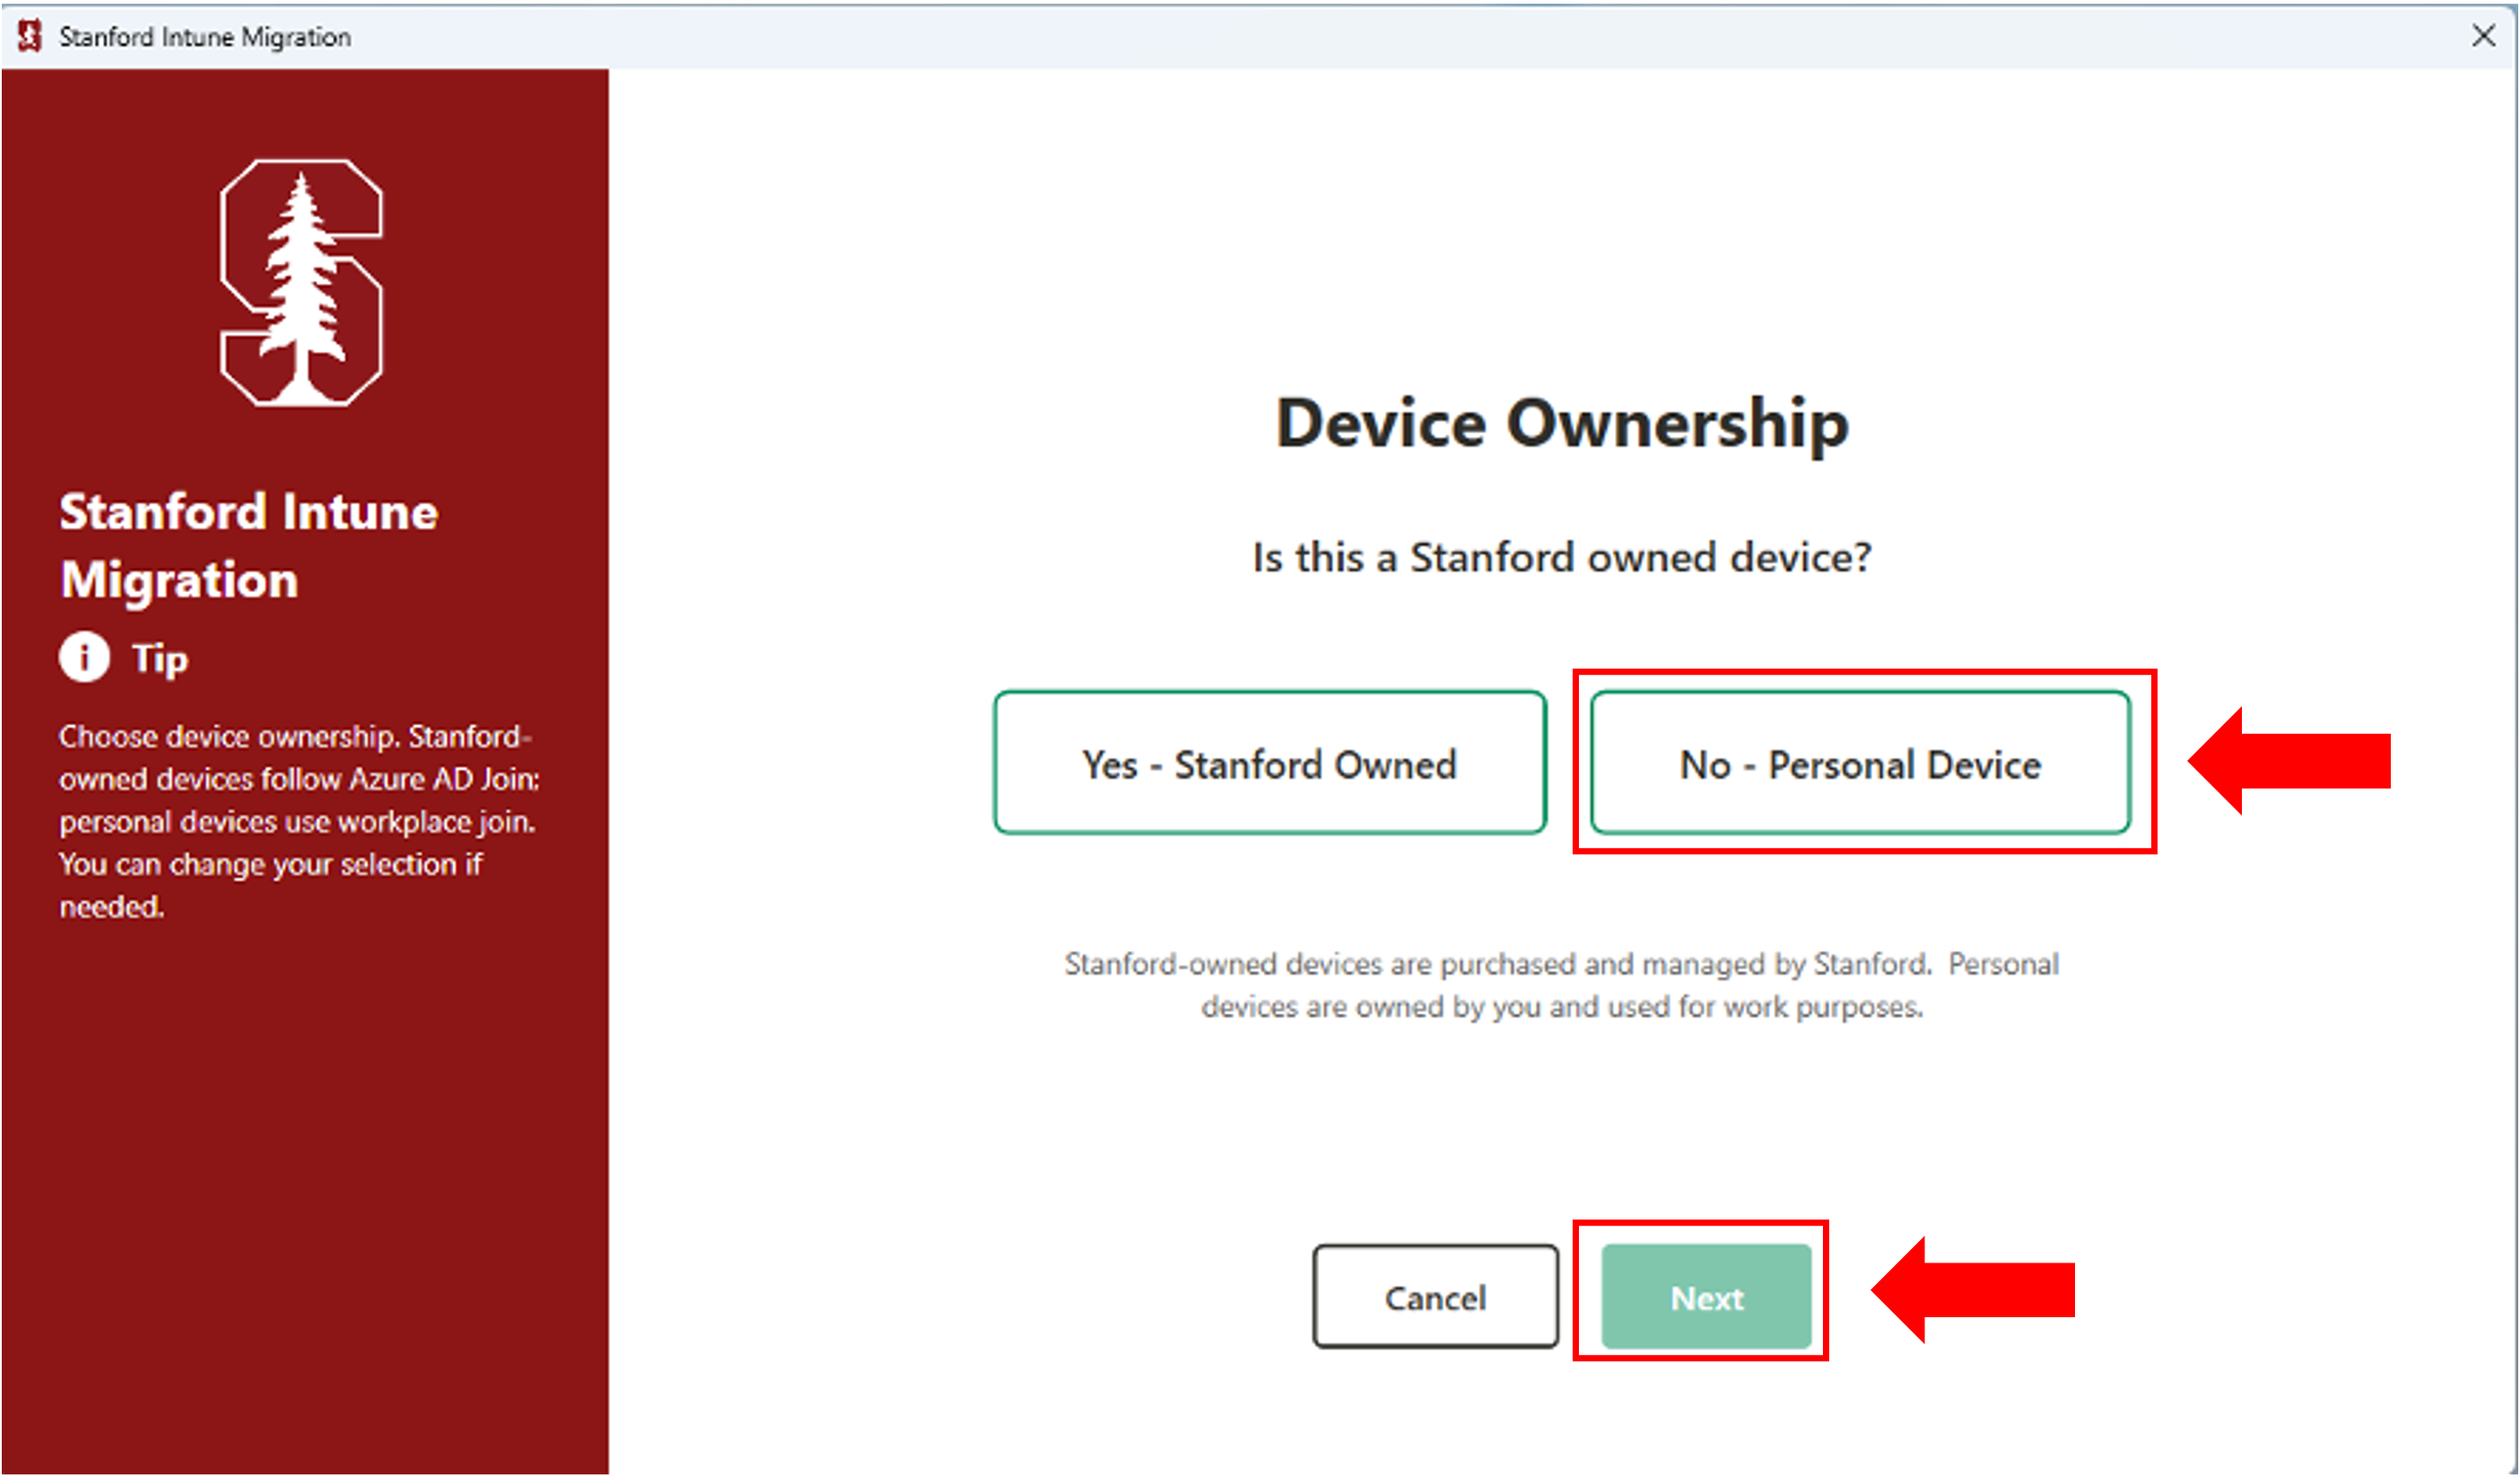
Indicate your device ownership type by selecting "No- Personal Device," then click Next to continue.
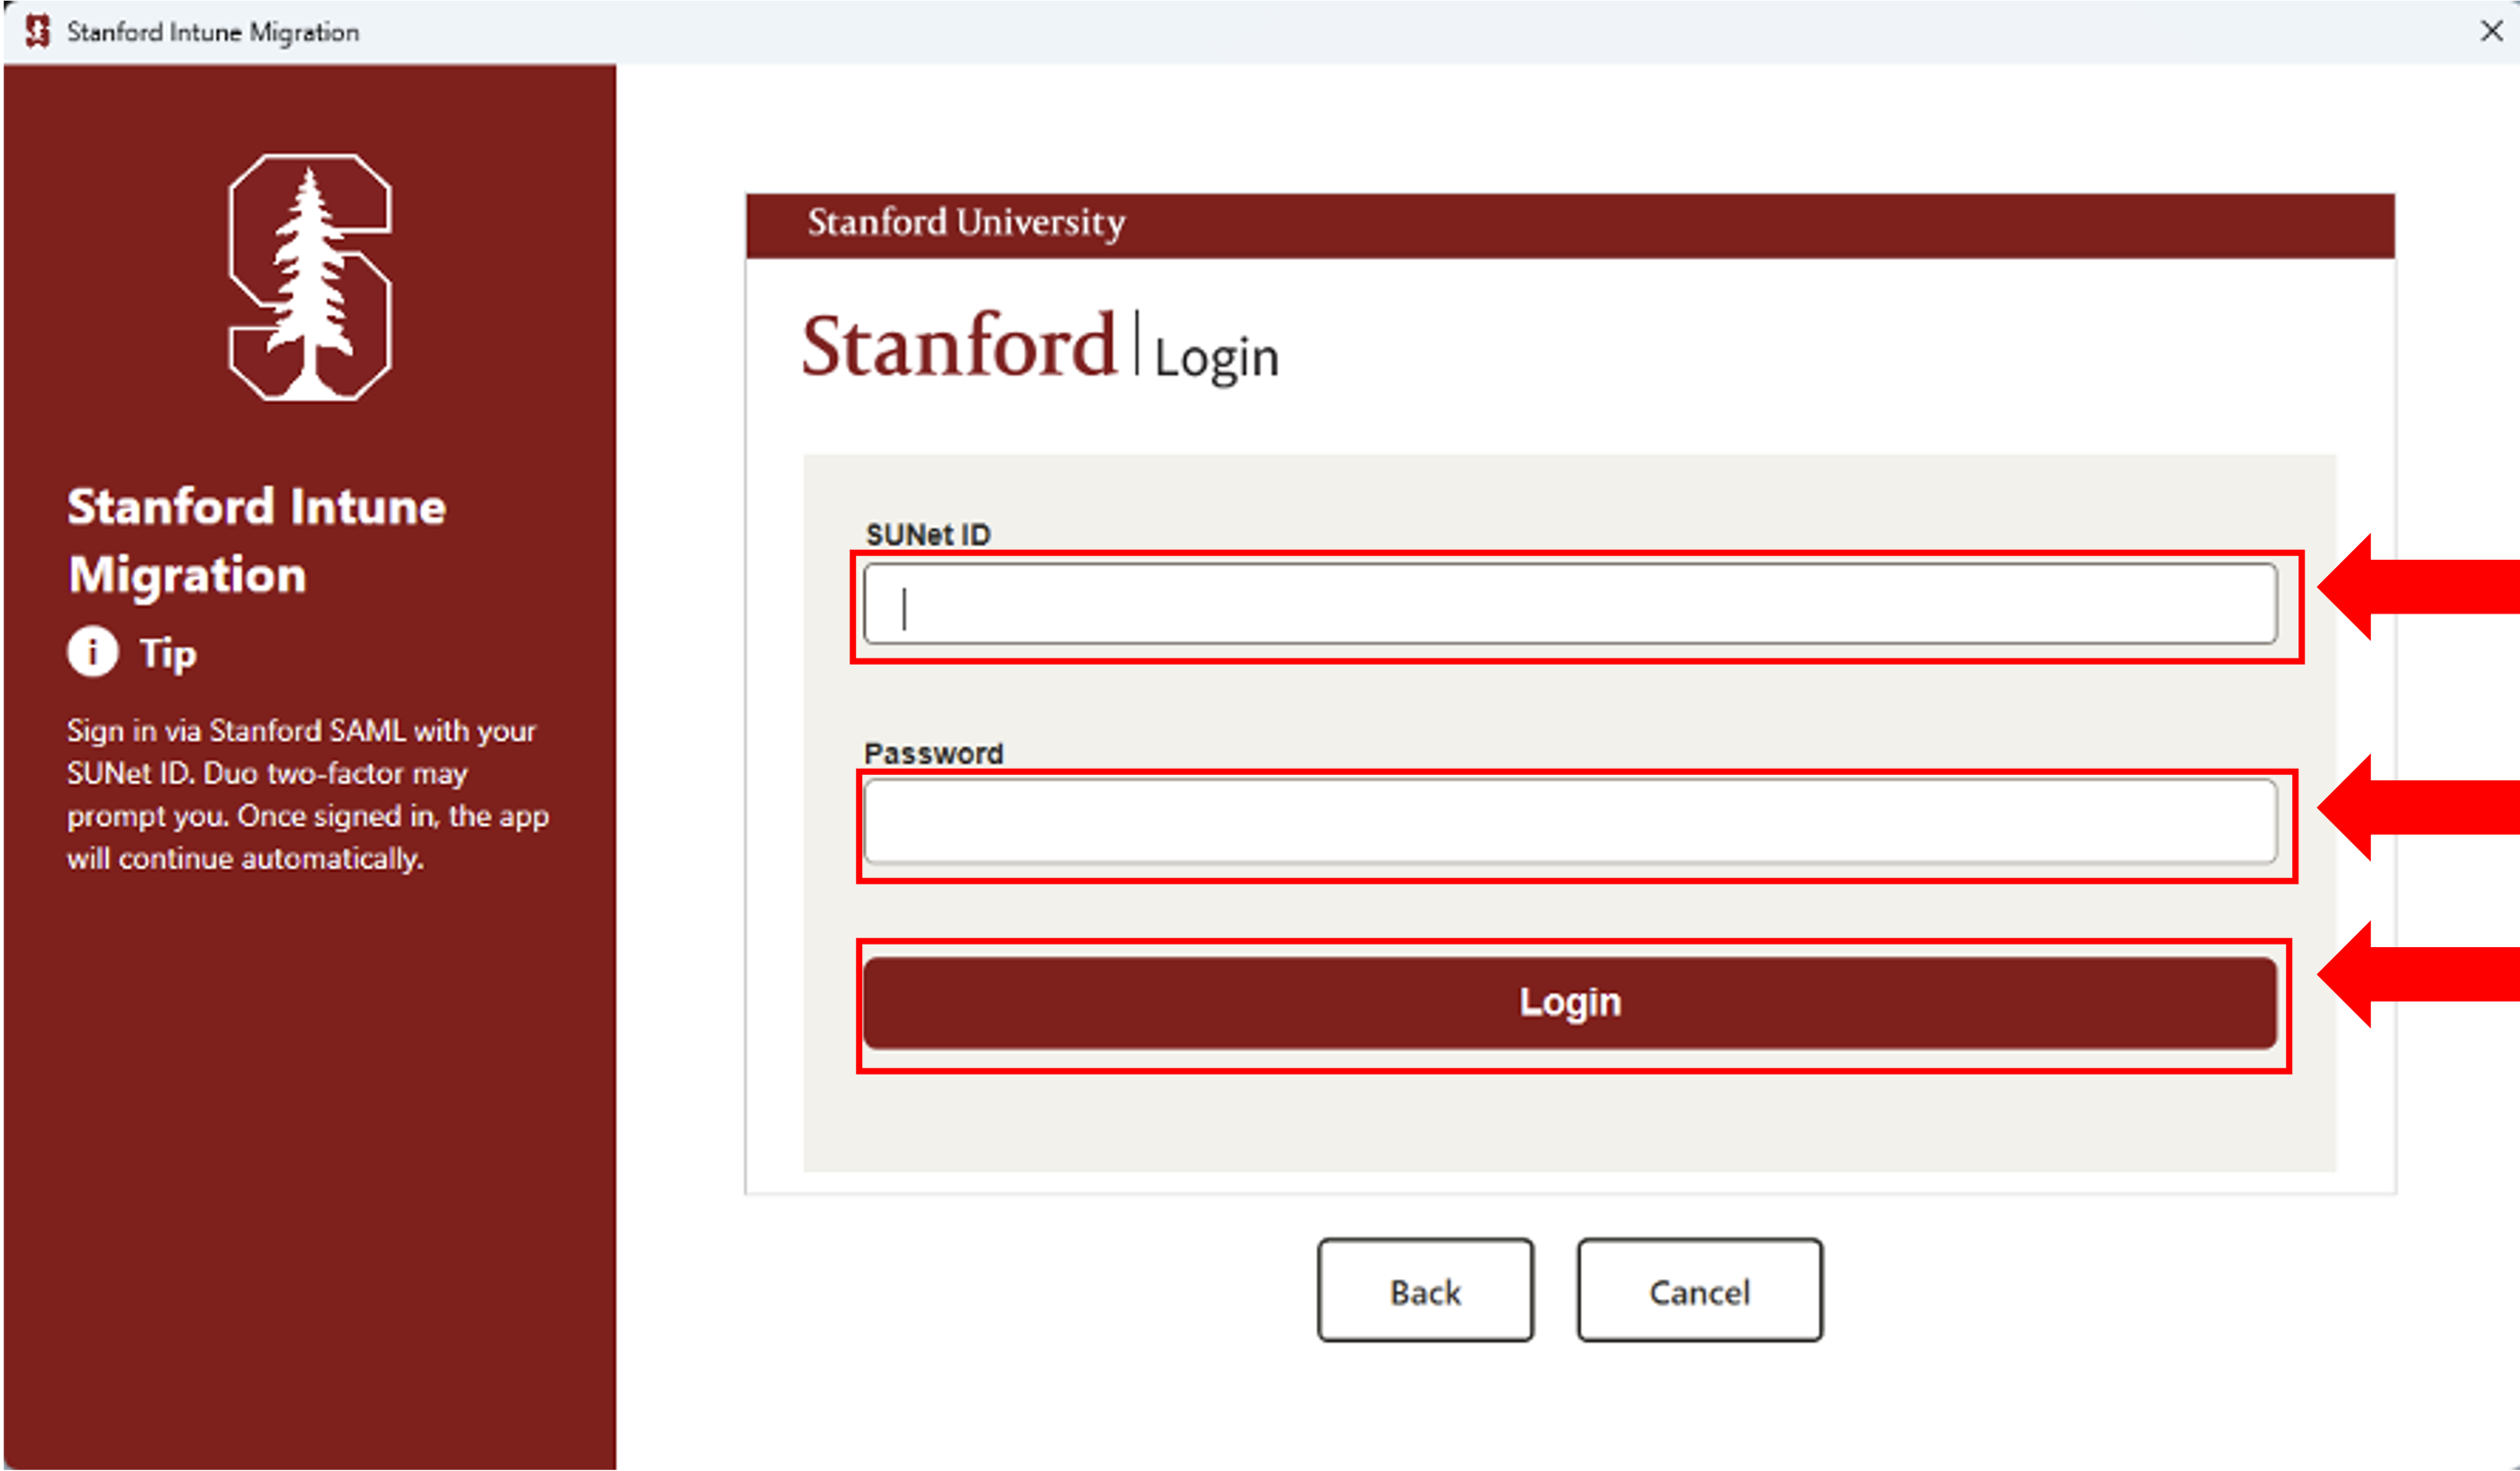
- You'll see Stanford's Single Sign-On (SSO) login screen.
- Complete the SSO process by signing in with your credentials.
- Complete Duo multifactor authentication.
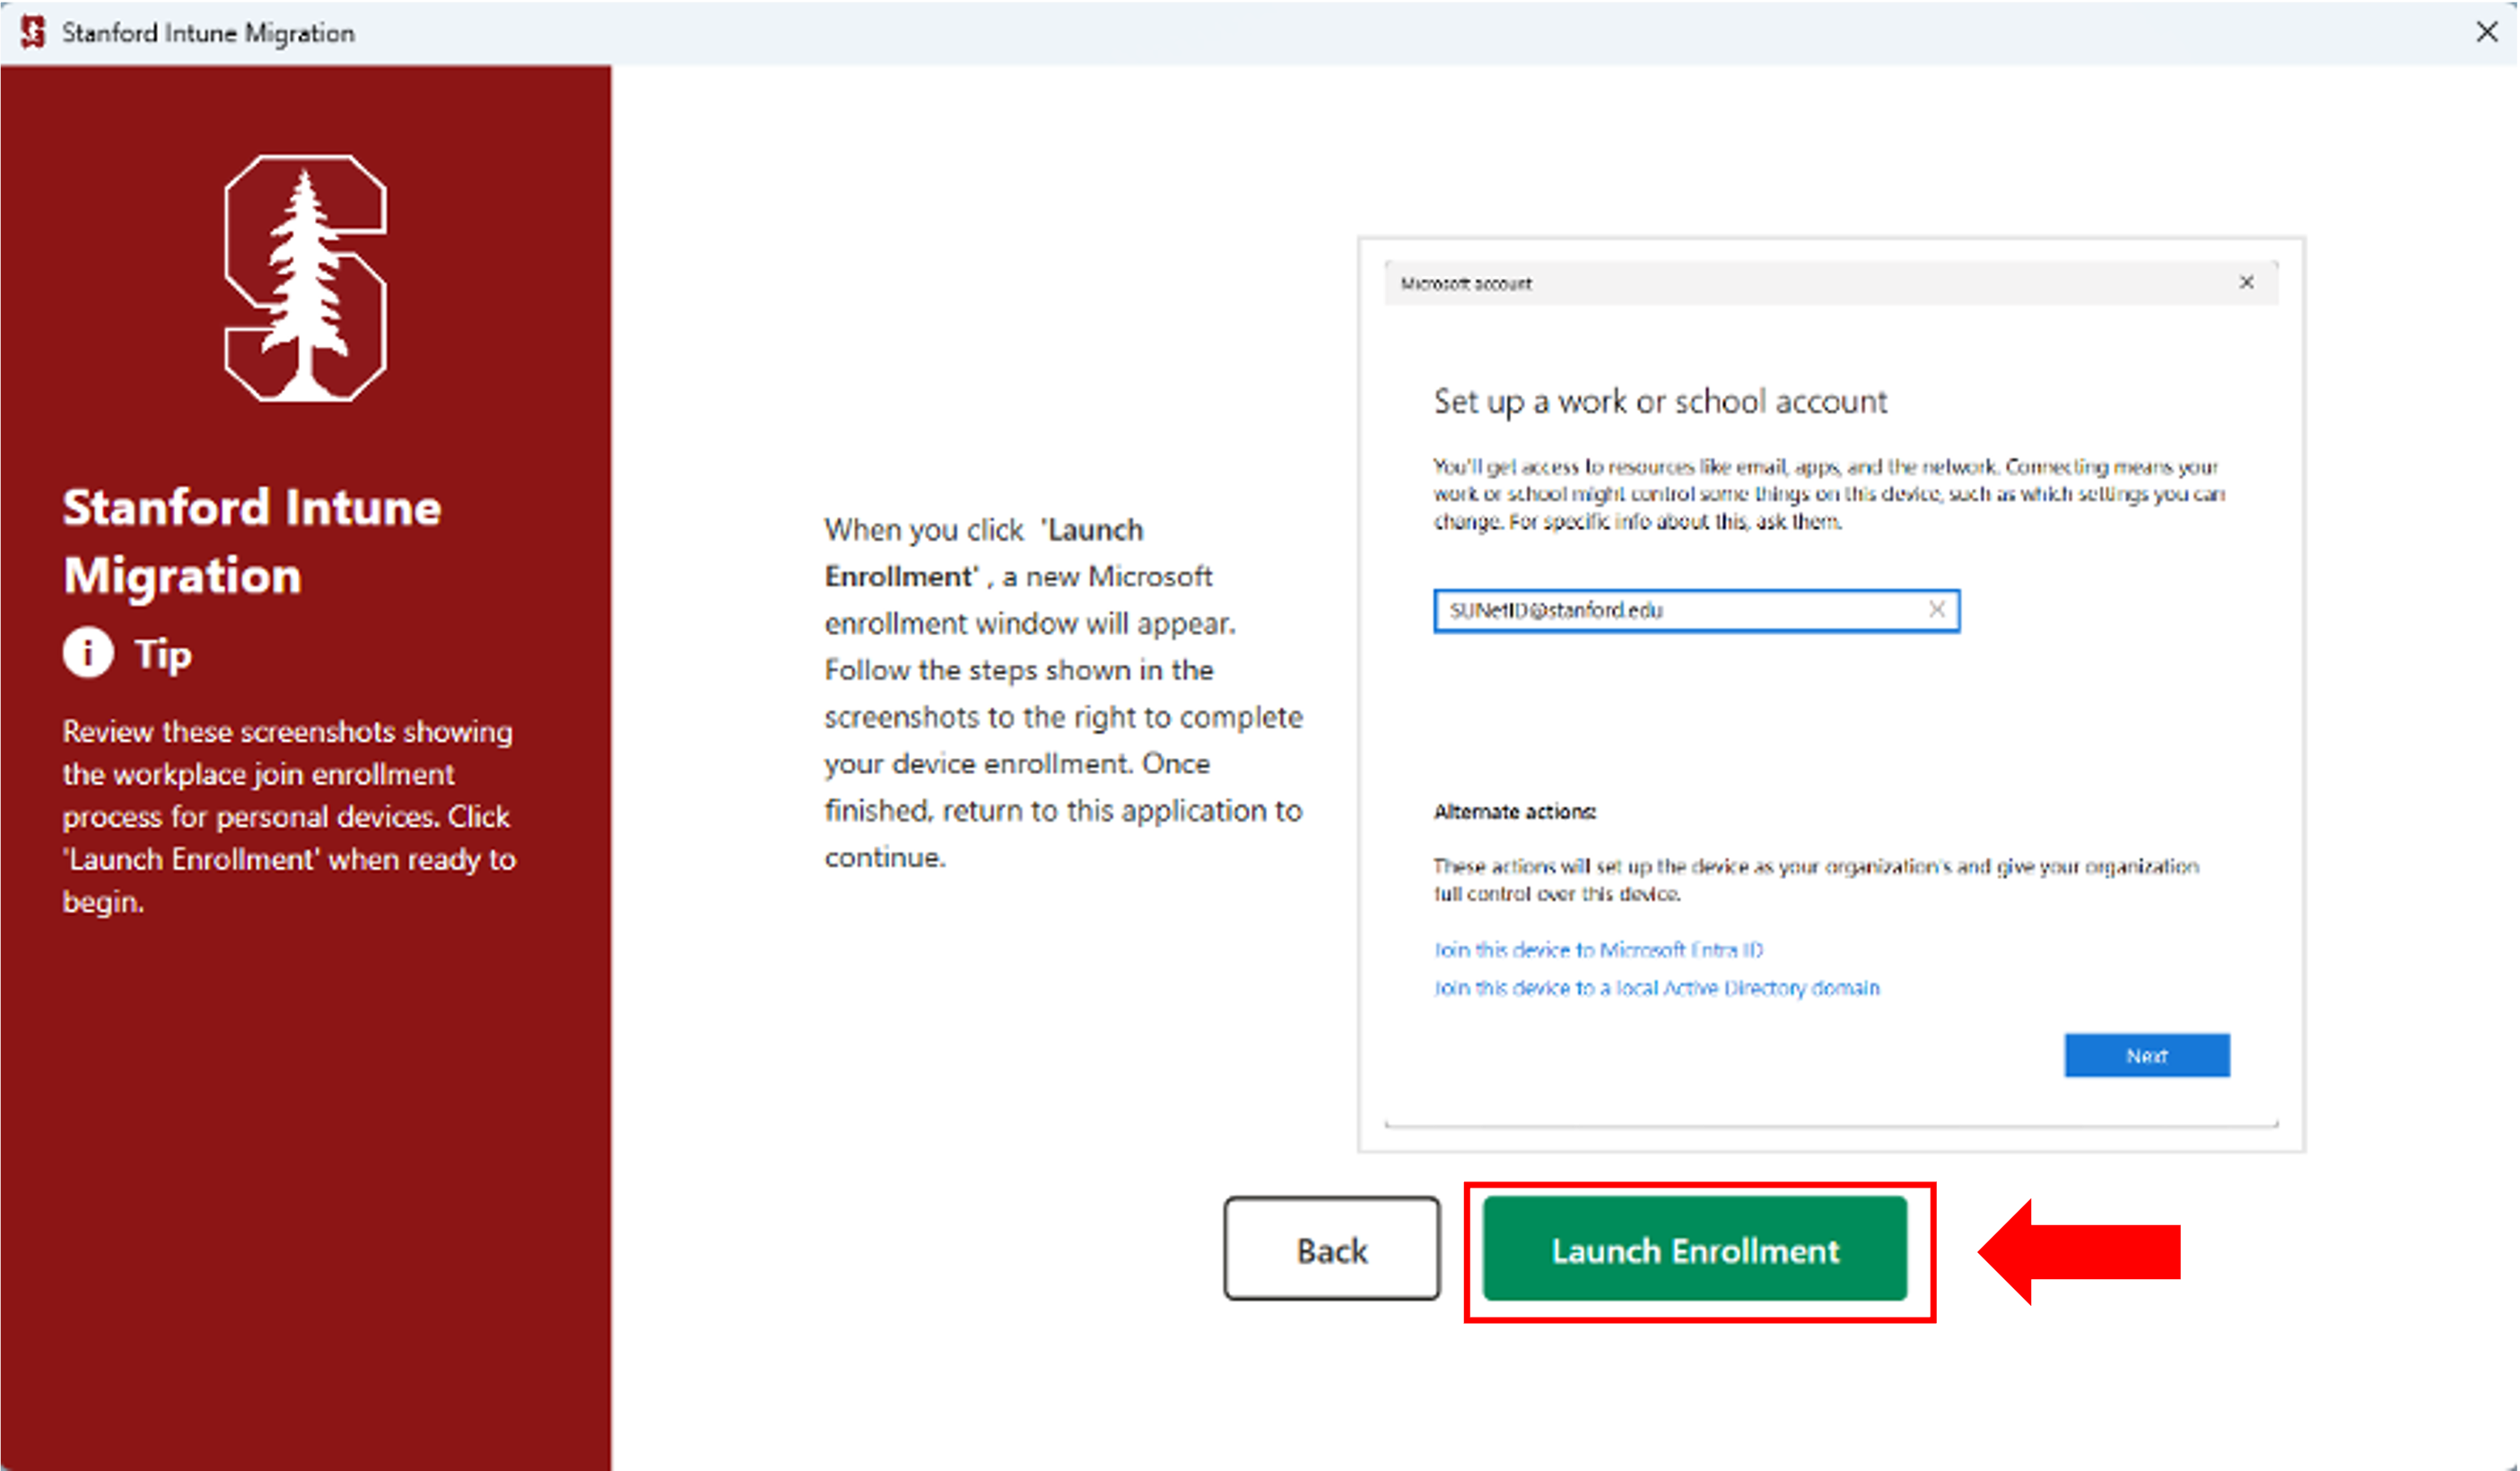
A new window will appear with your SUNet ID pre-filled. Review the next steps listed on the screen. Select Launch Enrollment to continue.
A new Microsoft window will appear. Select Next to continue.

- Complete Microsoft authentication using one of the following methods:
- Username and password
- Passwordless authentication using the Microsoft Authenticator app
- The enrollment process will complete automatically.
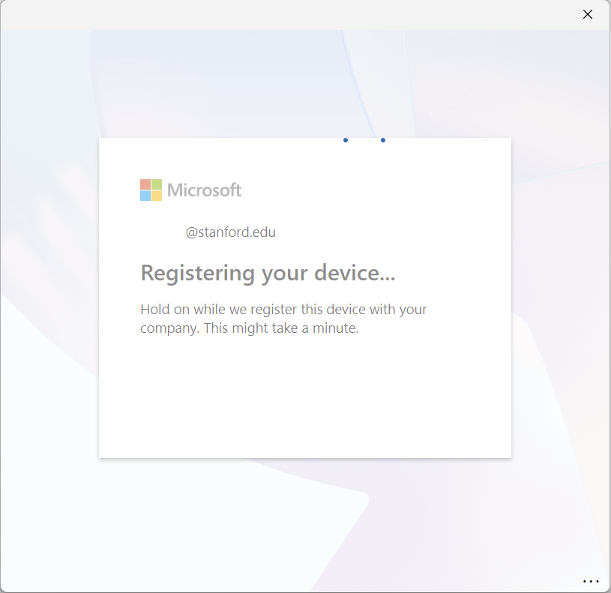
Upon successful registration, you will see the message: "Account added to this device." Click Done, then return to the enrollment application.

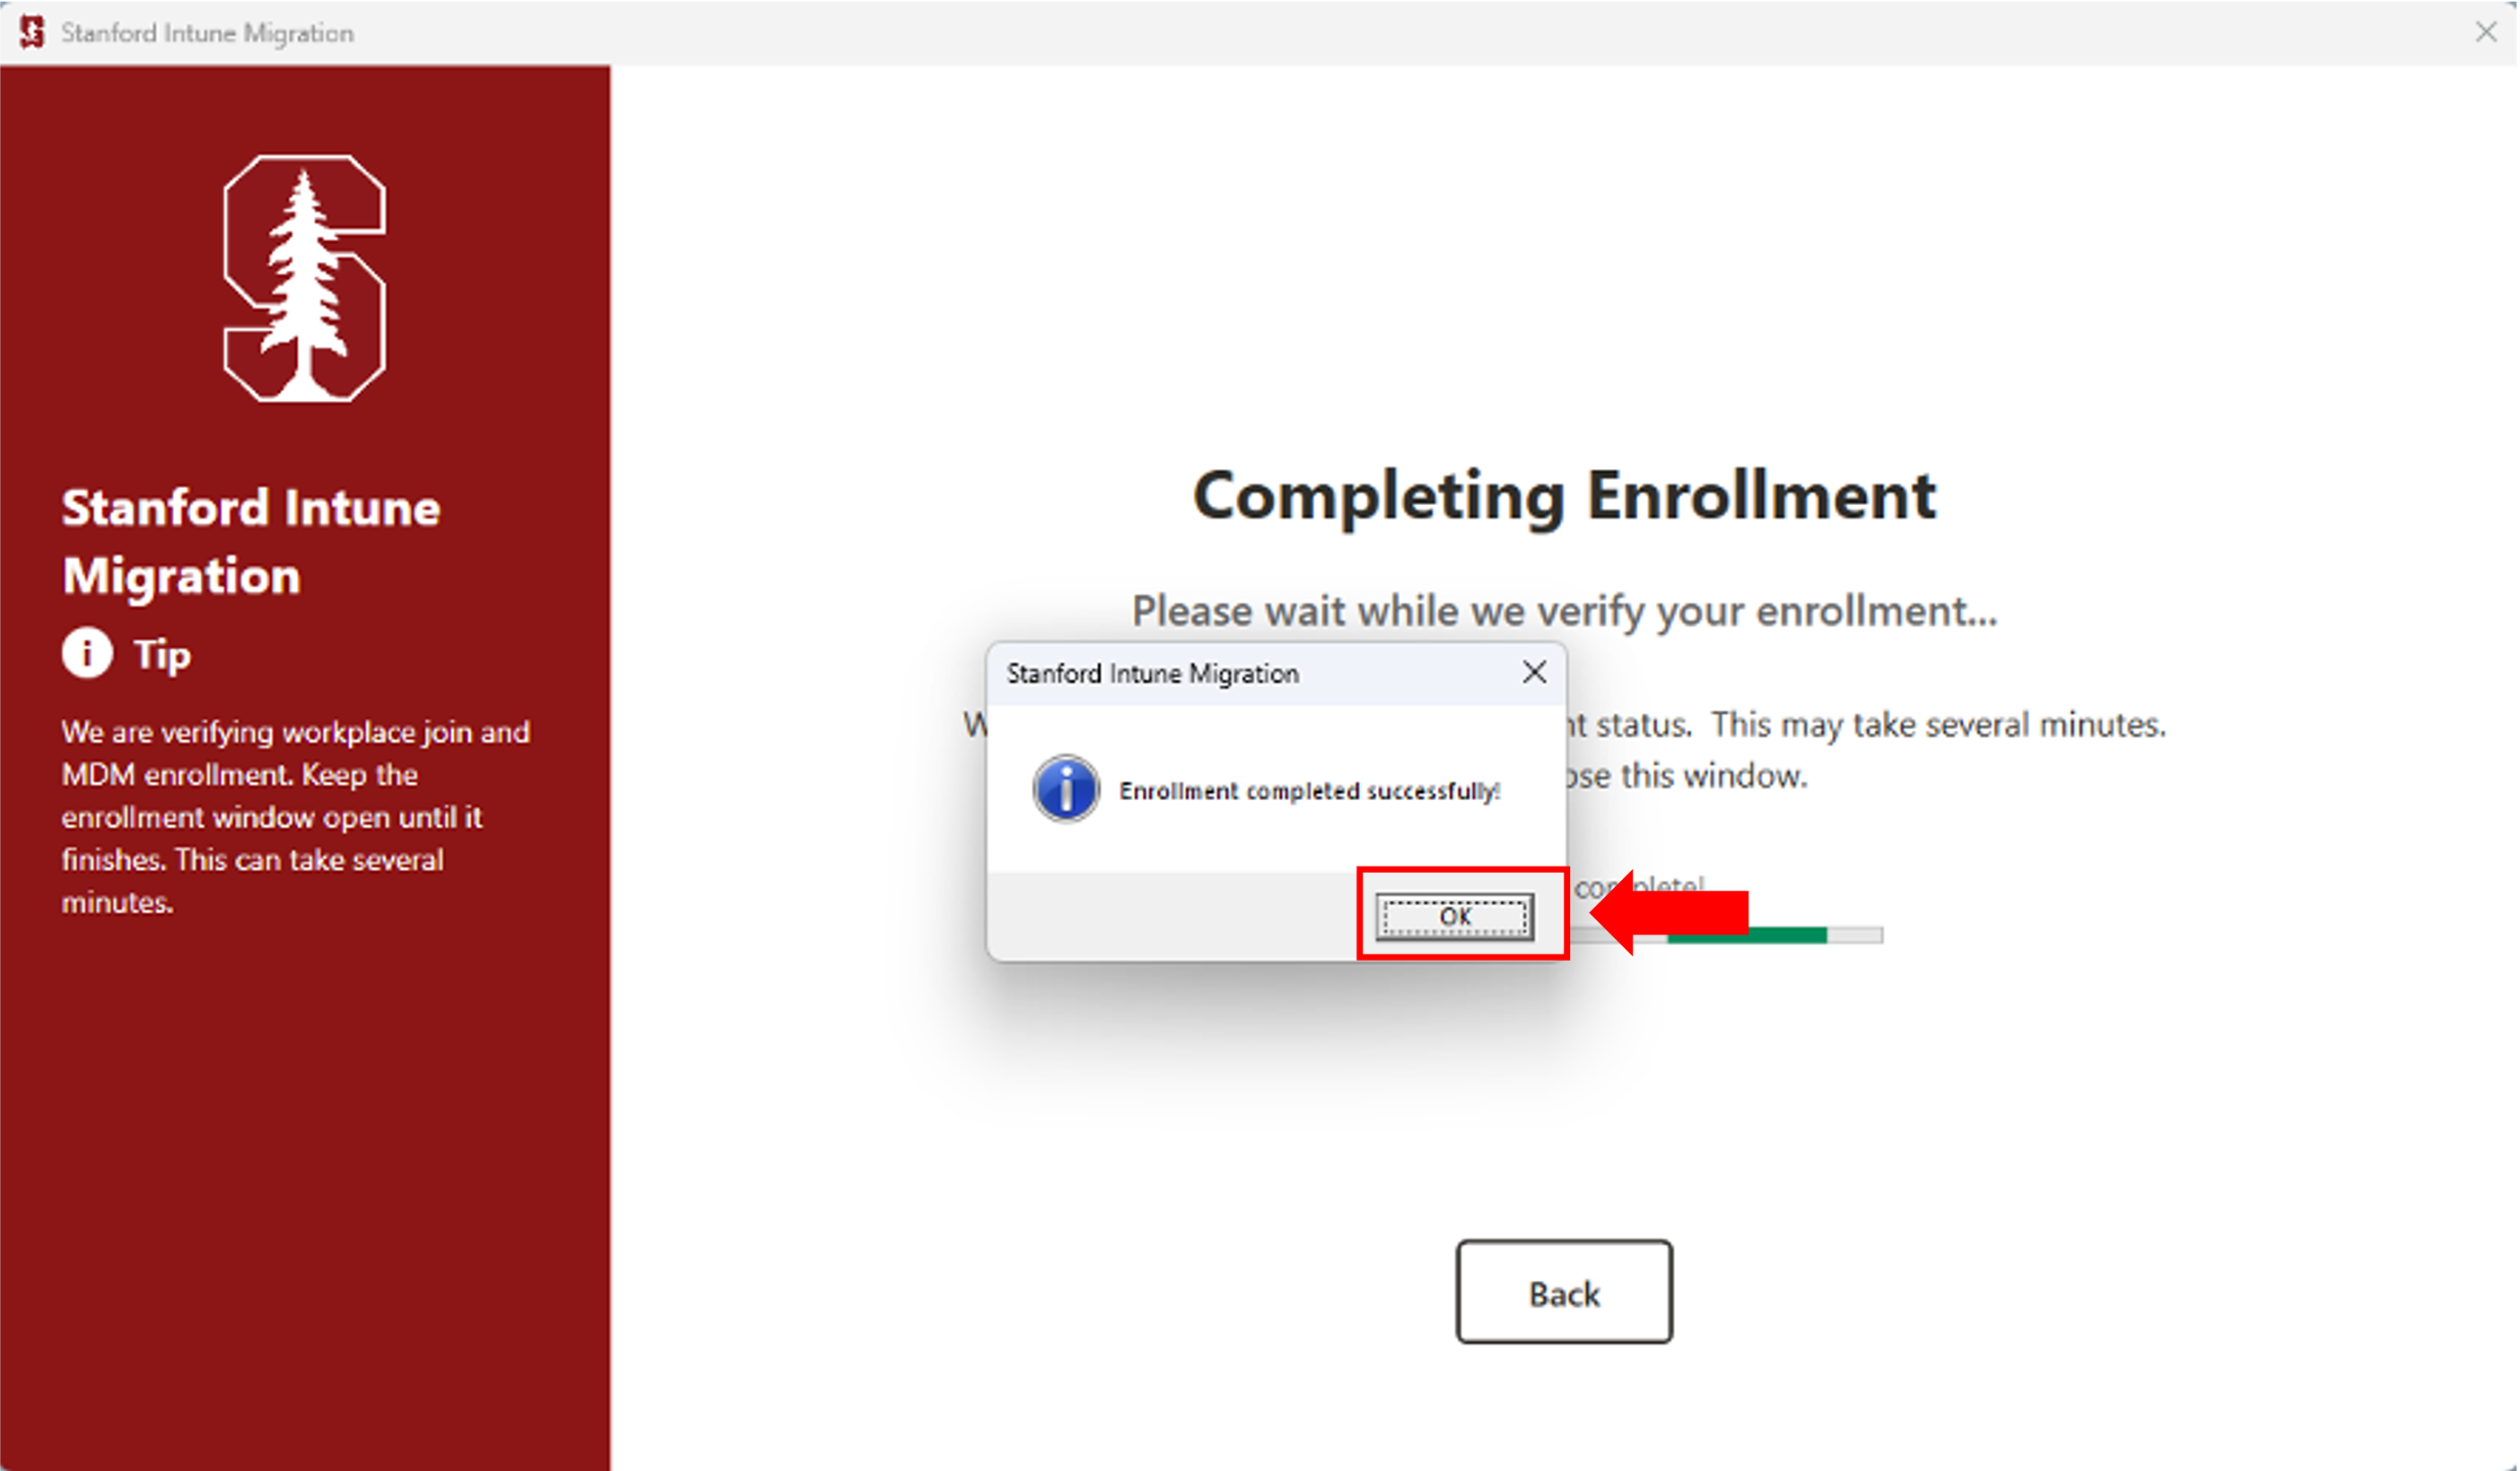
Close the "Enrollment completed successfully" dialog window.
What's next
Wait at least one hour after completing enrollment, then verify your device's registration on the company portal web site.
See also
- How to Verify Windows/Android/Linux Device Setup on the Company Portal Website
- How to Check and Remediate Device Compliance on Windows
- How to Configure Firefox for Device Compliance for macOS and Window
Need more help?
- For answers to common questions, review the FAQs.
- If you need more help, contact your local IT support team.