Qualtrics Migration: Troubleshooting Common Issues
The recent migration of Qualtrics data has caused some users to encounter errors or inconsistent access in the survey tool. This page highlights fixes to the most common issues that have arisen since the migration.
SSO login errors
If you're receiving a login error when trying to access a Qualtrics survey, start with these quick fixes:
- Try launching the survey in an incognito window.
- If you are still unable to log in after launching the survey in an incognito window, try clearing the browser cache.
If you're still getting the SSO errors after those steps, you'll need to remove the SSO authenticator. If your survey requires elements behind SSO, you'll then need to re-add the authenticator in the survey flow for that project after deleting it.
Removing the authenticator
Please note: Do NOT delete the authenticator before moving the blocks out from under it. If you delete the authenticator before removing the blocks, all nested survey blocks will also be deleted.
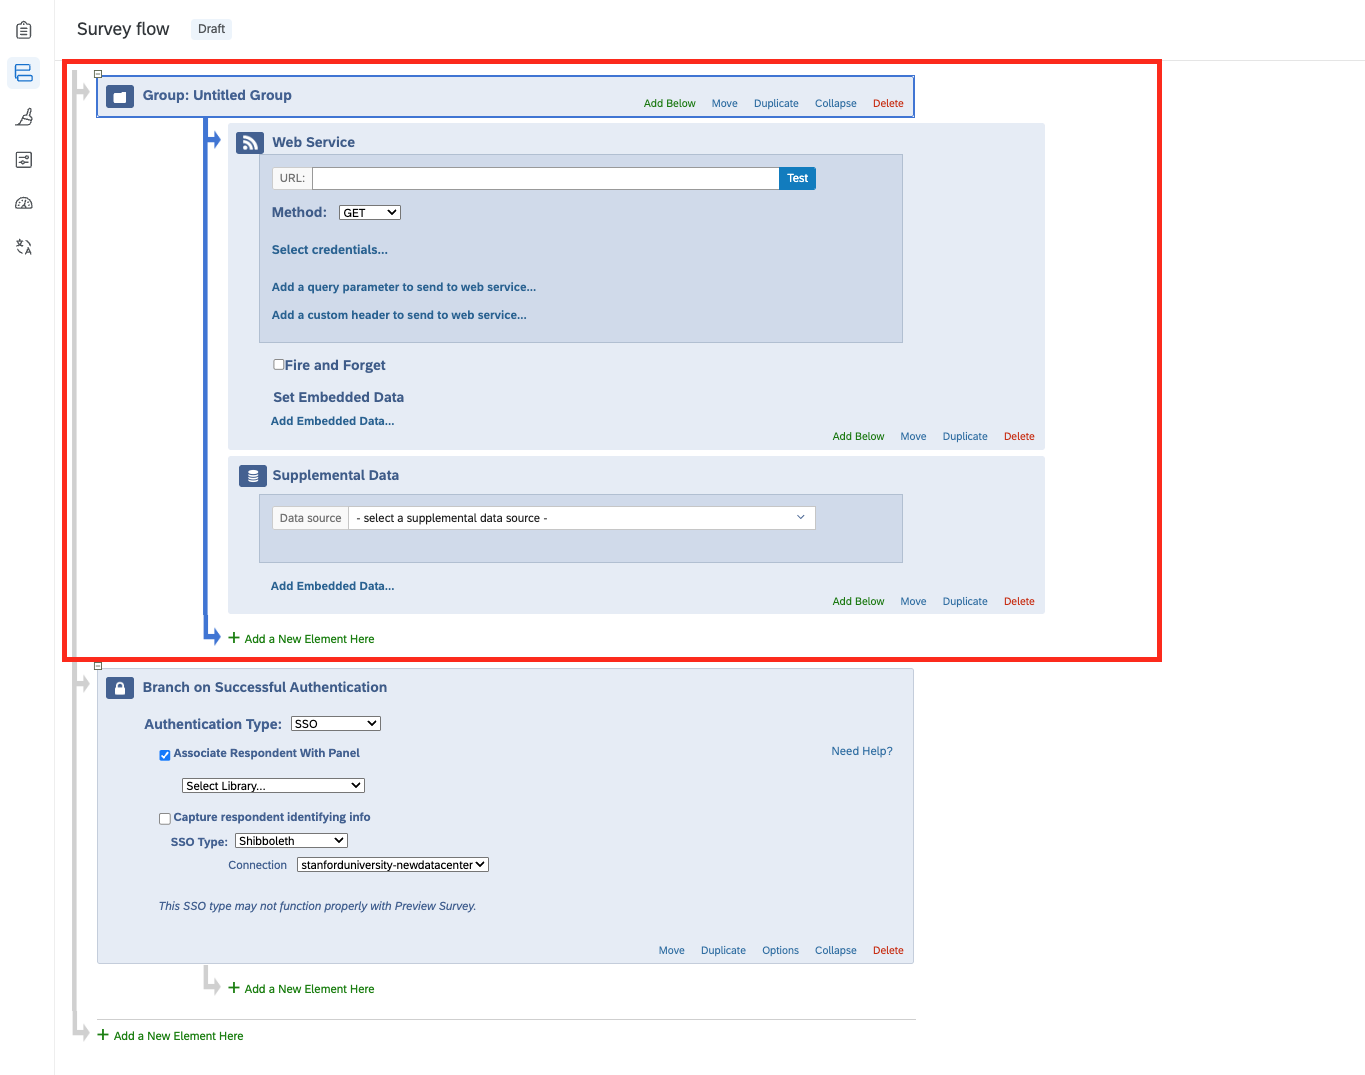
- Open the survey in Qualtrics and go to the Survey Flow settings.
- Optional: The Qualtrics team recommends taking a screenshot of your elements and blocks' positions within the survey in the event of an accidental deletion.
- Click Add a New Element Here and add a Group directly below the authenticator.

- Move all elements in the survey into that group.
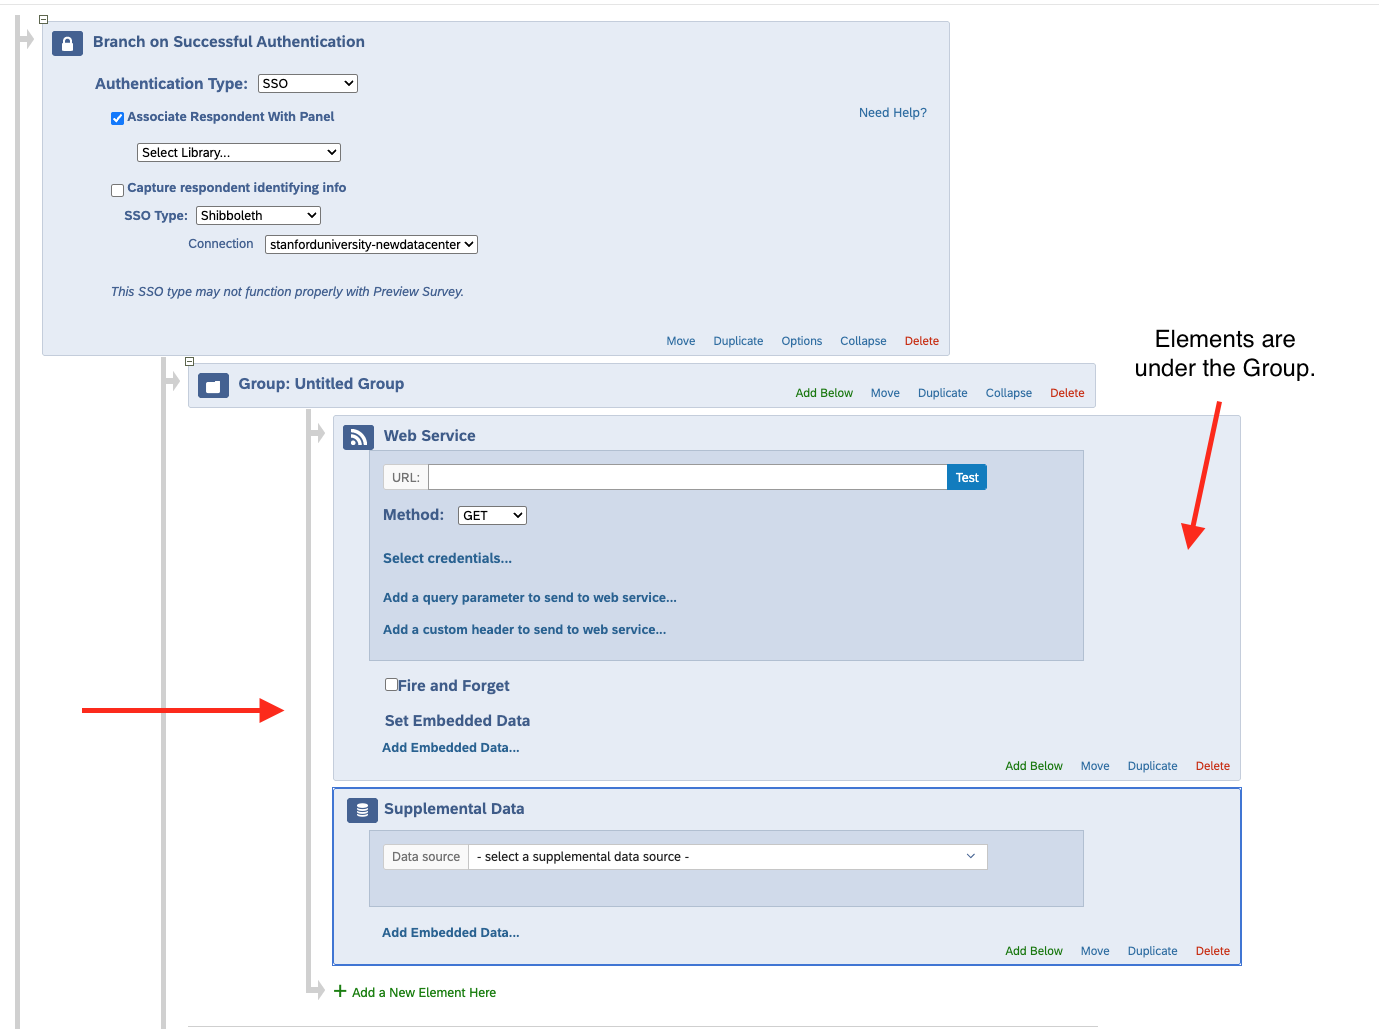
- Move the group outside of the authenticator. This will move all nested elements along with it.
- To move an element, click Move.
Drag the element to its new placement.
- Note the authenticator's current configuration settings, then delete it.
If you accidentally delete your blocks, click Cancel at the bottom of the survey flow. This will undo all changes as long as you haven't saved yet.
If you already saved after accidentally deleting your blocks, visit the Adding a Block to Your Survey Flow section on the Qualtrics support website.
Adding the authenticator back
If your survey requires certain elements to be behind SSO, you'll have to add the authenticator back in and save your changes. Don't worry, your survey link will stay the same.
- Open the Survey Flow while editing your survey.
- Click Add a New Element Here or Add Below.
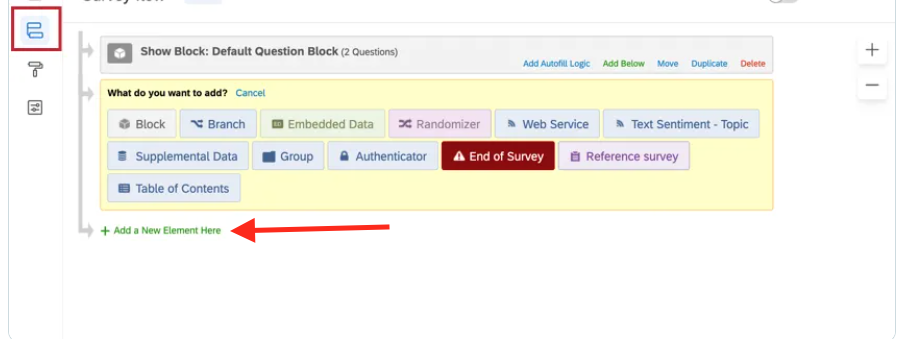
- Select Authenticator.
- Change the Authentication Type to SSO.
Change the SSO Type to Shibboleth.
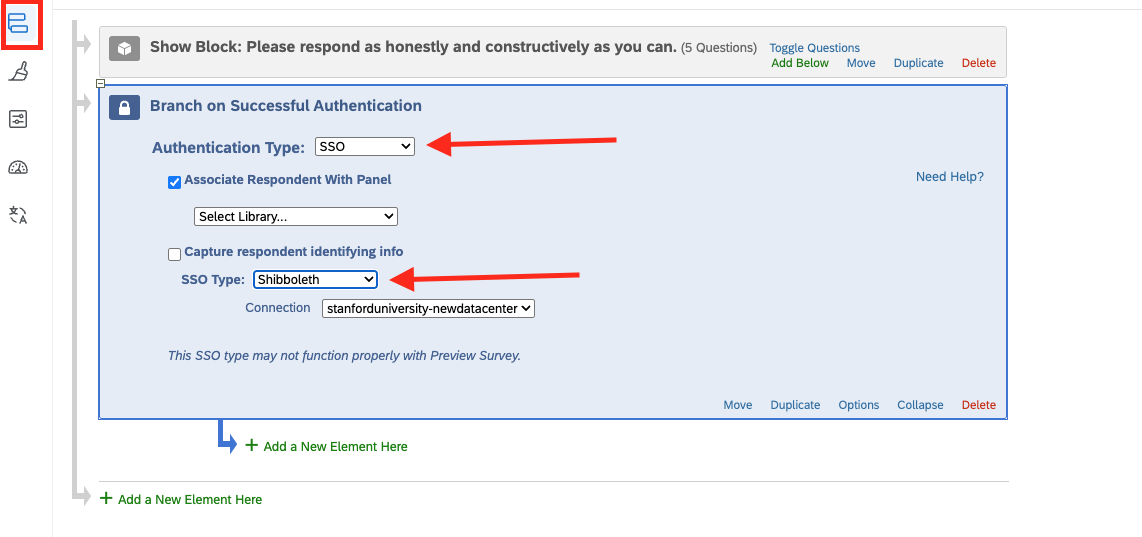
Fill in the required fields, matching the configuration from your old authenticator, e.g., moving elements beneath the authenticator (settings may vary by project).
- Click Apply.
Publish the survey by selecting the Builder icon and clicking Publish.

- Test by opening the survey link in an incognito/private browser window to confirm the error is gone.
View a brief walkthrough of this process created by Qualtrics.
Automated Connections (APIs) are not working
If your team uses automated data connections or integrations with Qualtrics (for example, pulling survey data into another system), these may have stopped working since the migration. If so, your API calls need to be updated to reference the new data center ID. Stanford University's new data center ID is: pdx1.
To verify whether your account is in the new data center, visit the "Locating the Datacenter ID" section on the Qualtrics support website.
Update your Datacenter ID
- Log into Qualtrics and click your user settings icon (top right corner)
- Select Account Settings > Qualtrics IDs (click Switch to older version if needed)
- Find your Datacenter ID under the User section and confirm it matches pdx1.
- Update any API calls to use the new base URL:
https://pdx1.qualtrics.com/API/v3/...
Update your Survey IDs
- Open your survey and look at the browser URL. Your Survey ID starts with SV_.
- Replace any old Survey IDs in your API calls with the new IDs.
Update your Pool ID (if using XM Directory)
- Go to Account Settings > Qualtrics IDs to find your Pool ID
- It is formatted as POOL_XXXXXXXXXXXXXXX
- Update any API calls that reference the old Pool ID
For more information about Qualtrics ID, visit the Finding Qualtrics IDs support page.