Basic Authority Manager Navigation and Tools
Before we dive into using the specific functions of Authority Manager, let's look at the layout of the web page and its basic features.
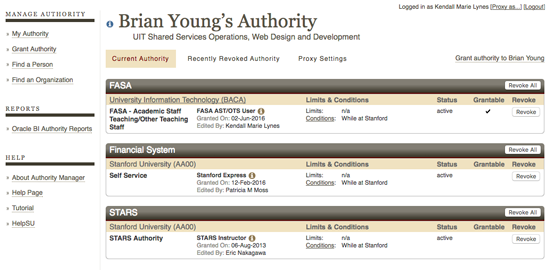
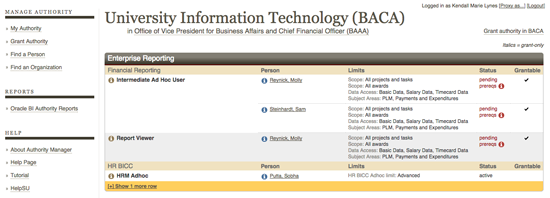
The web page is divided into three main areas: Views, Manage, and Help.

- The views section in the center of the page contains the following:
- Each tab represents a different authority view
- The initial authority listed is your own authority
- Click a tab and the application will navigate to the next view
- The manage section allows a user to perform an action:
- My Authority — takes you back to your own authority
- Grant Authority — lets you extend a privilege you have that you can grant to another user
- Find a Person — lets you look at and change the views to another person
- Find an Organization — view the privileges granted to users for a specific organization / department
- The Help section contains the following:
- The About Authority Manager link — the Authority Manager service page on the University IT website that describes Authority Manager
- The Help link — a short list of help topics and information
- The Tutorial link — a more in-depth explanation of Authority Manager
- The HelpSU link — allows a user to file an Authority Manager HelpSU request that is routed to the University IT Service Desk
Useful tools
Find a person
Find and view any person's authority. The search results include only members of the Stanford academic and administrative communities — that is, people who are eligible for authority.
- Click Find a person from the home page of Authority Manager, or from a person view or organization view page.
- Enter a SUNet ID (preferred) or name and then click Search.
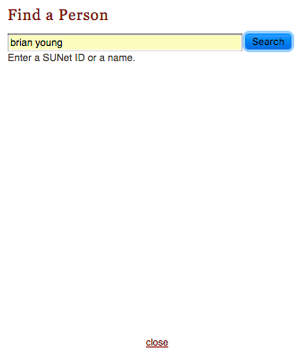
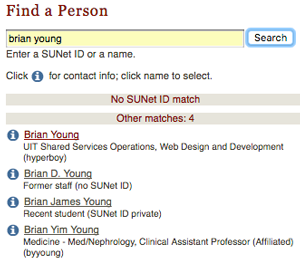
- Click the name of the appropriate person.
- The authority view for the selected person opens in the main browser window, and the search popup closes automatically.
Find an organization
- Click Find an Organization from the left-hand column on the home page of Authority Manager.
- Enter the organization name or four-character organization code (the unique identifier of your organization) and click the appropriate result from the list below. You may also click Browse Organization hierarchy, which displays the complete, current University organization hierarchy, and click the desired organization from the list.
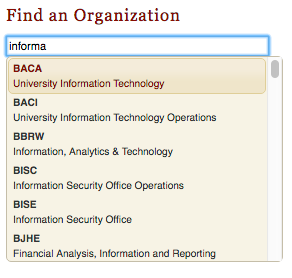
- Click the bolded name of your organization from the list below. Note: Inactive organizations do not appear in the hierarchy, but can be found by searching for the name or org code. They are identified by the status [inactive].
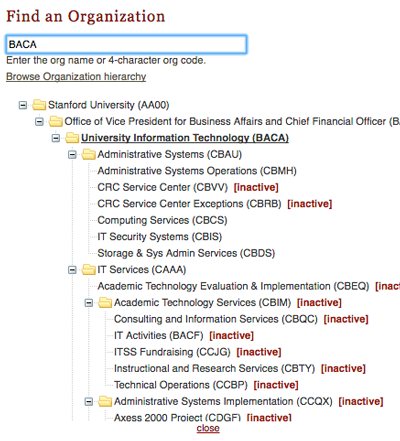
- The authority view for the selected organization opens in the main browser window, and the search popup closes automatically.
The (i) info icon
The (i) info icon appears throughout Authority Manager whenever there is more information available about an object. If you click it, a small popup window will appear, listing the person's contact info, the tasks included in a privilege, the status of prerequisites, or whatever other information is relevant to the object the info button is next to.
 The blue info icon appears in front of a person's name whenever it might be useful to view basic contact information. If you click the blue (i), a small popup window will appear showing a business-card view of the person's contact information. The blue information icon follows the privacy rules set in StanfordYou. You will be able to see any information the person has made Stanford-visible.
 The red info icon indicates either a status check (such as the prerequisites popup) or important information.