Windows 10 to 11 Upgrade Instructions
Sunsetting Windows 10
Starting Sept. 2025, Microsoft will no longer support Windows 10. Due to this change, Stanford will sunset Windows 10, requiring Microsoft users to upgrade to Windows 11.
Note: Shared or research lab computers should be upgraded by your IT team.
Windows 10 to 11 upgrade
Upgrading your device to Windows 11 is straightforward. The estimated time of the upgrade is roughly an hour and a half, depending on the age of your machine.
Please read through the all of the following steps before initiating the upgrade process.
Pre-upgrade steps
- Verify Windows version
To verify your Windows version, click Start, type "winver" and press enter. If your device is on Windows 10, proceed with the rest of the stages of the upgrade.
- Connect to a power supply
If upgrading a laptop, connect to a power supply. During the upgrade, place your laptop on a table or flat surface to ensure optimal airflow.
- Confirm device storage
Your device should have a minimum of 40 GB to upgrade to Windows 11.
To confirm your device storage:- Click Start
Type "Storage Settings" and select Enter.

- Free/available space will be displayed on the right corner of the bar for C: drive.
- Complete device backup
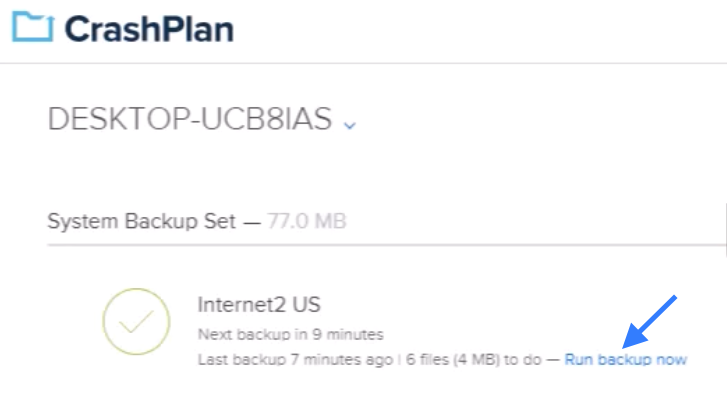
- Launch the CrashPlan app and sign in using your Stanford email address and Single Sign-on (SSO).
- Confirm that the most recent backup was completed within the last 10 minutes.
- Click Run backup now, if needed.
For assistance backing up your device, please submit a Help request or contact the UIT Service Desk at 650-725-4357.
Upgrade steps
- Download Windows 11 Installation Assistant (Windows11InstallationAssistant.exe).
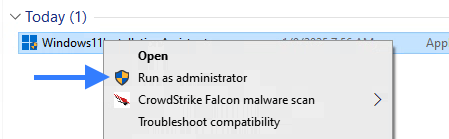
- Right-click on Windows11InstallationAssistant.exe and select Run as administrator.
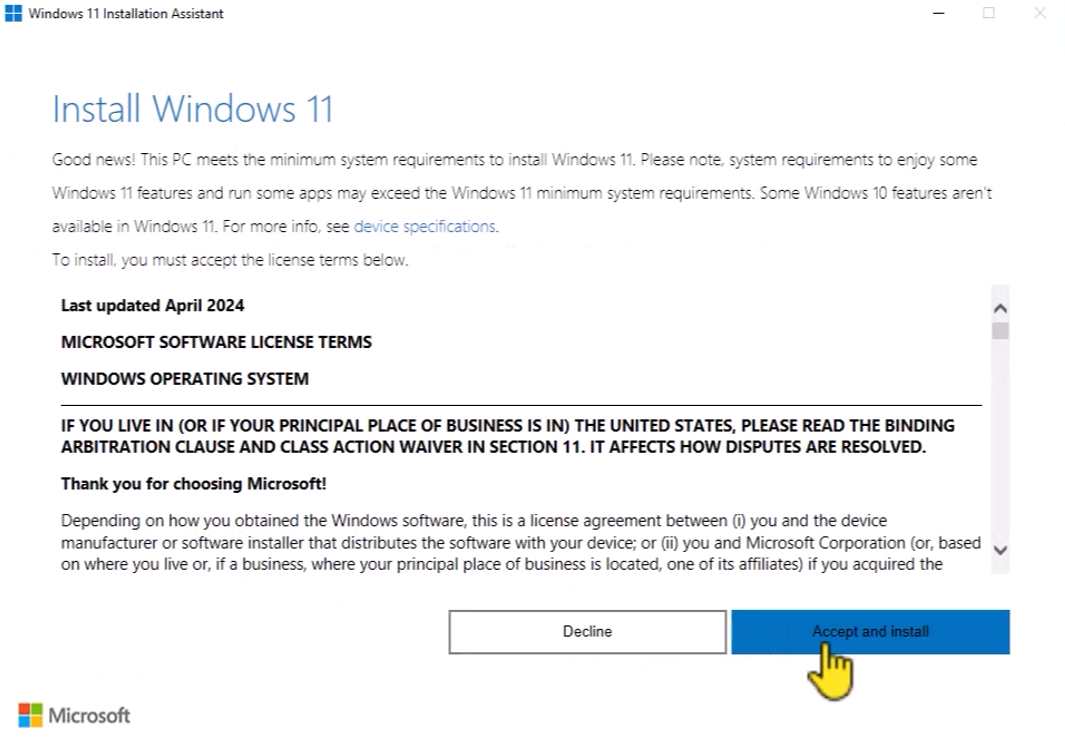
- Click Accept and Install to begin. The install assistant will verify device compatibility and proceed if compatible.
If your device doesn't meet the minimum system requirements for Windows 11, a notice will appear on your screen. Please submit a Help request for further assistance. If your device is 4 years or older, consider upgrading your hardware.
- The Windows 11 Installation Assistant will download, verify, and install Windows 11.
Note: The installation process may take up to an hour to complete. However, you can continue using your device throughout the installation. Remember to save your work regularly.
- You will be prompted to restart your device. If left idle for 30 minutes or more, your device will restart automatically.
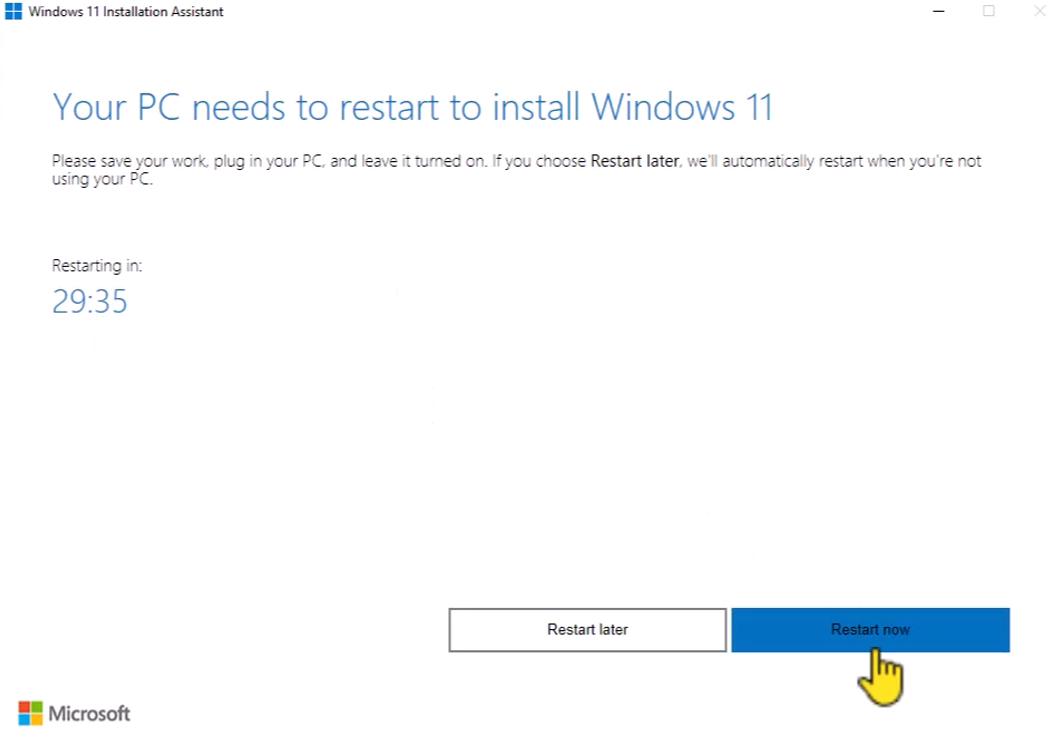
- Windows 11 installation will resume after restarting. This step might require an additional ten minutes to complete.

Once Windows 11 is installed, log back into the computer. Windows will prepare your login and then take you to your desktop.

Post-upgrade steps: Driver and Firmware Update
This step ensures your device has the latest Windows 11 compatible drivers and firmware from device manufacturers.
Note: During the installation of firmware updates, the machine might restart multiple times, and you may hear beeps occasionally. This is expected behavior. Keep your laptop connected to power.
For Dell Machines:
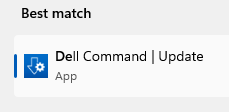
- Open the Dell Command Update application:
- Click the Start menu.
- Start typing Dell Command Update and select it from the search results.
- Follow the on-screen instructions to:
- Check for updates.
- Install updates marked as Critical and/or Recommended.
For Lenovo Machines:
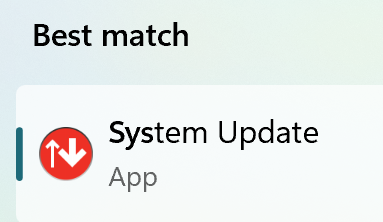
- Open the Lenovo System Update application:
- Click the Start menu.
- Start typing System Update and select it from the search results.
- Follow the on-screen instructions to:
- Check for updates.
- Install updates marked as Critical and/or Recommended.
For assistance with the post-upgrade steps, please submit a Help request.
Feedback: We value your input! After completing the upgrade, please share your feedback to help us improve this guide.